


A gas grill left dirty through winter comes back in spring with rusted grates, clogged burners, and a grease fire waiting to happen. Winterizing a gas grill takes about an hour, and it is the difference between a grill that lasts a decade and one you replace in three years.
Step 1: Burn off the last cook
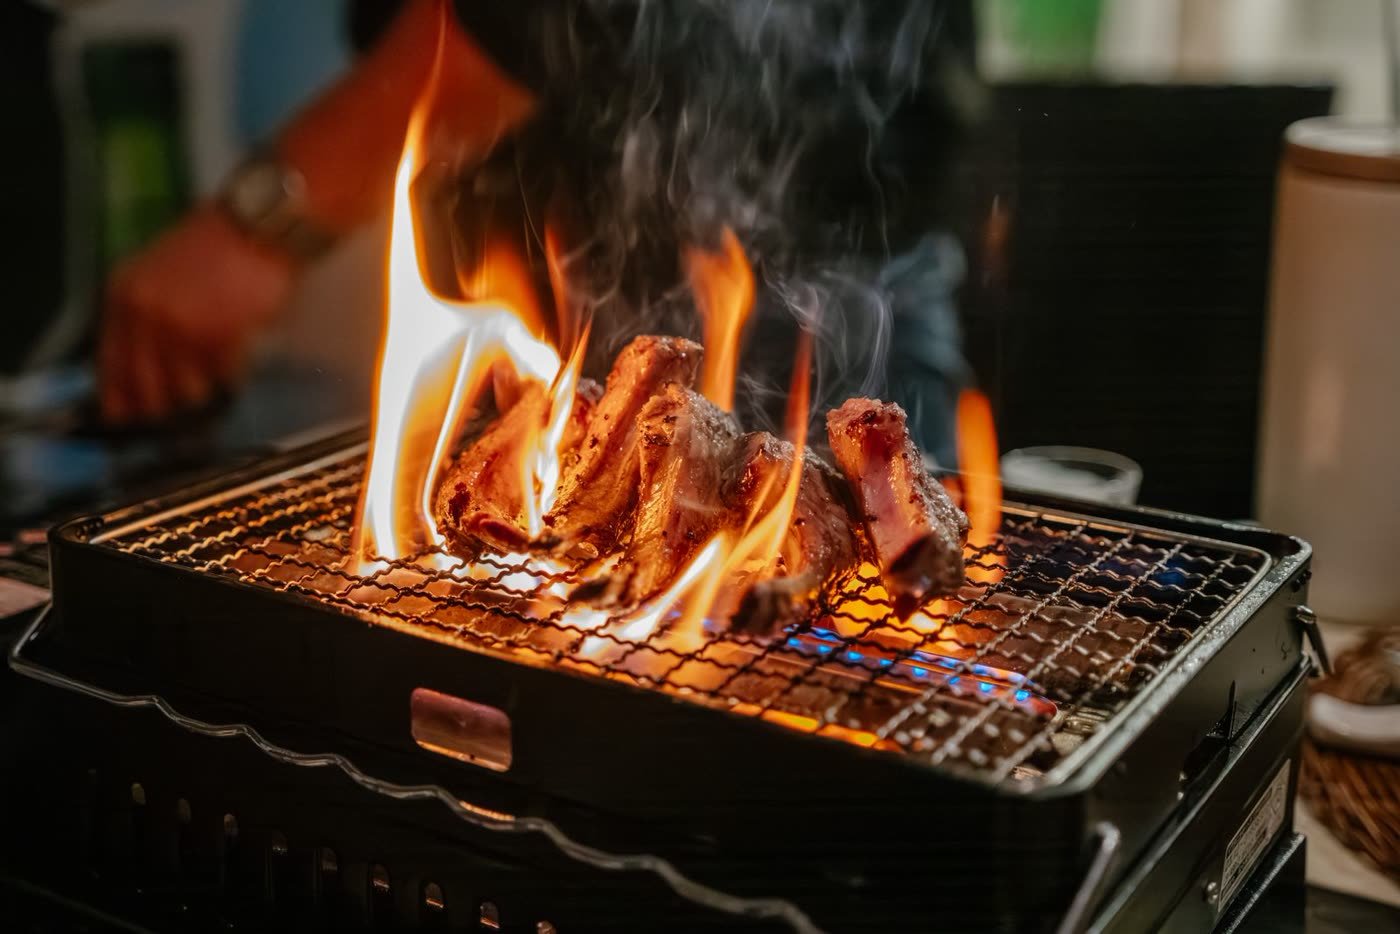
Before you clean anything, fire up the grill on high with the lid closed for 10 to 15 minutes. This carbonizes the leftover grease and food residue on the grates and interior, turning it into ash that brushes off easily. Let the grill cool completely before moving on — cleaning a hot grill is how burns happen.
Best for: Every grill — starting with a burn-off makes every later step easier.
Step 2: Disconnect and store the propane tank safely
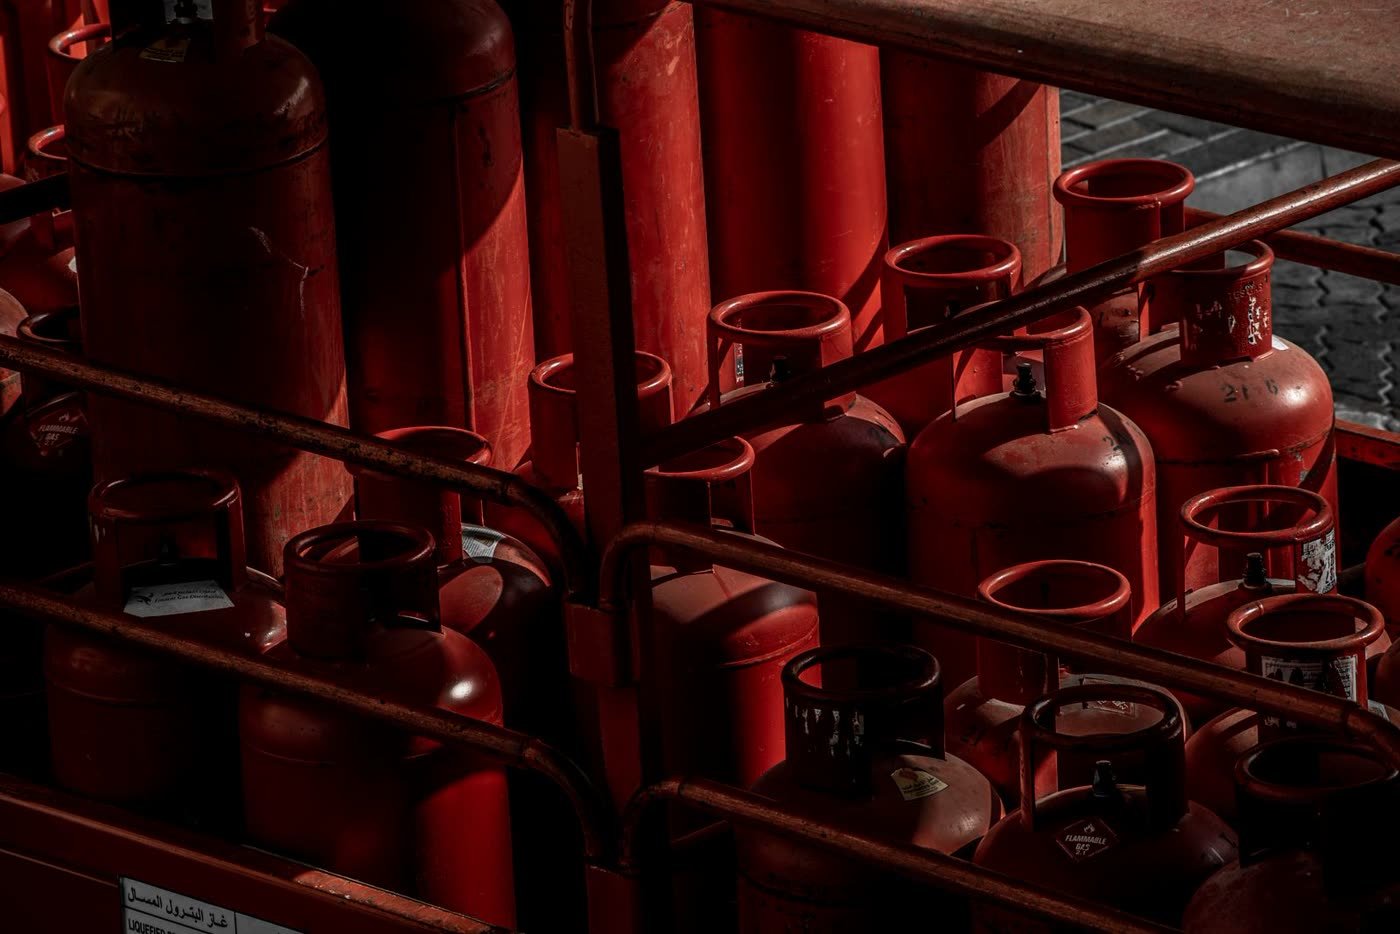
Turn the tank valve fully closed, unscrew the regulator, and cap the valve outlet with the dust cap. Here is the safety rule that matters: never store a propane tank indoors, in a garage, or in any enclosed area — not even a disconnected one. Keep the tank upright and outside in a well-ventilated spot, away from the grill. This matches the guidance in Weber's own Use and Care Guide for grills stored or left unused.
Best for: Anyone storing the grill in a garage or shed — the tank must stay outside.
Step 3: Scrub the grates with a brass brush
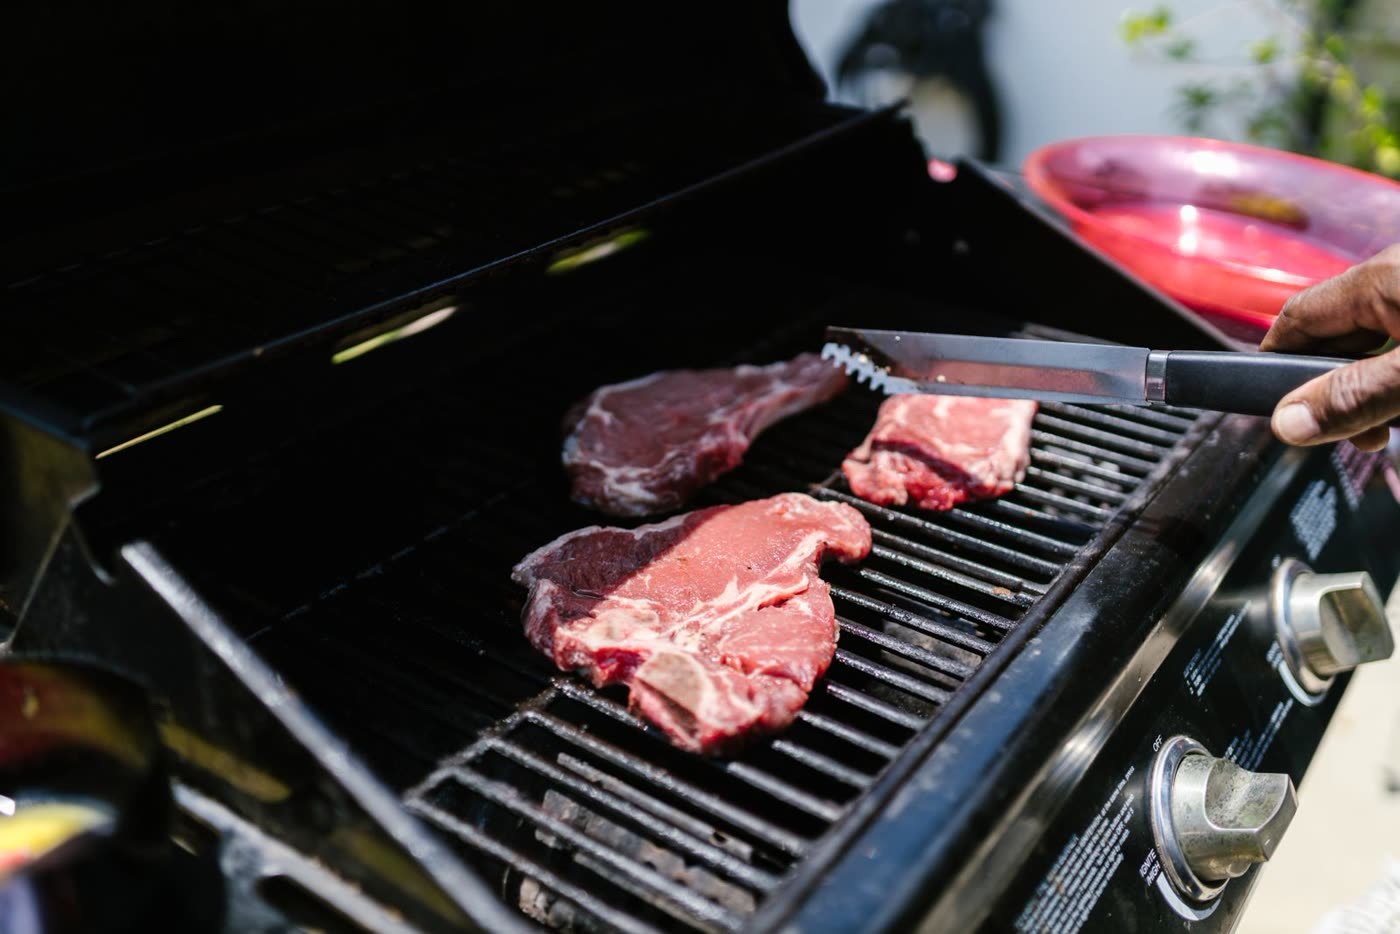
Remove the cooking grates and attack them with a brass-bristle brush — brass is firm enough to remove residue but softer than the grate metal, so it cleans without scoring. For stubborn buildup, soak the grates in warm soapy water first, then scrub and rinse. Check for rust while you are at it: surface rust on cast iron grates scrubs off, but deep pitting means the grates need replacing before spring.
Best for: Grates with a season of buildup — the burn-off plus a brass brush handles most of it.
Step 4: Empty and clean the grease management system
Pull out the grease tray, drip pan, and any disposable liners, and throw away the liners. Grease that sits all winter turns rancid, attracts rodents, and becomes a fire hazard in spring. Scrape the tray clean and wash it with warm soapy water, then rinse and dry fully. While you are under there, check the area beneath the cookbox for debris that could block ventilation air — Weber's care guide specifically flags this.
Best for: Preventing spring grease fires and unwanted winter visitors.
Step 5: Clean the burner tubes and check the igniter
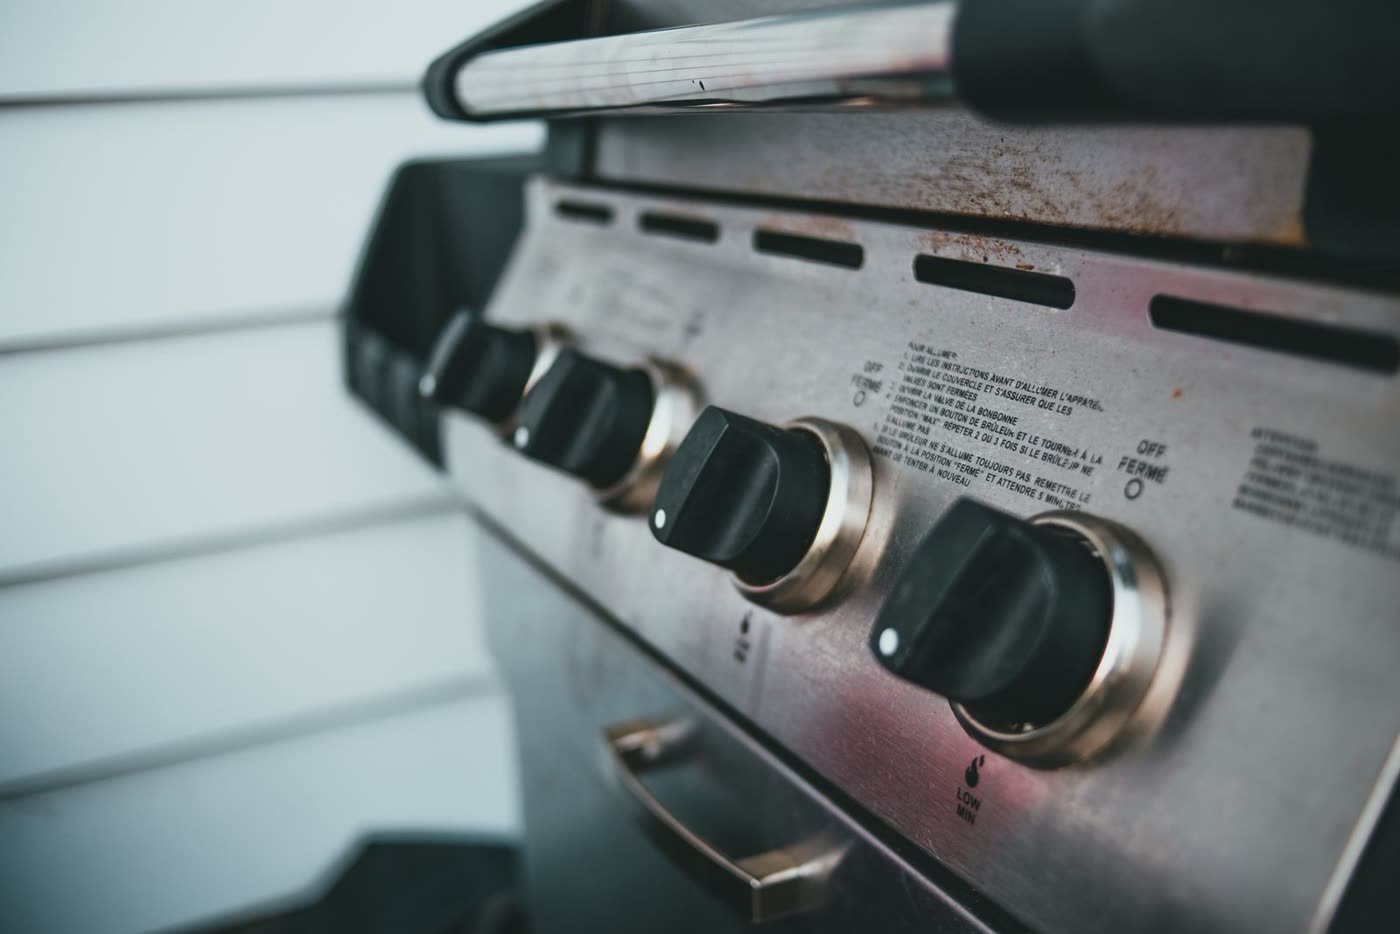
Clogged burner tubes are the most common reason a grill underperforms in spring. Use a small brush or a venturi tube brush to clean the burner ports, and inspect the spider and insect screens at the combustion air openings — spiders love building nests there over winter, and a blocked screen causes yellow, lazy flames or gas flow problems. Test the igniter now, while replacements are easy to order, not in April when you are ready to cook.
Best for: Grills that are more than a couple of years old — burner maintenance is annual work.
Step 6: Wipe down the cookbox interior
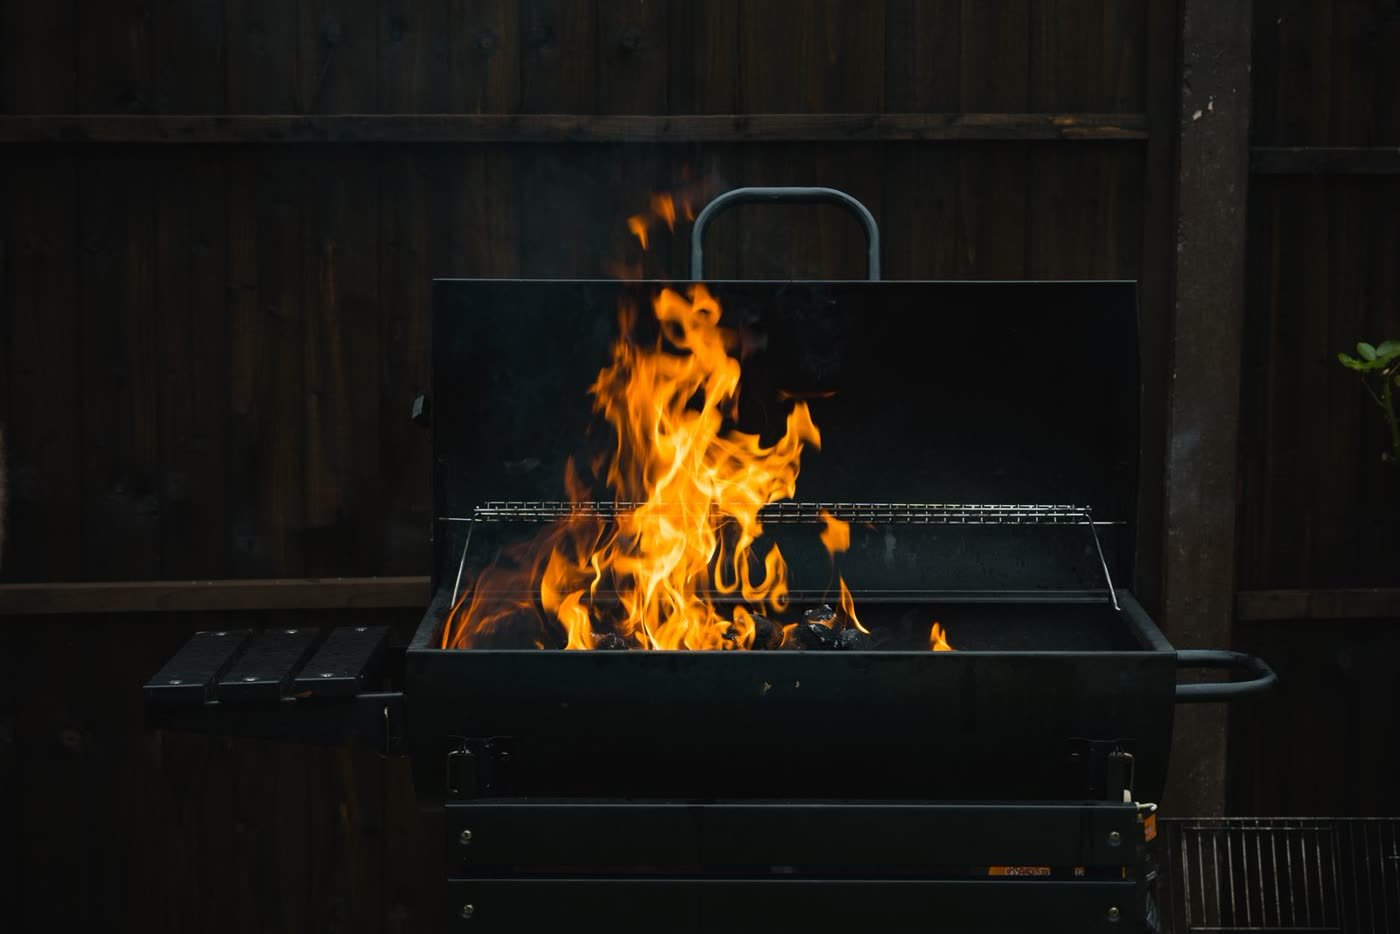
With the lid warm (not hot), wipe the inside of the lid with paper towels to remove loose grease flakes — what looks like peeling paint is usually just built-up carbonized grease. Scrape any loose debris from the cookbox walls and bottom, working debris toward the grease tray opening. Do not use oven cleaner or abrasive pads on porcelain-enameled surfaces; warm soapy water and a plastic scraper are all you need.
Best for: Keeping the cookbox from becoming a grease-lined rust incubator.
Step 7: Wash the exterior and apply a protective coat
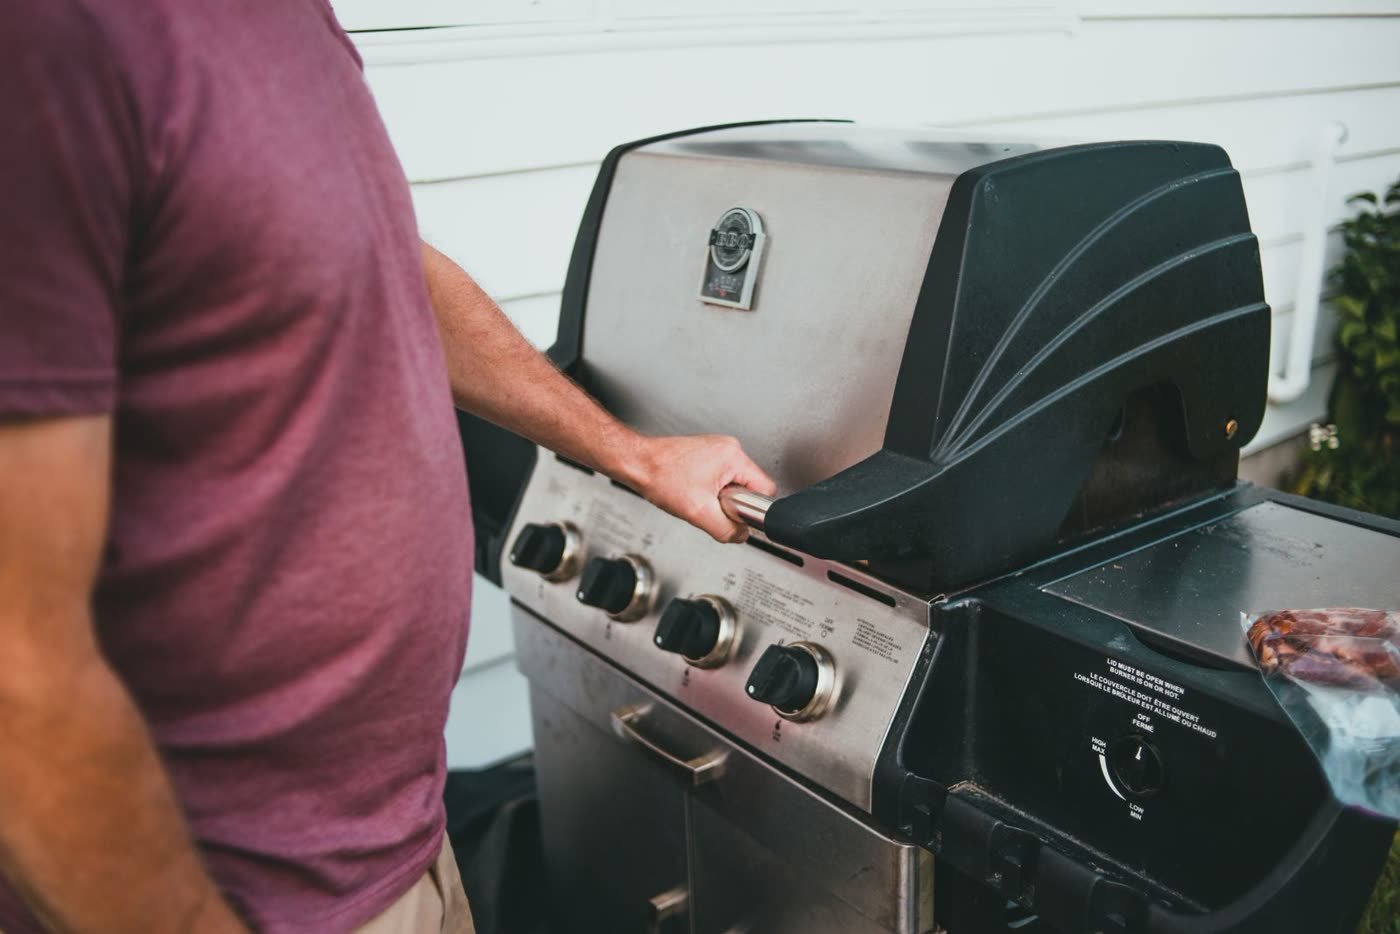
Wash the outside surfaces with warm soapy water, rinse, and dry completely — standing moisture on a stored grill is the start of rust. For stainless steel grills, a light application of stainless steel cleaner after drying helps prevent rust and keeps the finish looking good. Touch up any chipped paint on the cabinet or cart now, since bare metal spots corrode fast over a damp winter.
Best for: Stainless and painted grills that will sit exposed to weather under a cover.
Step 8: Inspect hoses and connections for wear
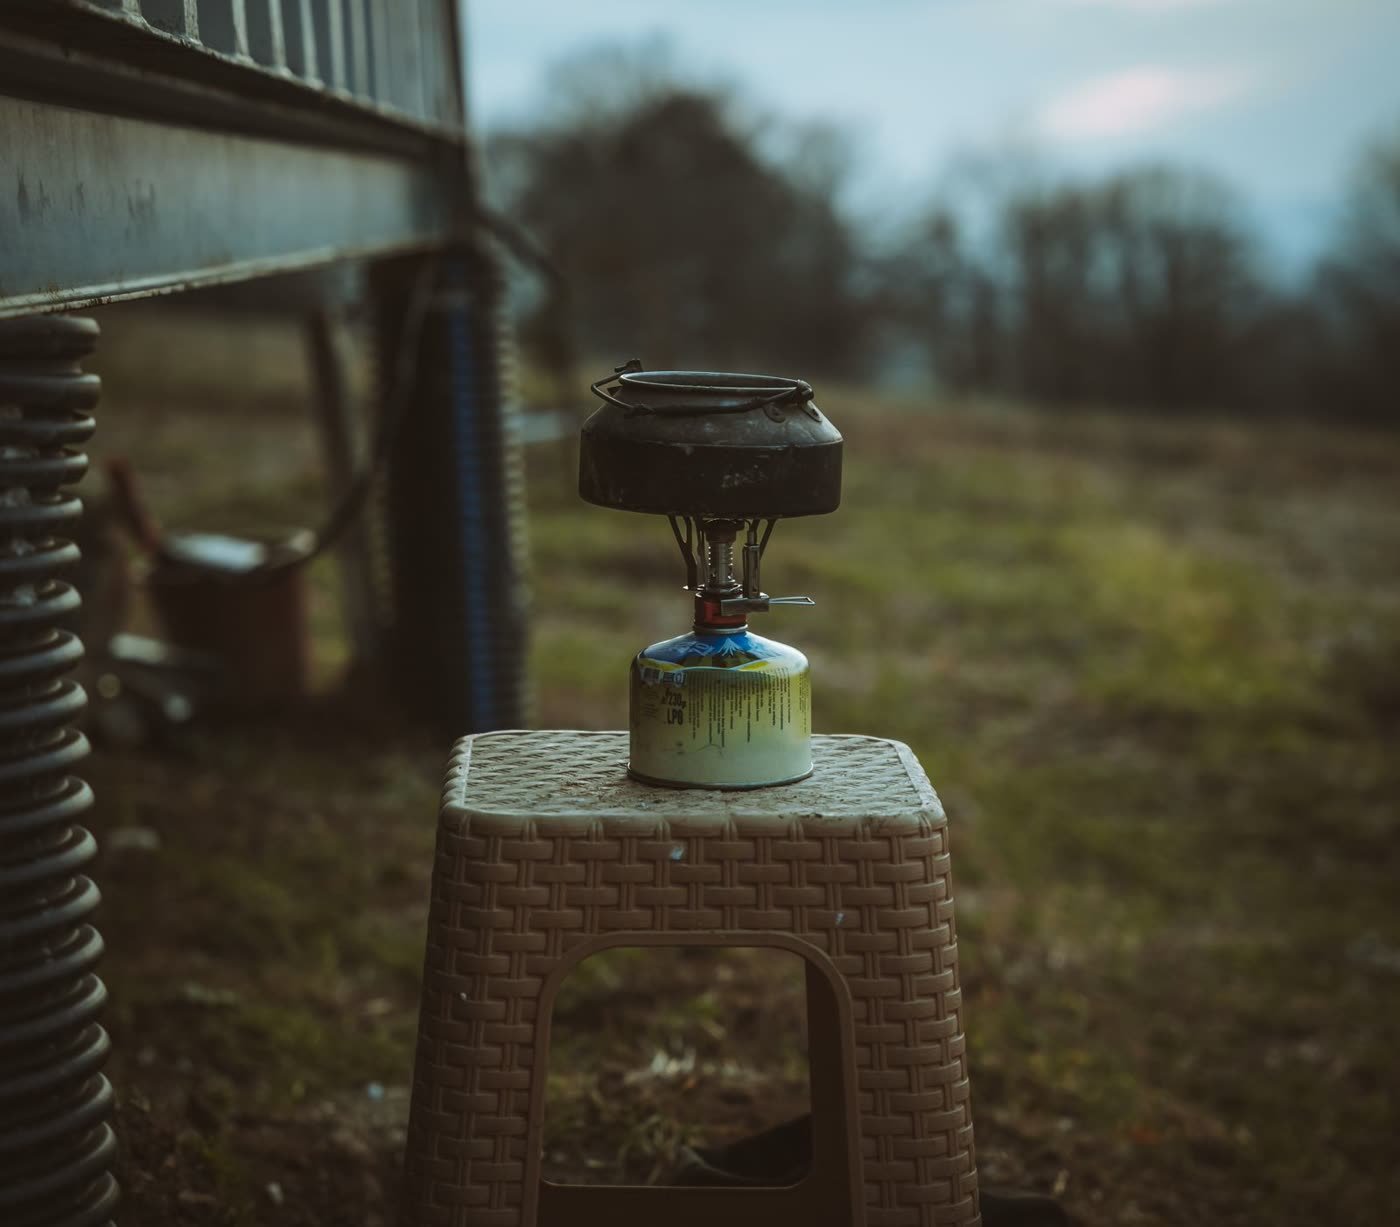
Flex the gas hose and look for cracks, brittleness, or chew marks from rodents. Check that the regulator and connections are snug and undamaged. If anything looks questionable, plan to replace it before the first spring cookout — hoses are cheap, and a leaking gas connection is not something to discover by smell in April. If you are storing the grill indoors, the disconnected tank rule from Step 2 still applies: tank stays outside.
Best for: Older grills and any grill stored where mice or squirrels can reach it.
Step 9: Cover it and choose the right spot

Reassemble everything once dry, close the lid, and put on a quality weather-resistant grill cover with tie-downs — a fitted cover beats a flapping tarp for the same reasons it does on patio furniture. Store the grill in a dry, sheltered spot if possible: under a patio roof, against a protected wall, or in a shed. If it stays on the open patio, position it where roof runoff will not pour onto it all winter. Before first use in spring, Weber recommends checking for gas leaks and burner obstructions — put a reminder on your calendar now so it actually happens.
Best for: Every grill — the cover is what makes all eight previous steps last.
FAQ
Should I disconnect the propane tank for winter? Yes, always. Turn the valve fully closed, disconnect the regulator, cap the valve, and store the tank upright outside in a ventilated spot. Never bring a propane tank into a garage, shed, or any enclosed area — this is the one non-negotiable safety rule of grill winterizing.
Can I store my gas grill in the garage? Yes, with the propane tank removed and stored outside. A garage or shed keeps the grill drier than an open patio and extends its life. If you grill all winter, you can keep it outside with a good cover and just keep up the cleaning.
Do I need to winterize if I grill all winter? You need a lighter version of it. Do the deep clean and burner check now, keep the grill covered between cooks, and stay on top of grease management through the season. Winter weather is harder on grills, not easier — moisture plus cold finds every weak point.
Should I oil the grates before storing the grill? A thin coat of high-heat cooking oil on clean cast iron grates helps prevent rust during storage, and it is worth doing if you are putting the grill away for months. Skip the oil if you will be grilling all winter — it can get sticky between infrequent cooks.
If your grill lives in a dedicated outdoor cooking setup, my DIY grill station ideas cover how to protect the whole station, and these outdoor fireplace patio ideas keep the backyard cooking through the cold months.