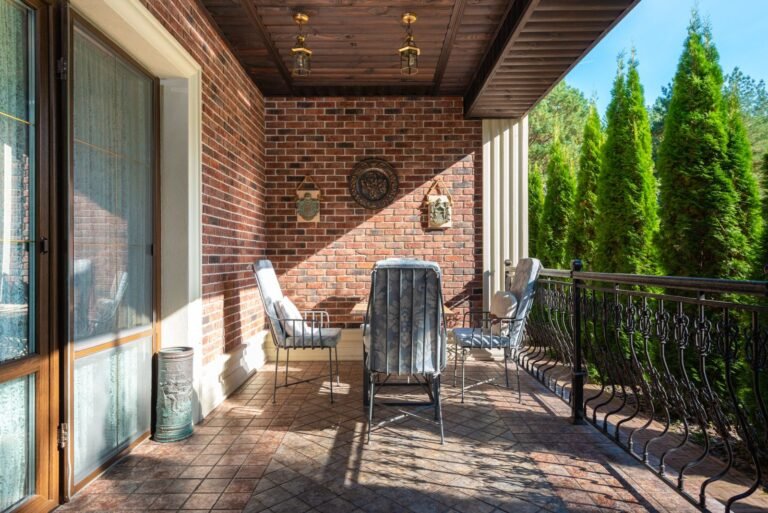

Gray, weathered wood porch boards don’t mean you need a new porch — they mean you need a weekend and a sander.
Refinishing a wood porch (sanding off the old gray finish, staining, and sealing) costs a fraction of replacement and the before-and-after is genuinely dramatic. Here’s the full process, start to finish.
What You’ll Need
- Belt sander or random orbital sander + 60, 80, and 120-grit sandpaper
- Deck cleaner/brightener (oxygen bleach-based)
- Exterior wood stain (semi-transparent is most forgiving)
- Exterior wood sealer (or stain+sealer combo)
- Stiff brush, garden hose or power washer (low pressure)
- Painter’s tape, drop cloths
- 4″ stain brush or stain pad applicator
- Safety gear: dust mask/respirator, goggles, knee pads
Best for: Anyone whose wood porch has gone gray, splintery, or blotchy.





Step 1: Inspect and Repair First
Walk the porch and check every board. Look for:
– Rotted boards — poke suspect spots with a screwdriver; if it sinks in easily, replace the board
– Popped nails/screws — hammer down or replace with deck screws
– Loose railings — tighten now; you don’t want to stain around wobbles
Replace any truly rotted boards before you start. New boards will stain slightly differently at first but weather in within a season.
Best for: Porches that have been neglected for 3+ years.
Step 2: Clear and Clean
Remove all furniture, planters, rugs, and decor. Sweep thoroughly. Then apply deck cleaner per label directions — scrub with a stiff brush, working in sections. This removes gray oxidation, mildew, and grime that sanding alone won’t fix.
Rinse well. For stubborn areas, a power washer on the widest fan setting, kept 12+ inches away works — but go easy. Too much pressure gouges soft wood and you’ll sand forever fixing it.
Let the wood dry 48 hours. Seriously — staining damp wood is the fastest route to a blotchy, peeling finish.
Best for: Everyone. Cleaning first means less sanding later.
Step 3: Sand (The Big Step)
This is where the transformation happens. Sanding removes the dead gray fibers and opens the wood to accept stain evenly.
- Start with 60-grit on badly weathered areas to cut through the gray
- Follow with 80-grit over everything for a uniform surface
- Finish with 120-grit for a smooth, stain-ready finish
Always sand with the grain, never across it. Keep the sander moving — lingering in one spot creates dips. A belt sander covers large areas fast; a random orbital is better for edges, railings, and detail work.
Sand railings and balusters by hand or with a detail sander — they’re the most visible part, so don’t skip them.
Vacuum or sweep up all dust, then wipe boards with a tack cloth or damp rag. Dust in the stain = rough finish.
Best for: The Saturday morning workout that pays off all Sunday.
Step 4: Choose Your Stain
- Semi-transparent stain — the best choice for most porches. Shows wood grain, adds color, forgiving to apply. Lasts 2-3 years.
- Solid stain — more like paint; hides imperfections and grain. Lasts 3-4 years but peels like paint eventually.
- Clear sealer only — shows off beautiful wood but offers least UV protection; reapply yearly.
Test your stain on a scrap board or an inconspicuous spot (under where furniture sits). Wood species and previous treatments affect the final color.
Best for: Shoppers overwhelmed by the stain aisle — semi-transparent is the safe pick.
Step 5: Tape and Protect
Tape where the porch meets siding, and cover anything you don’t want stained. Stain splatters are forever — protect accordingly.
Best for: Anyone who’s ever said “I’ll be careful” and regretted it.
Step 6: Apply the Stain
Work in the cool of morning or late afternoon — never in direct midday sun (stain dries too fast and laps show).
- Stir the stain thoroughly (don’t shake — bubbles).
- Start at the far end, working toward your exit.
- Brush or pad stain with the grain, 2-3 boards at a time, maintaining a wet edge.
- Back-brush: after applying, lightly run the brush over the area to even it out and work stain into the grain.
- Wipe any puddles or drips immediately — they dry darker.
One coat is usually enough for semi-transparent. If the wood drinks it unevenly, a second light coat after 24 hours evens things out.
Best for: The satisfying part — watch the wood come alive.
Step 7: Seal It
If your stain doesn’t include sealer, apply an exterior wood sealer after the stain cures (24-48 hours). This is your UV and moisture shield. Don’t skip it — unsealed stain fades in one season.
Best for: Making the whole job last instead of redoing it next year.
Step 8: Cure and Reassemble
Keep foot traffic off for 24-48 hours, furniture off for 72. Then bring everything back and enjoy the “did you get a new porch?” comments.
Best for: The payoff moment.
Pro Tips
- Weather window: You need 3 dry days in a row, temps 50-90°F. Check the forecast before starting.
- Work in shade: If part of the porch is sunny, do that section early morning or late day.
- End at board breaks: Always stop staining at the end of a board, never mid-board — lap marks show.
- Railings first, floor last: Drips fall down; work top to bottom.
Best for: First-timers who want it to look like a pro did it.
How Often to Refinish
Semi-transparent stain: every 2-3 years. You’ll know it’s time when water stops beading on the surface — that’s the sealer wearing off. A quick clean and recoat (often without full sanding) keeps it going.
Best for: Planning your maintenance calendar.
FAQ
Can I refinish a porch without sanding?
You can clean and recoat over existing stain that’s in decent shape, but if the wood is gray, peeling, or blotchy, sanding is non-negotiable for a good result. There’s no shortcut that looks good.
What’s the best stain for a porch floor?
A semi-transparent exterior deck stain from a major brand (Behr, Cabot, Benjamin Moore Arborcoat). Porch floors get heavy foot traffic — buy the best you can afford; cheap stain fails in one season.
How much does it cost to refinish a porch?
DIY: $150-300 for a typical 10×12 porch (cleaner, sandpaper, stain, sealer, brushes). Hiring out: $1,500-4,000. The savings are the whole point.
Can I stain over painted wood?
Not directly — stain needs to penetrate. You’d have to strip or sand off all the paint first, which is a big job. If your porch is painted and you like the look, just repaint; if you want stain, commit to full stripping.
Related Ideas
- For concrete (not wood) porches, see how to paint a porch floor.
- Once it’s beautiful, style it with ideas from DIY patio decor.
For stain product comparisons, This Old House’s deck stain guide is worth a read.