
15 Stunning Paver Patio Ideas, Real Costs, and DIY Steps (2026 Guide)
A homeowner emailed me last spring with a photo of her paver patio from three summers earlier — already sinking unevenly at one corner, weeds pushing up through the joints. She’d hired the lowest bid she found searching “paver patio contractors near me,” and the crew had skipped the compacted base layer entirely to save time. Repairing it cost more than doing it right the first time would have.
When I helped a different reader plan her own 16×18 ft DIY paver patio last fall, the part that actually took the longest wasn’t laying the pavers — it was renting and running the plate compactor over the base in overlapping passes. That one step is what separates a paver patio that lasts fifteen years from one that needs redoing in three.
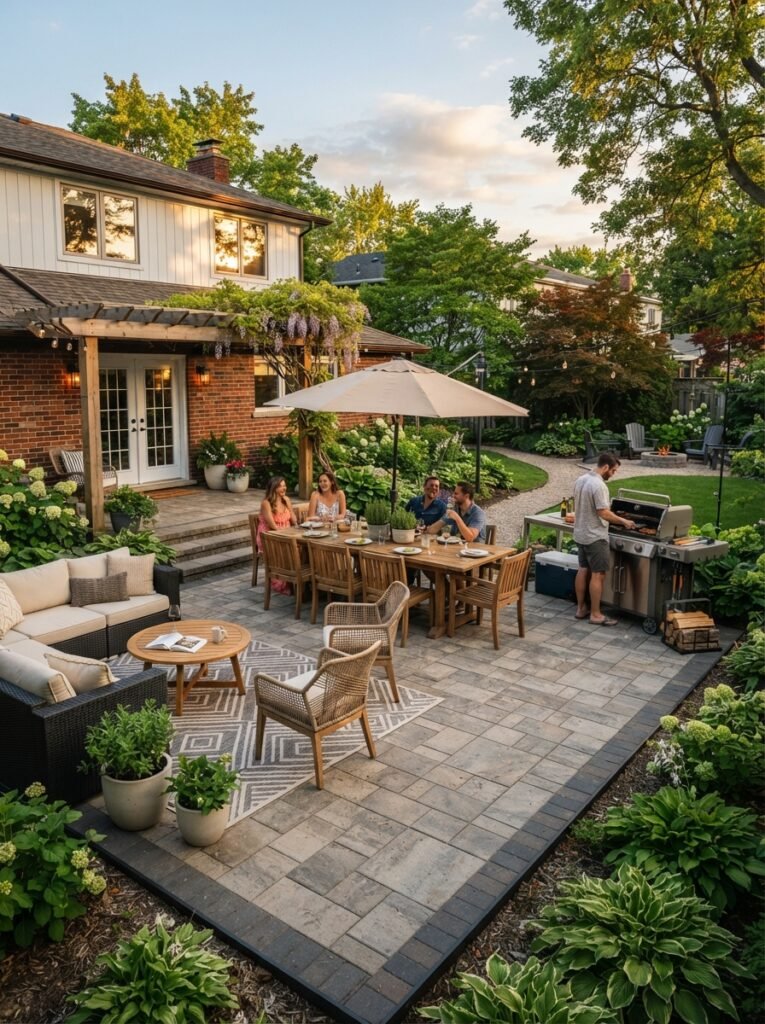
A paver patio is one of the most flexible hardscaping options out there — it works as a full backyard centerpiece, a simple walkway connector, or a budget-friendly upgrade to a bare dirt corner. This guide covers paver patio ideas across styles and budgets, a real cost breakdown (including the exact math for a 20×20 ft paver patio), a full DIY installation walkthrough, and what to actually ask a contractor before hiring one.
Paver Patio Ideas by Budget and Style
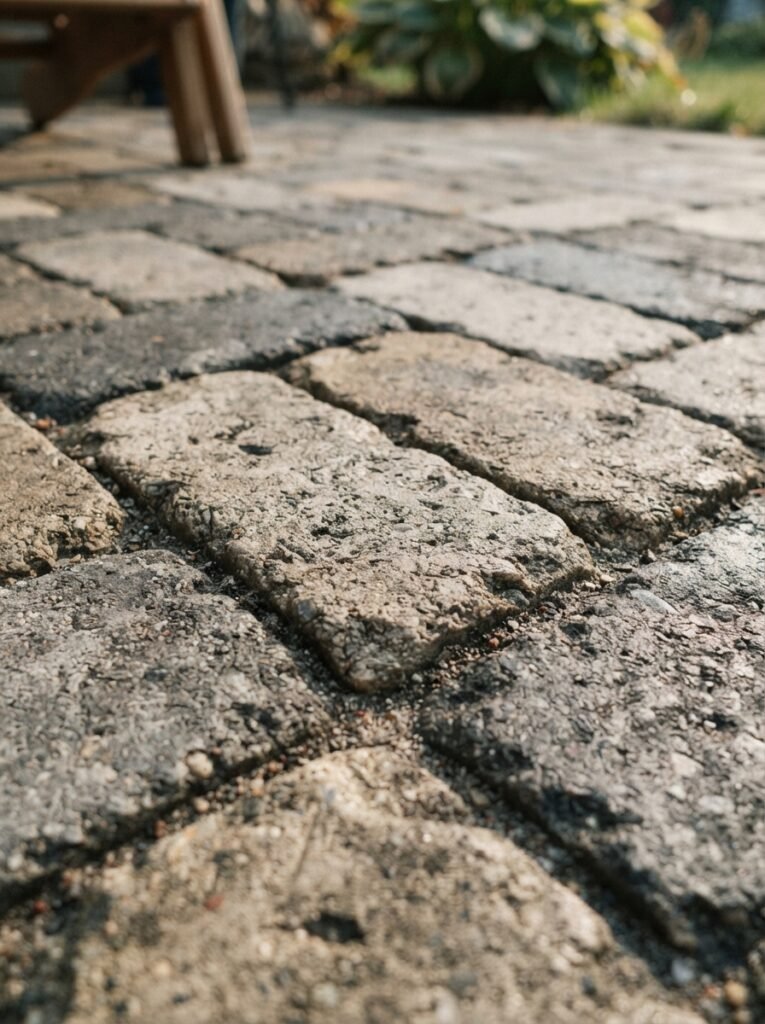
1. Budget Paver Patio Idea: Recycled Concrete Pavers
Best for: Tight budgets | Under $2 per sq ft in materials
Salvaged or recycled concrete pavers, often available through landscaping supply yards or demolition salvage, cost significantly less than new pavers while offering the exact same base-and-joint installation process. The slight variation in tone between pieces actually reads as more custom, not less finished.
Ask your supplier for: “reclaimed or seconds-grade concrete paver, mixed lot”
2. Simple Paver Patio Idea: Single-Size Running Bond
Best for: First-time DIYers | Easiest layout to install
A running-bond layout using a single paver size is the most forgiving pattern for a first DIY paver patio project — cuts are minimal, and layout mistakes are far easier to catch and correct before the pavers are set.
Ask your supplier for: “6×9 inch concrete paver, single size, running bond layout”
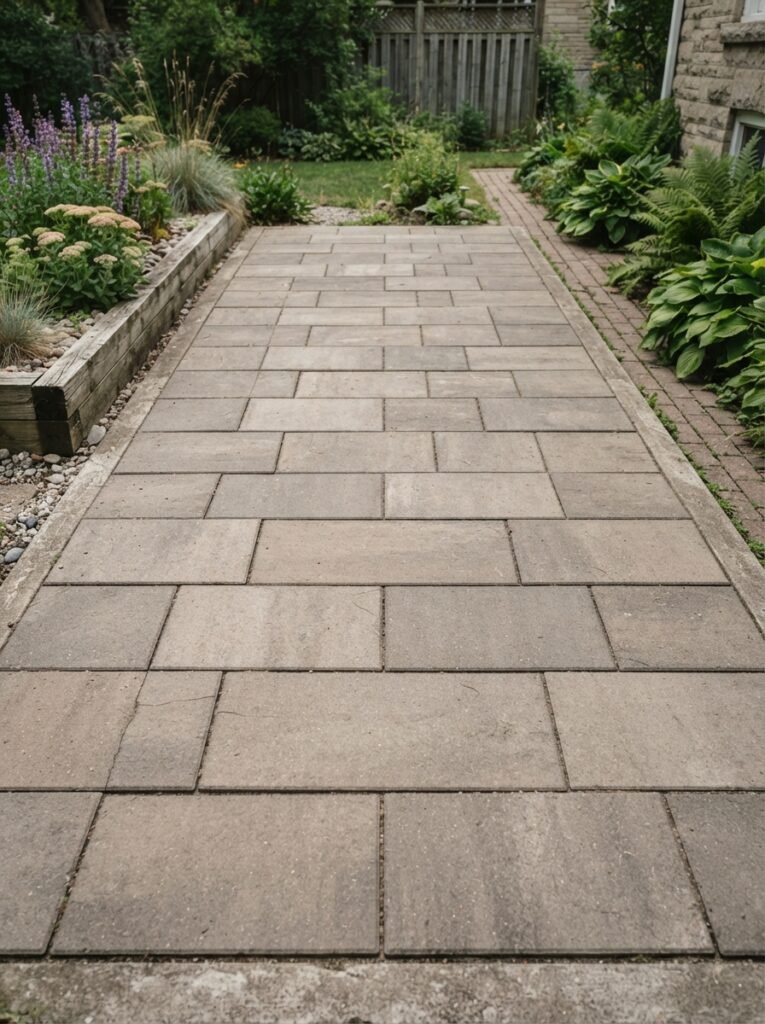
3. Backyard Simple Paver Patio with Gravel Border
Best for: Backyard patios | Budget to mid-range
Framing a simple rectangular paver patio with a loose gravel border (instead of extending pavers to every edge) reduces material cost and adds a soft transition into the surrounding lawn or garden bed.
Ask your supplier for: “3/4 inch paver-edge gravel, natural gray, border fill”
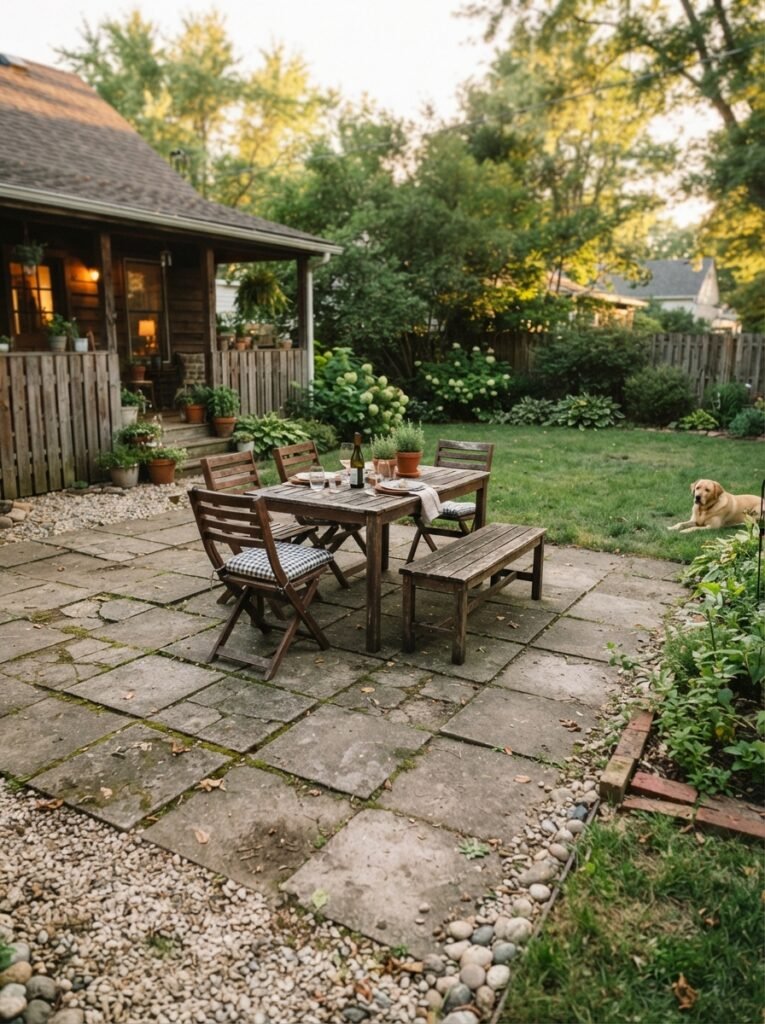
4. Herringbone Paver Layout with Steel Edging
Best for: Mid-range budgets | High visual impact for the cost
A herringbone paver pattern reads as significantly more custom than running bond, at the same material cost — steel (rather than plastic) edge restraint keeps the diagonal pattern from drifting at the corners over time.
Ask your contractor for: “herringbone layout with steel edge restraint, tumbled-edge paver”
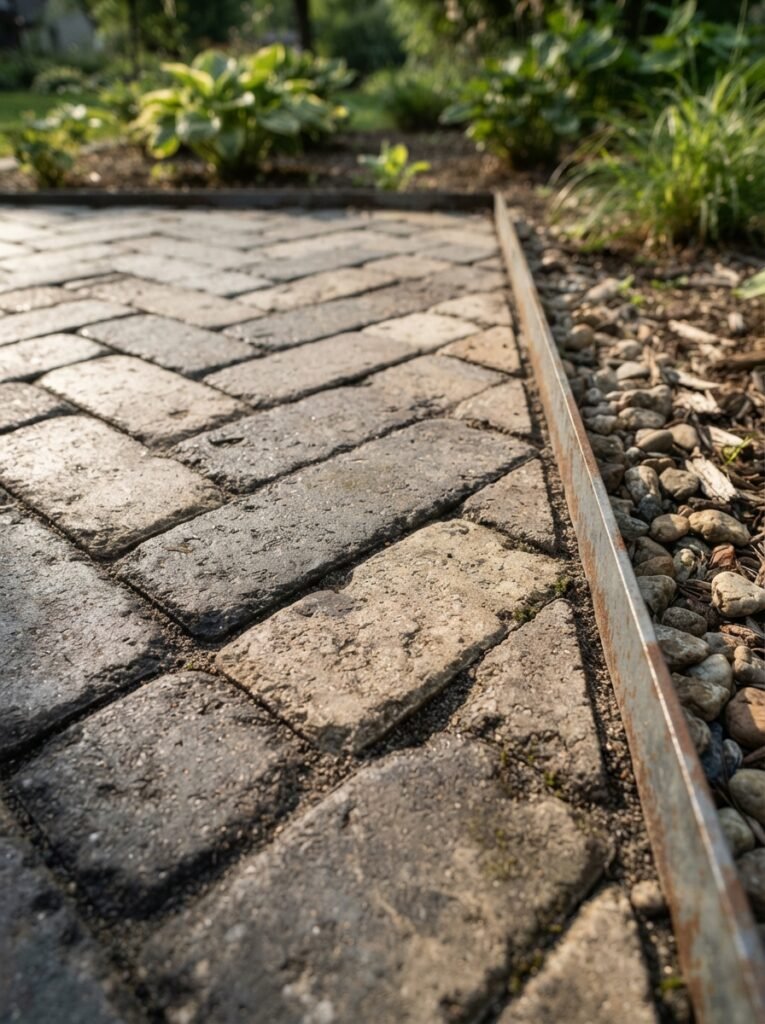
5. Brick Paver Patio in Traditional Basketweave
Best for: Traditional or colonial-style homes | Mid-range budget
A brick paver patio laid in a basketweave pattern pairs especially well with red-brick or traditional home exteriors, tying the patio visually back to the house instead of reading as a separate add-on structure.
Ask your supplier for: “clay brick paver, red-blend tone, basketweave layout”
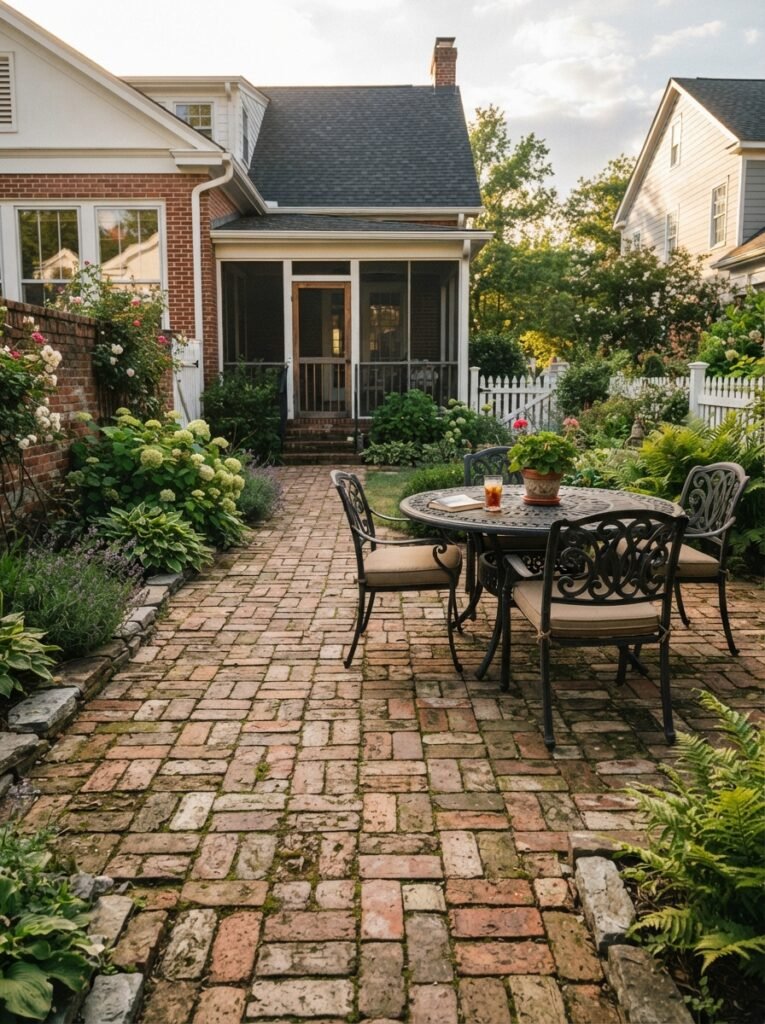
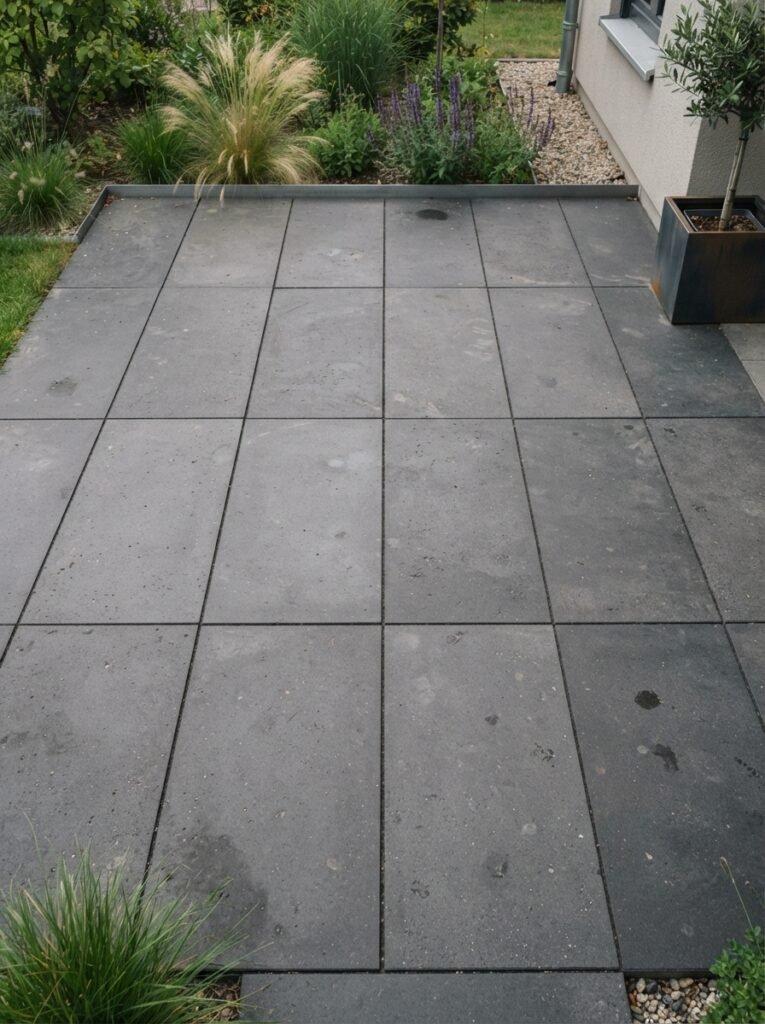
6. Concrete Paver Patio with Large-Format Slabs
Best for: Modern homes | Mid-range to splurge
Large-format concrete pavers (18×18 inches or bigger) create a minimal, modern look with far fewer visible joint lines than standard small-unit pavers — genuinely the best concrete paver patio option if your home’s architecture leans contemporary.
Ask your supplier for: “18×18 inch large-format concrete paver, smooth charcoal finish”
💡 PRO TIP Whatever paver style you choose, always order 10% more material than your calculated square footage. Cuts around curves and edges waste more paver than most first-time planners expect, and matching a paver batch later — after the original run is discontinued — is far harder than over-ordering upfront.
📌 You’ll Also Love This The Complete Patio Ideas Guide: 17 Layouts by Budget and Material See how paver patios compare to gravel, concrete, and flagstone side by side →
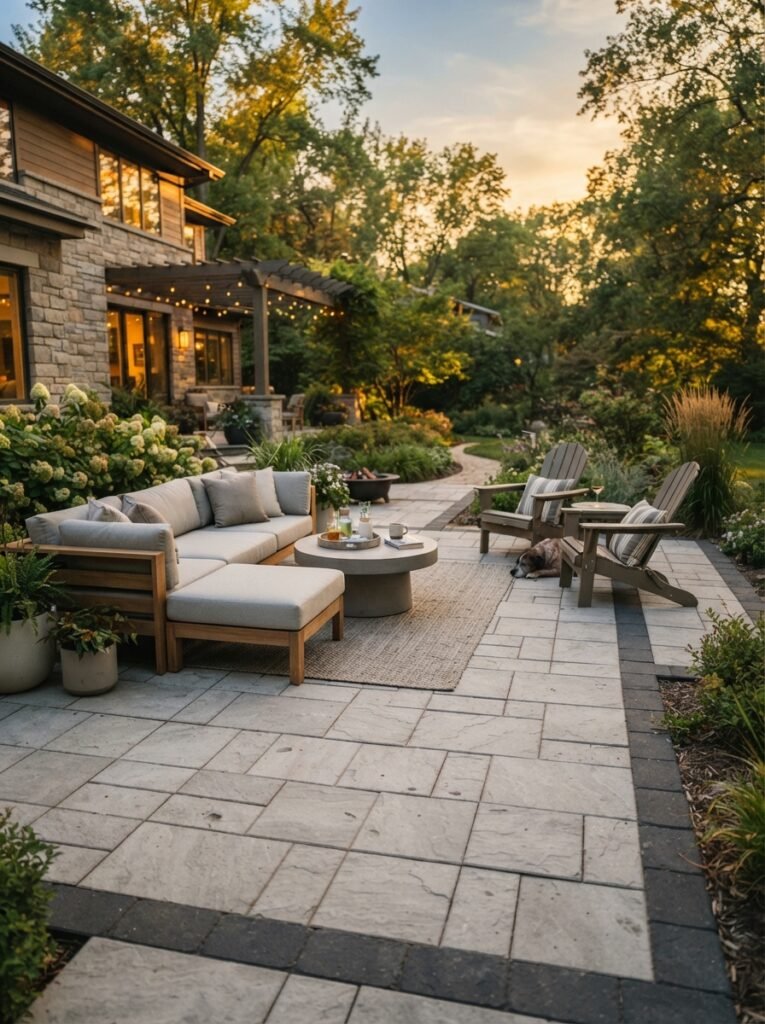
7. Two-Tone Paver Border Accent Design
Best for: Adding visual interest without a full pattern change | Mid-range budget
Keeping the main field of pavers a single neutral tone, then framing the perimeter with a contrasting darker paver border, is one of the most requested paver patio designs for 2026 — it reads as custom without the layout complexity of a full multi-tone pattern.
Ask your contractor for: “single-tone field paver with contrasting border course”
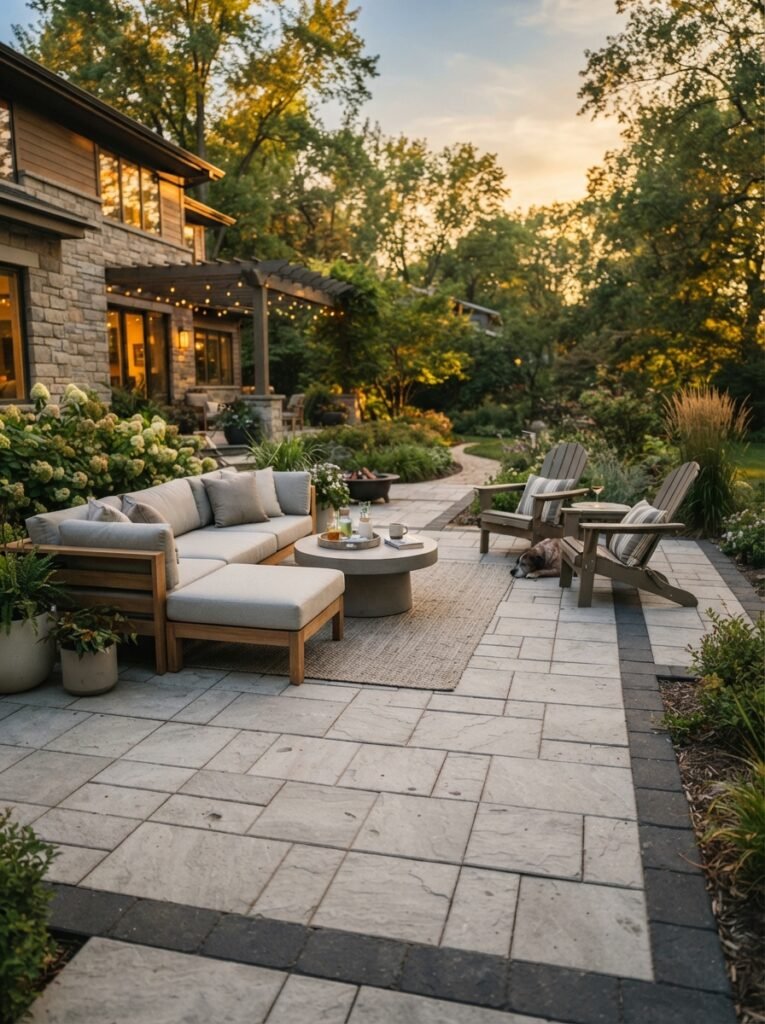
8. Curved Paver Patio with Planting Pockets
Best for: Gardens and organic-shaped yards | Mid-range to splurge
A curved (rather than rectangular) paver patio edge, with small planting pockets cut into the perimeter for shrubs or grasses, softens the transition into a garden and avoids the boxy look of a standard rectangular layout.
Ask your contractor for: “curved paver perimeter with integrated planting pockets”
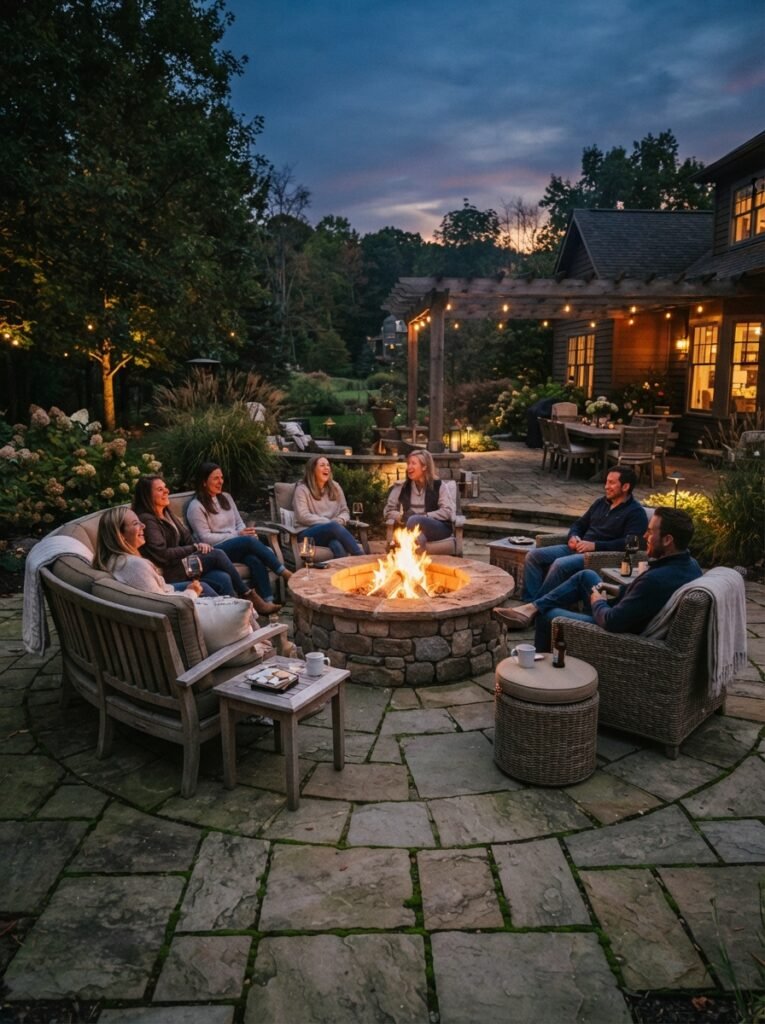
9. Paver Patio with a Built-In Fire Pit Circle
Best for: Entertaining-focused backyards | Mid-range to splurge
A circular paver inset, set into the main rectangular patio field and lined with heat-rated fire pit pavers, creates a defined gathering zone without needing a separate structure or surface material.
Ask your contractor for: “heat-rated fire pit paver ring, integrated into main patio field”
10. Paver Patio Walkway Connection Design
Best for: Connecting a patio to the rest of the yard | Budget to mid-range
Extending the same paver material into a narrower walkway that connects the patio to a side gate, driveway, or garden path ties the whole yard together visually and avoids an awkward transition onto grass or dirt.
Ask your contractor for: “matching paver walkway extension, 3-4 ft width”
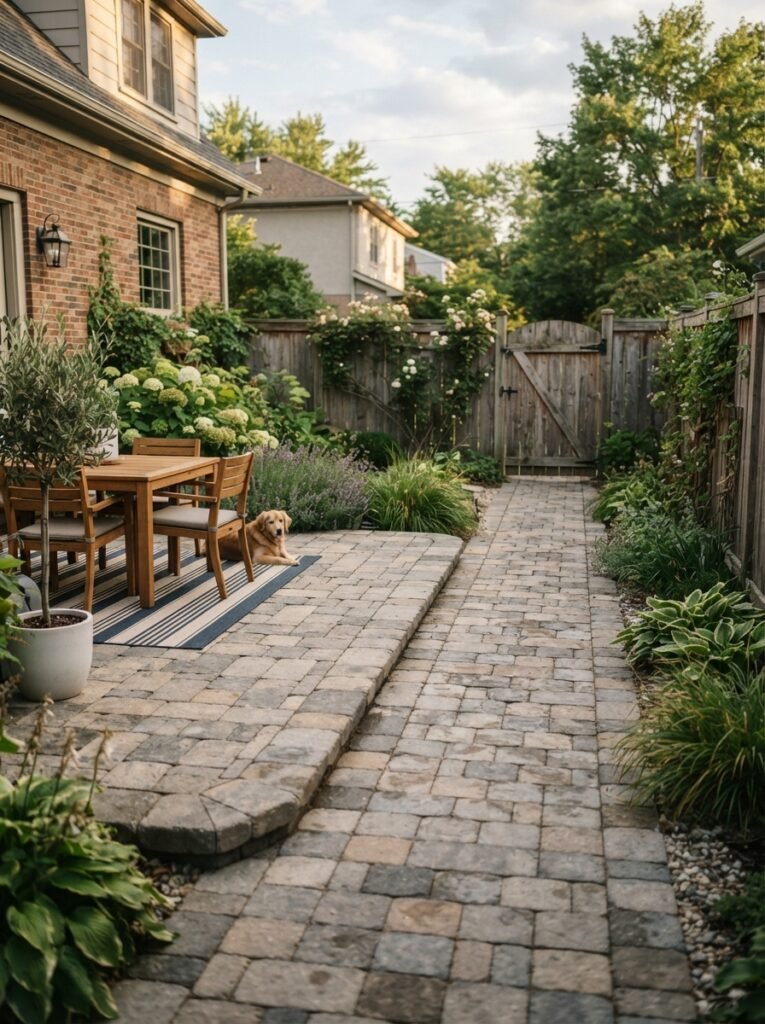
💡 PRO TIP If you’re extending pavers into a walkway, grade a slight slope (about 1/4 inch per foot) away from your house’s foundation on both the patio and walkway sections. This single detail prevents most of the drainage-related paver problems homeowners deal with later.
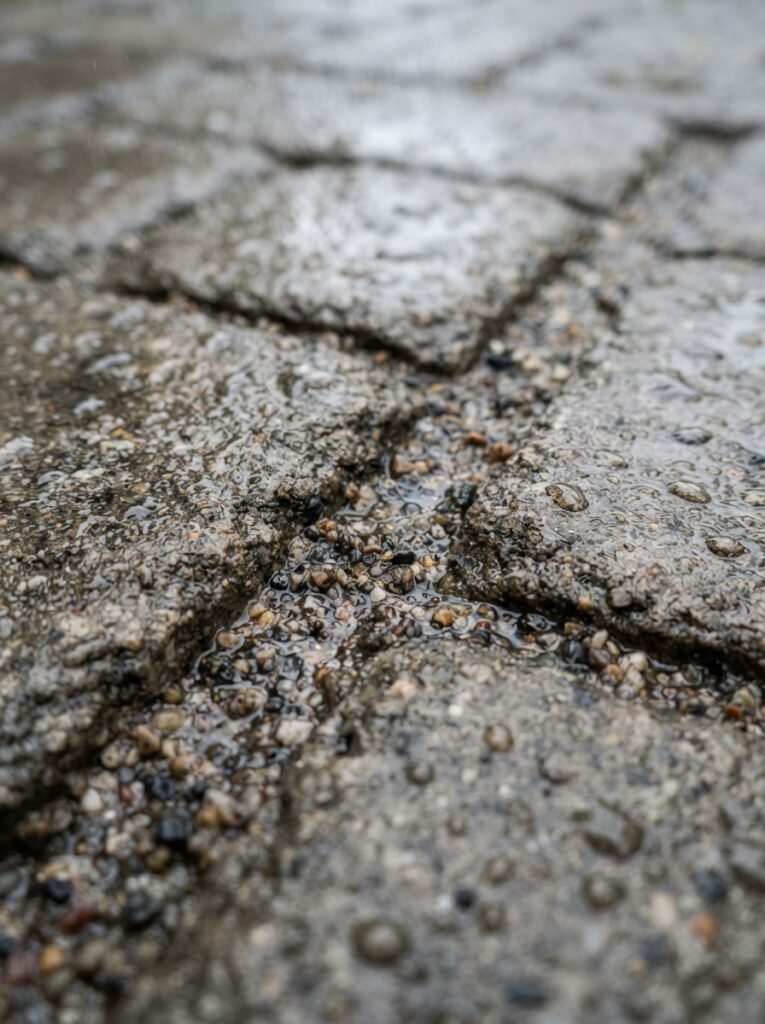
11. Permeable Paver Patio for Drainage-Prone Yards
Best for: Yards with poor drainage or HOA stormwater rules | Mid-range to splurge
Permeable pavers, set with gravel-filled joints instead of polymeric sand, let rainwater filter through into the ground instead of pooling on the surface — worth the slightly higher cost if your yard holds water after storms.
Ask your contractor for: “permeable interlocking paver system, open-graded aggregate base”
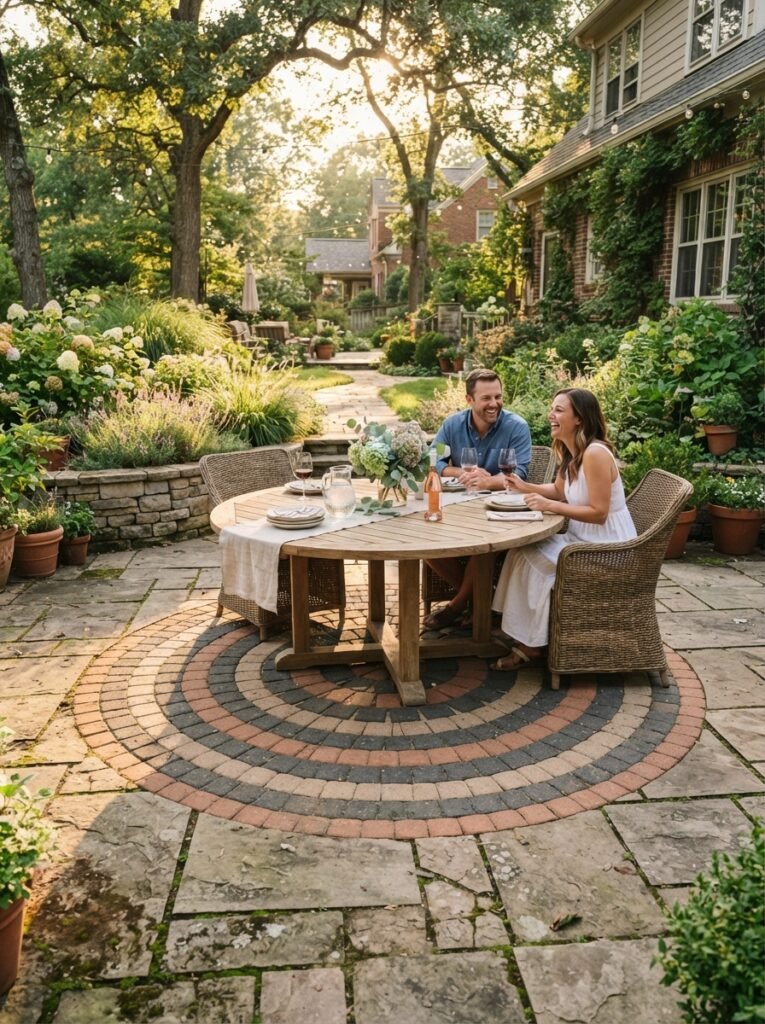
12. Paver Patio with an Inlaid Medallion Center
Best for: Statement patios | Splurge
A circular medallion pattern, set into the center of an otherwise simple rectangular paver field, gives a formal focal point worth building an outdoor dining table directly around.
Ask your contractor for: “circular paver medallion inlay, contrasting tone, centered layout”
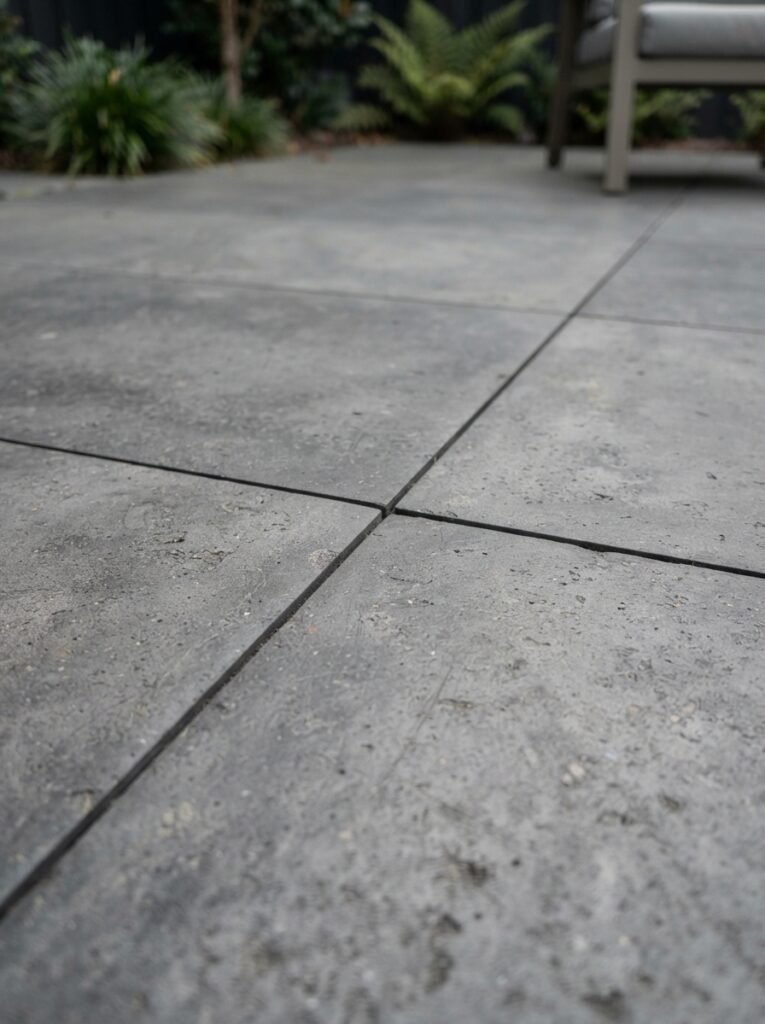
13. Modern Large-Format Paver Patio with Minimal Joints
Best for: Contemporary homes | Splurge
Tight, minimal joint lines between large-format pavers, set with a matching-tone polymeric sand, create a nearly seamless surface that reads as poured concrete from a distance but keeps the durability advantages of an interlocking paver system.
Ask your contractor for: “tight-joint large-format paver install, matching-tone polymeric sand”
How Much Does a Paver Patio Cost?
Paver patio cost depends primarily on paver material, patio size, and whether you DIY the installation or hire a contractor. As a general, widely known industry range:
| Patio Size | DIY Materials Only | Professionally Installed |
|---|---|---|
| 10×10 ft (100 sq ft) | $400–$1,000 | $800–$2,400 |
| 12×16 ft (192 sq ft) | $770–$1,920 | $1,540–$4,600 |
| 16×18 ft (288 sq ft) | $1,150–$2,880 | $2,300–$6,900 |
| 20×20 ft (400 sq ft) | $1,600–$4,000 | $3,200–$9,600 |
So, how much does a 20×20 ft paver patio cost specifically? At 400 square feet, most homeowners land between $3,200 and $9,600 for a professionally installed paver patio, or $1,600–$4,000 in materials for a DIY build — the range depends heavily on paver type (budget concrete pavers versus brick or large-format options), base depth required for your soil type, and regional labor rates.
DIY Paver Patio Installation: 7 Steps
Building a DIY paver patio is realistic for most homeowners with a free weekend, a rented plate compactor, and patience for the base-prep steps — which matter more to the finished result than the actual paver-laying.
- Mark and excavate the area, digging down 7–9 inches to allow room for a compacted base, bedding sand, and the paver thickness itself.
- Add and compact a gravel base in 2-inch lifts, running a plate compactor over each layer before adding the next — this is the step most DIY paver patio makeovers skip, and the one that determines whether the patio lasts.
- Install edge restraint along the full perimeter before setting any pavers, so the pattern has something to lock against as you work.
- Screed a level bedding sand layer (about 1 inch) using two pipes as guides, dragging a straight board across to create a flat, even surface.
- Lay the pavers in your chosen pattern, working outward from a straight starting edge and checking level every few rows.
- Cut border pavers to fit using a wet saw or paver splitter for any partial pieces along curved or angled edges.
- Sweep in polymeric sand and compact the whole surface one final time, then lightly mist with water to activate the sand’s binding action.
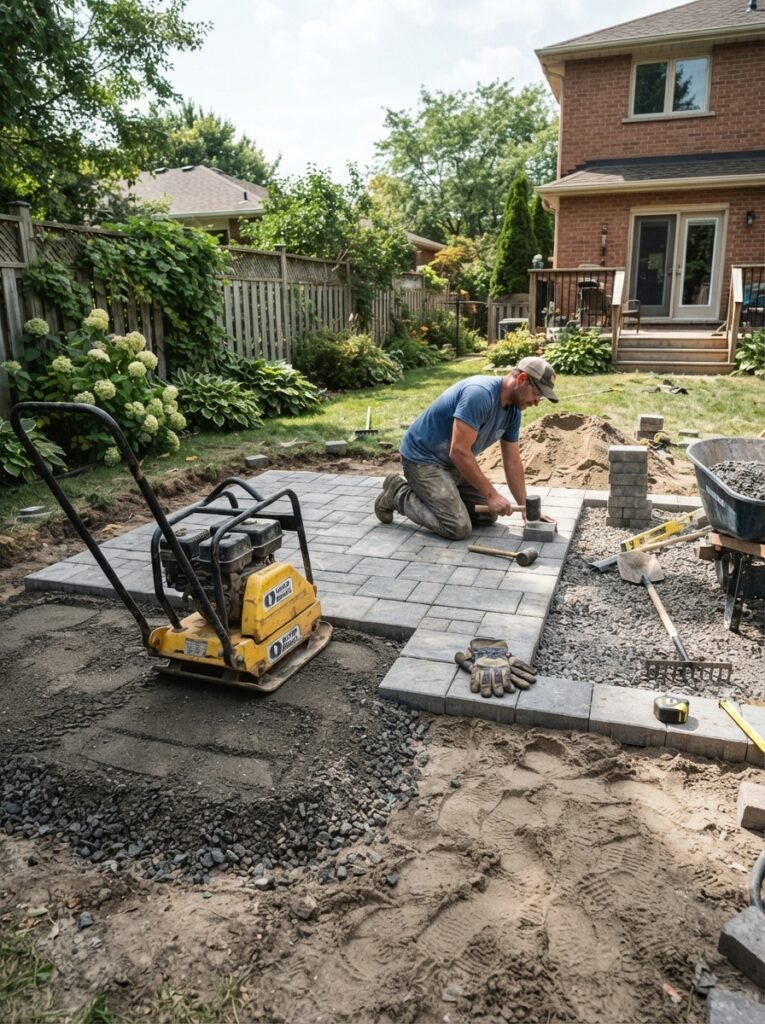
💡 PRO TIP Rent the plate compactor rather than buying one — for a single DIY paver patio project, renting for a weekend runs a fraction of the purchase cost, and most hardware stores rent them by the day.
Hiring a Paver Patio Contractor
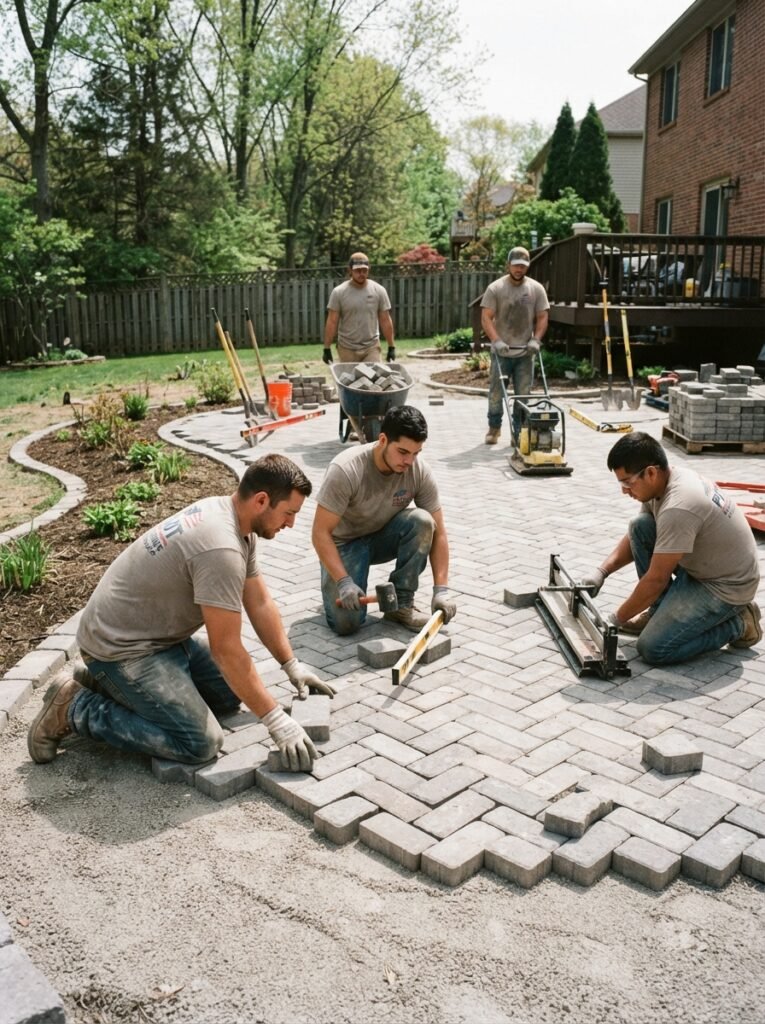
If your project is large, on sloped ground, or you’d rather not spend a weekend with a plate compactor, hiring a paver patio contractor is the more practical route. When searching for paver patio contractors near me or paver patio installation near me, use this checklist before signing anything:
- Ask about base depth first, not price first. A contractor who can’t specify their compacted base depth (typically 4–6 inches depending on soil and climate) is a red flag regardless of how competitive their quote looks.
- Ask to see a paver patio they installed 3+ years ago. Fresh installs all look good — a patio that’s held up through several freeze-thaw or rainy seasons tells you far more.
- Get the edge restraint type in writing. Steel or aluminum restraint lasts significantly longer than plastic spikes, and this is an easy detail for a lower-quality contractor to quietly downgrade.
- Compare at least two quotes for the same specifications. Paver patio cost varies enough by region and crew that a single quote doesn’t tell you if you’re getting a fair price.
Paver Patio Tips That Last
- Base compaction matters more than paver quality. Even premium pavers will shift on a poorly compacted base within a couple of years.
- Order 10% extra material to cover cuts and future repairs from a matching batch.
- Re-sand joints every 2–3 years as polymeric sand naturally wears down from foot traffic and weather.
- Grade for drainage before you start, not after — a 1/4 inch per foot slope away from the house prevents most long-term issues.
- Steel edge restraint outlasts plastic in nearly every climate, and the cost difference is minor relative to the total project.
- DIY works best for simple rectangular layouts — save curved or medallion designs for a contractor unless you’re already experienced.
Quick FAQ
How much does a 20×20 paver patio cost? A 20×20 ft (400 sq ft) paver patio typically costs $3,200–$9,600 professionally installed, or $1,600–$4,000 in materials for a DIY build, depending on paver type, base depth needed, and regional labor rates.
How do I find a good paver patio contractor near me? Search “paver patio contractors near me,” then vet candidates by asking about their compacted base depth, requesting to see a patio they installed at least 3 years ago, and getting the edge restraint type specified in writing before comparing final quotes.
Can I install a paver patio myself? Yes — a DIY paver patio is very achievable for a simple rectangular layout with a rented plate compactor, typically over one to two weekends. The base preparation steps matter far more to the final result than the paver-laying itself.
How long does professional paver patio installation take? Most professionally installed paver patios take 2–5 days depending on size, base soil conditions, and pattern complexity — simple running-bond layouts install faster than curved or medallion designs.
Why Trust This Guide
Every idea and cost figure in this guide reflects general, widely known industry ranges rather than a single supplier’s or contractor’s pricing, since actual costs vary meaningfully by region, paver material, and soil conditions. The DIY steps and contractor-vetting checklist come from real installation experience — both the base-compaction lesson learned firsthand and the corner-cutting mistakes seen in patios that failed early.
A paver patio is one of the more forgiving hardscaping investments — the material itself is durable and repairable years down the line, as long as the base underneath it was done right the first time. Whether you DIY a simple running-bond layout this weekend or bring in a contractor for a larger design, start by getting the base and drainage right, then choose the pattern and paver style that fits your home. For a broader look at how paver patios compare to concrete, gravel, and flagstone, our full patio ideas guide covers all the material options side by side, and for styling the finished space, our cozy patio decor ideas guide picks up right where the hardscaping leaves off. For further technical detail on base preparation and paver installation standards, the Interlocking Concrete Pavement Institute is a solid additional resource.