

An outdoor shower that is not winterized is a burst-pipe repair waiting to happen — freeze damage is widely described by plumbing and inspection guides as the most common and most expensive outdoor shower failure. The fix takes about an hour in the fall and saves you from a flooded wall or a split valve body in the spring. Here is the full process, including the timing rule most guides skip, how to handle portable and propane units, and the spring recommissioning checklist that gets you showering again safely.
1. Use the Two-Week Frost Rule

Do not wait for the first freeze warning. Mark your calendar for roughly two weeks before your area’s average first frost date — the USDA and most state extension services publish these dates by zip code, and your local nursery can confirm them. Winterizing early costs nothing; winterizing late can cost you a valve, a cartridge, and the pipe behind it. If you use the shower into the fall for rinsing off after yard work, that is fine — just treat the frost-date deadline as hard.
Best for: Every outdoor shower owner in USDA zones 7 and colder; renters with hose-fed setups should winterize too, since a split cheap valve still floods a patio.




2. Shut Off the Water Supply First
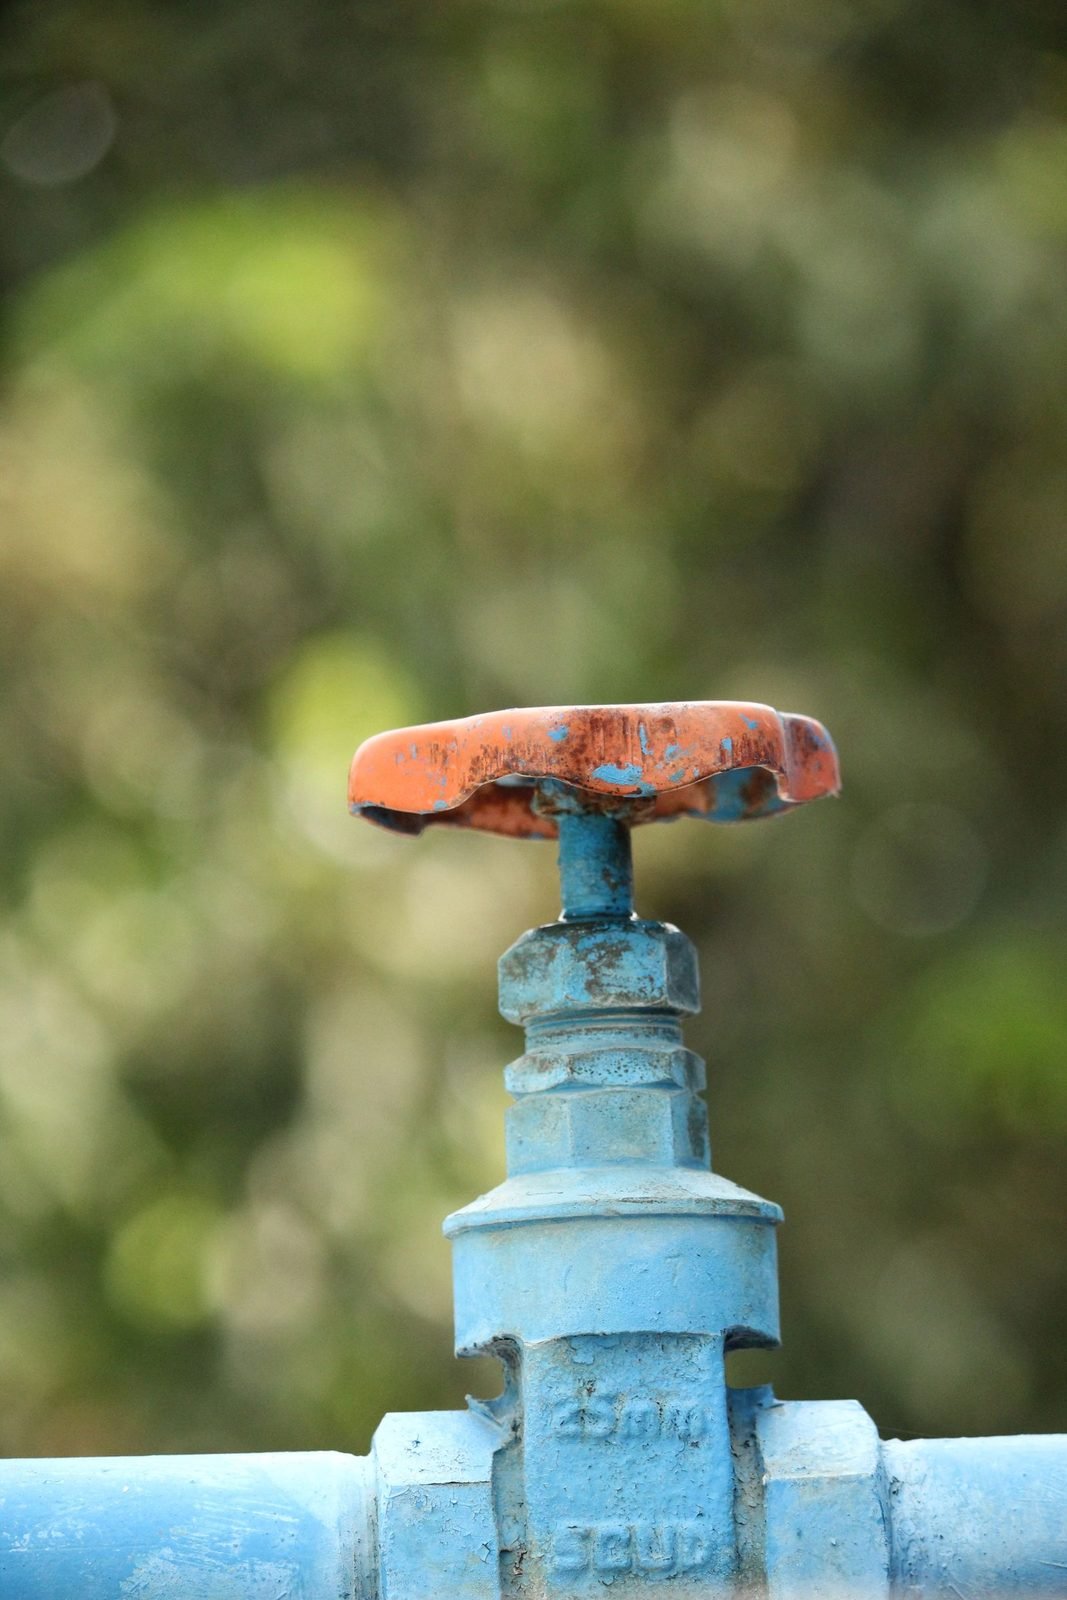
Find the isolation valve that feeds the shower — ideally it is inside the heated part of the house, a basement or utility room. Close it fully. If your shower is fed only by a garden hose, disconnect the hose from the spigot and the shower, and shut off the spigot itself. Never try to winterize with the supply still live: one accidental handle turn mid-drain re-fills the lines you just emptied. For the permanent-plumbing version of this setup, see our DIY outdoor shower build guide.
Best for: Preventing the single most common winterizing mistake — draining against an open supply.
3. Open Everything and Let Gravity Work

Go outside and open the shower valve, the shower head outlet, the foot-rinse spigot, and any diverter or body-spray branch. Leave them all open. Water trapped in low points, elbows, and branch lines is what bursts pipes, so every outlet needs to be open so air can push water out. Give it a good 10–15 minutes and rock the unit gently if it is freestanding. Watch for the last drips — when they stop, gravity has done its part.
Best for: Simple hose-fed and post-style showers where a full drain-down is usually enough.
4. Remove the Valve Cartridge
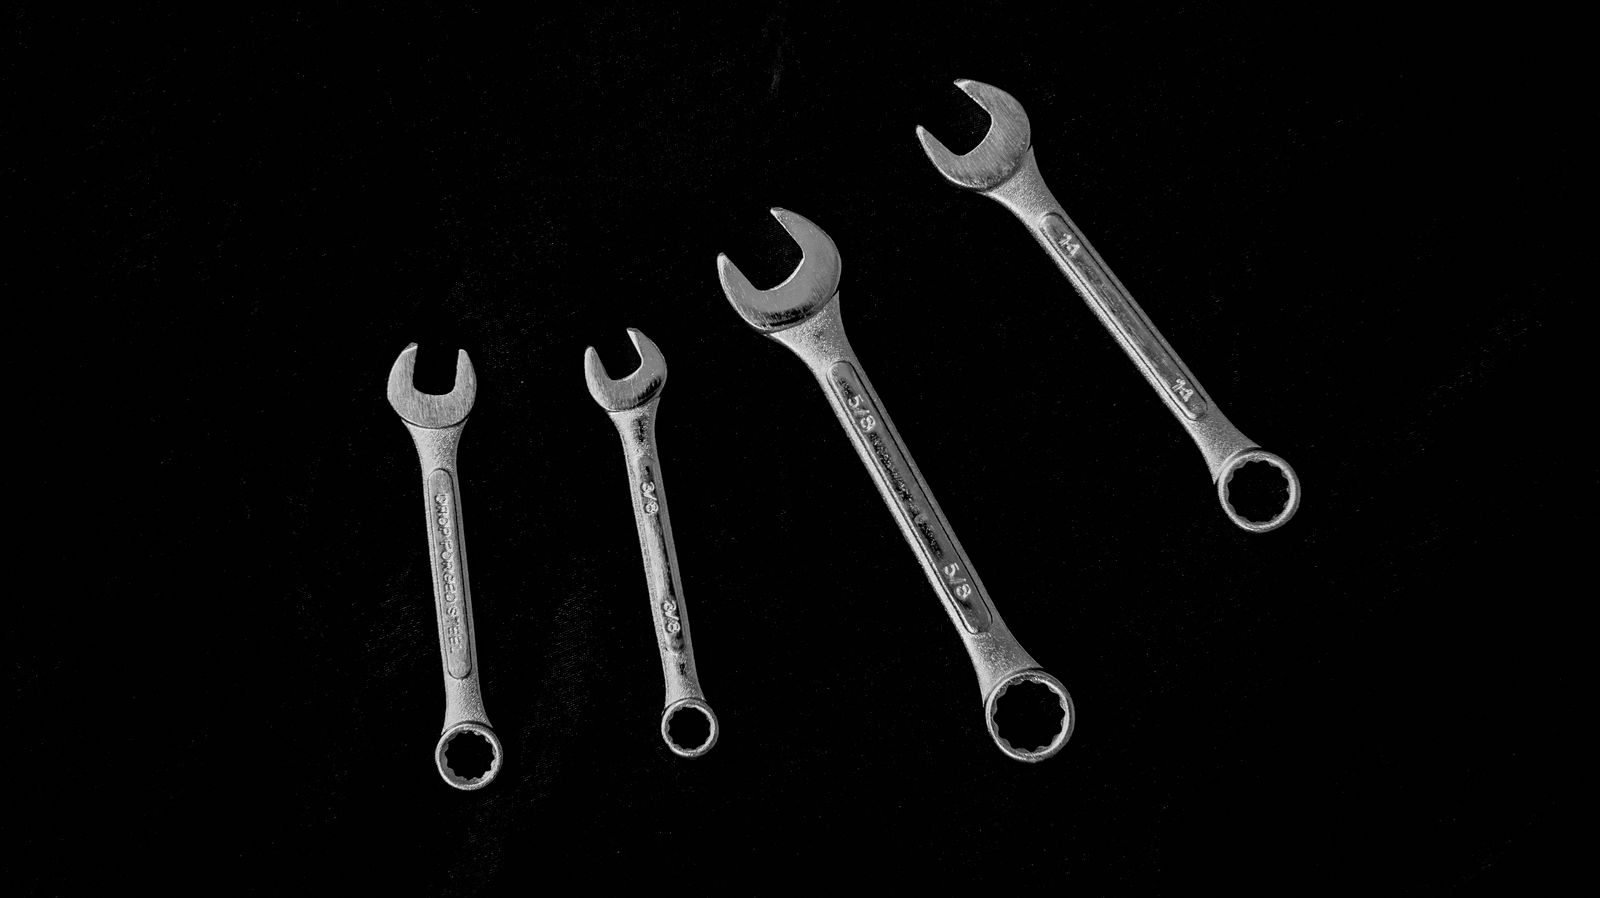
This is the step almost every generic guide skips, and it is the one manufacturer guidance is most insistent about. Remove the shower valve cartridge and take it indoors for the winter. Cartridges hold small pockets of water in tight seals; that water expands when it freezes and cracks the cartridge body or the valve housing around it. Consult your valve’s manual for the removal method — most pull out with a small tool after the retaining clip comes off. Store the cartridge in a dry place, ideally in a labeled zip bag with the retaining clip. Manufacturer winterizing guides, such as RBROHANT’s outdoor shower winterizing guide, specifically flag cartridge removal as essential rather than optional.
Best for: Any shower with a mixing or pressure-balance valve — which is most permanent installations.
5. Pull the Shower Head and Hoses Indoors
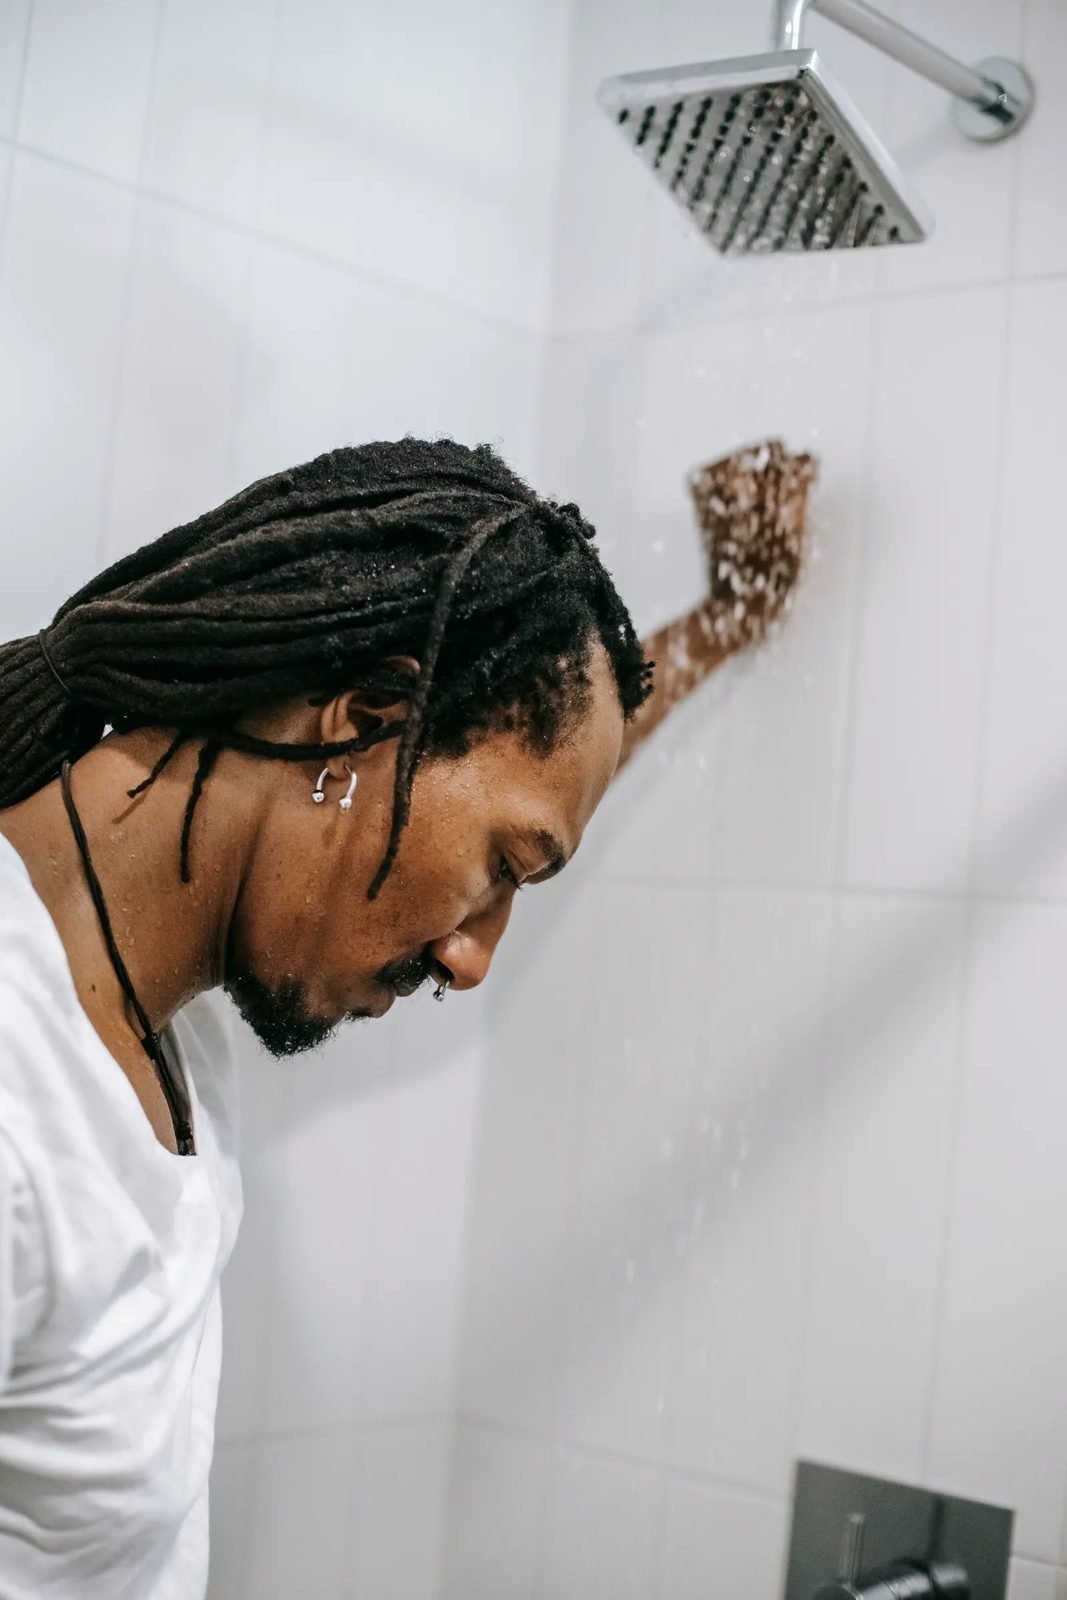
Unscrew the shower head and any hand-shower hose and bring them inside. Like cartridges, these hold residual water in small chambers and are also vulnerable to UV and weather degradation over winter. If your head has a filter screen or flow restrictor, rinse it now so it is clean for spring. Coil hoses loosely — tight coils crack when cold — and hang them in a garage or basement rather than leaving them on the patio.
Best for: Protecting the most freeze-vulnerable and most weather-exposed components.
6. Blow Out the Lines With Compressed Air
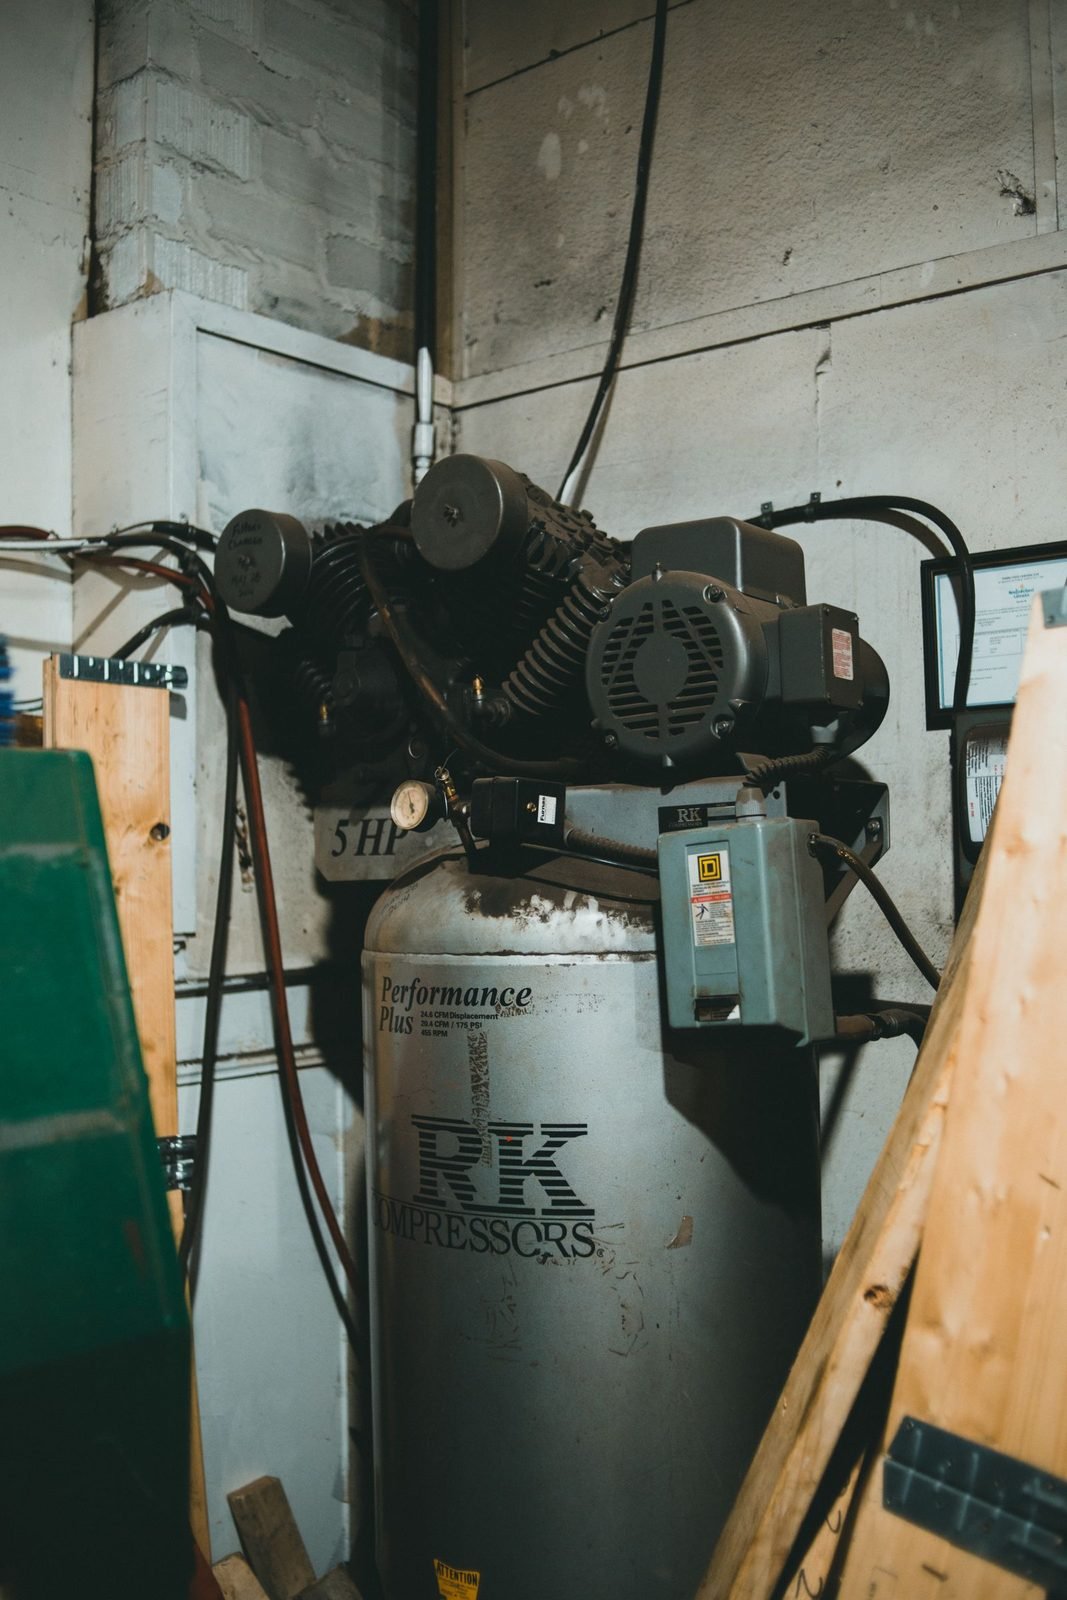
For plumbed showers in cold climates, gravity alone is not a guarantee. Connect a compressor to a hose-bib adapter on the supply line and blow air through at a controlled 30–40 PSI, cycling hot and cold sides separately until only a fine mist comes out. This is the same technique used to winterize RVs and irrigation systems, and it is what plumbers do on service calls. Do not improvise with high pressure — 30–40 PSI is plenty, and more can damage fittings. If you are not comfortable with this step, a plumber’s winterizing visit is inexpensive insurance.
Best for: Hard-plumbed showers in zones 6 and colder, where a single trapped elbow can split a copper line.
7. Winterize Portable and Solar Shower Units
Portable units have their own rules. Drain the tank or bag completely — even a cup of water left in a solar shower bag can freeze, split a seam, or grow mildew. For pump-style portable showers, run the pump briefly after disconnecting the intake so it clears its chamber, then remove batteries. Wipe everything dry and store the unit indoors. Solar bags in particular should never be left hanging outside over winter: UV has already done a season’s worth of work on them, and ice will finish the job. Our portable outdoor shower guide covers which units handle seasonal storage best.
Best for: Camp-style, bag, and pump showers that get packed away each fall.
8. Winterize a Propane Tankless Heater

Portable propane tankless heaters need a full drain-down too. Disconnect the propane cylinder and store it upright in a ventilated outdoor spot — never indoors. Open the heater’s drain plug (most portable units have one) and tilt the unit to empty the heat exchanger completely. Disconnect and drain the water hoses, remove the D-cell batteries, and store the heater itself indoors or under a waterproof cover. Anti-freeze drain systems on some models help, but they are a backup, not a substitute for draining. In spring, reconnect everything and check the gas fittings with soapy water before first use.
Best for: Anyone running a portable tankless unit for hot outdoor showers — the heat exchanger is the most expensive part to lose to ice.
9. Protect the Enclosure and Drain Area

Insulation is not a substitute for draining, but it helps marginal components: wrap exposed supply pipes and fittings with foam pipe insulation or heat tape on a thermostat. Clear the shower drain of leaves and debris so meltwater and winter rain can escape instead of ponding and freezing into a slick. If you have a wooden enclosure, this is a good moment to check for soft spots and re-seal before the wet season. Take down fabric privacy curtains — they mildew in winter dampness — and store them dry.
Best for: Wood-enclosure showers and any setup with exposed exterior pipe runs.
10. The Spring Reopening Checklist

Recommissioning is the other half of winterizing, and doing it carelessly causes the leaks winterizing was supposed to prevent. In spring: (1) close all outlets and the drain plug before turning water back on; (2) reinstall the cartridge and shower head; (3) open the indoor isolation valve slowly and check every joint for drips; (4) run the shower for two minutes to flush stale water and any sediment; (5) test hot and cold sides and the mixing valve for proper temperature; (6) inspect the drain flow and clear any winter debris. Only after a clean 10-minute test run should you call the shower open for the season. For drainage setup details, review our outdoor shower drainage options.
Best for: Avoiding the classic spring surprise — a slow leak inside a wall that started at the first valve opening.
Frequently Asked Questions
When should I winterize my outdoor shower? About two weeks before your area’s average first frost date. Check your local extension service or nursery for the date — winterizing early is free insurance, while waiting for the first freeze warning risks a burst pipe.
Do I really need to remove the valve cartridge? Yes, for any shower with a mixing valve. Cartridges trap small pockets of water in tight seals that gravity draining cannot reach, and expanding ice cracks them. It takes five minutes with the valve’s manual in hand.
Can I leave a propane tankless heater outside over winter? Only if it is fully drained and protected. Disconnect the propane cylinder (store it upright outdoors in a ventilated spot, never indoors), open the drain plug, remove batteries, and store the heater indoors or under a waterproof cover.
What is the biggest winterizing mistake? Draining the lines while the supply valve is still open, or skipping the cartridge and shower head removal. Both leave trapped water exactly where it does the most damage — inside the valve body and fittings.
Should I insulate instead of draining? No. Insulation slows heat loss but does not replace draining — manufacturer and plumbing guidance alike stress that blankets and wraps alone are not enough in real cold. Drain first, then insulate exposed components as a secondary measure.