
This post contains affiliate links. If you buy through them, we may earn a commission at no extra cost to you.
How to Hang String Lights on a Balcony: 4 No-Drill Methods (2026)
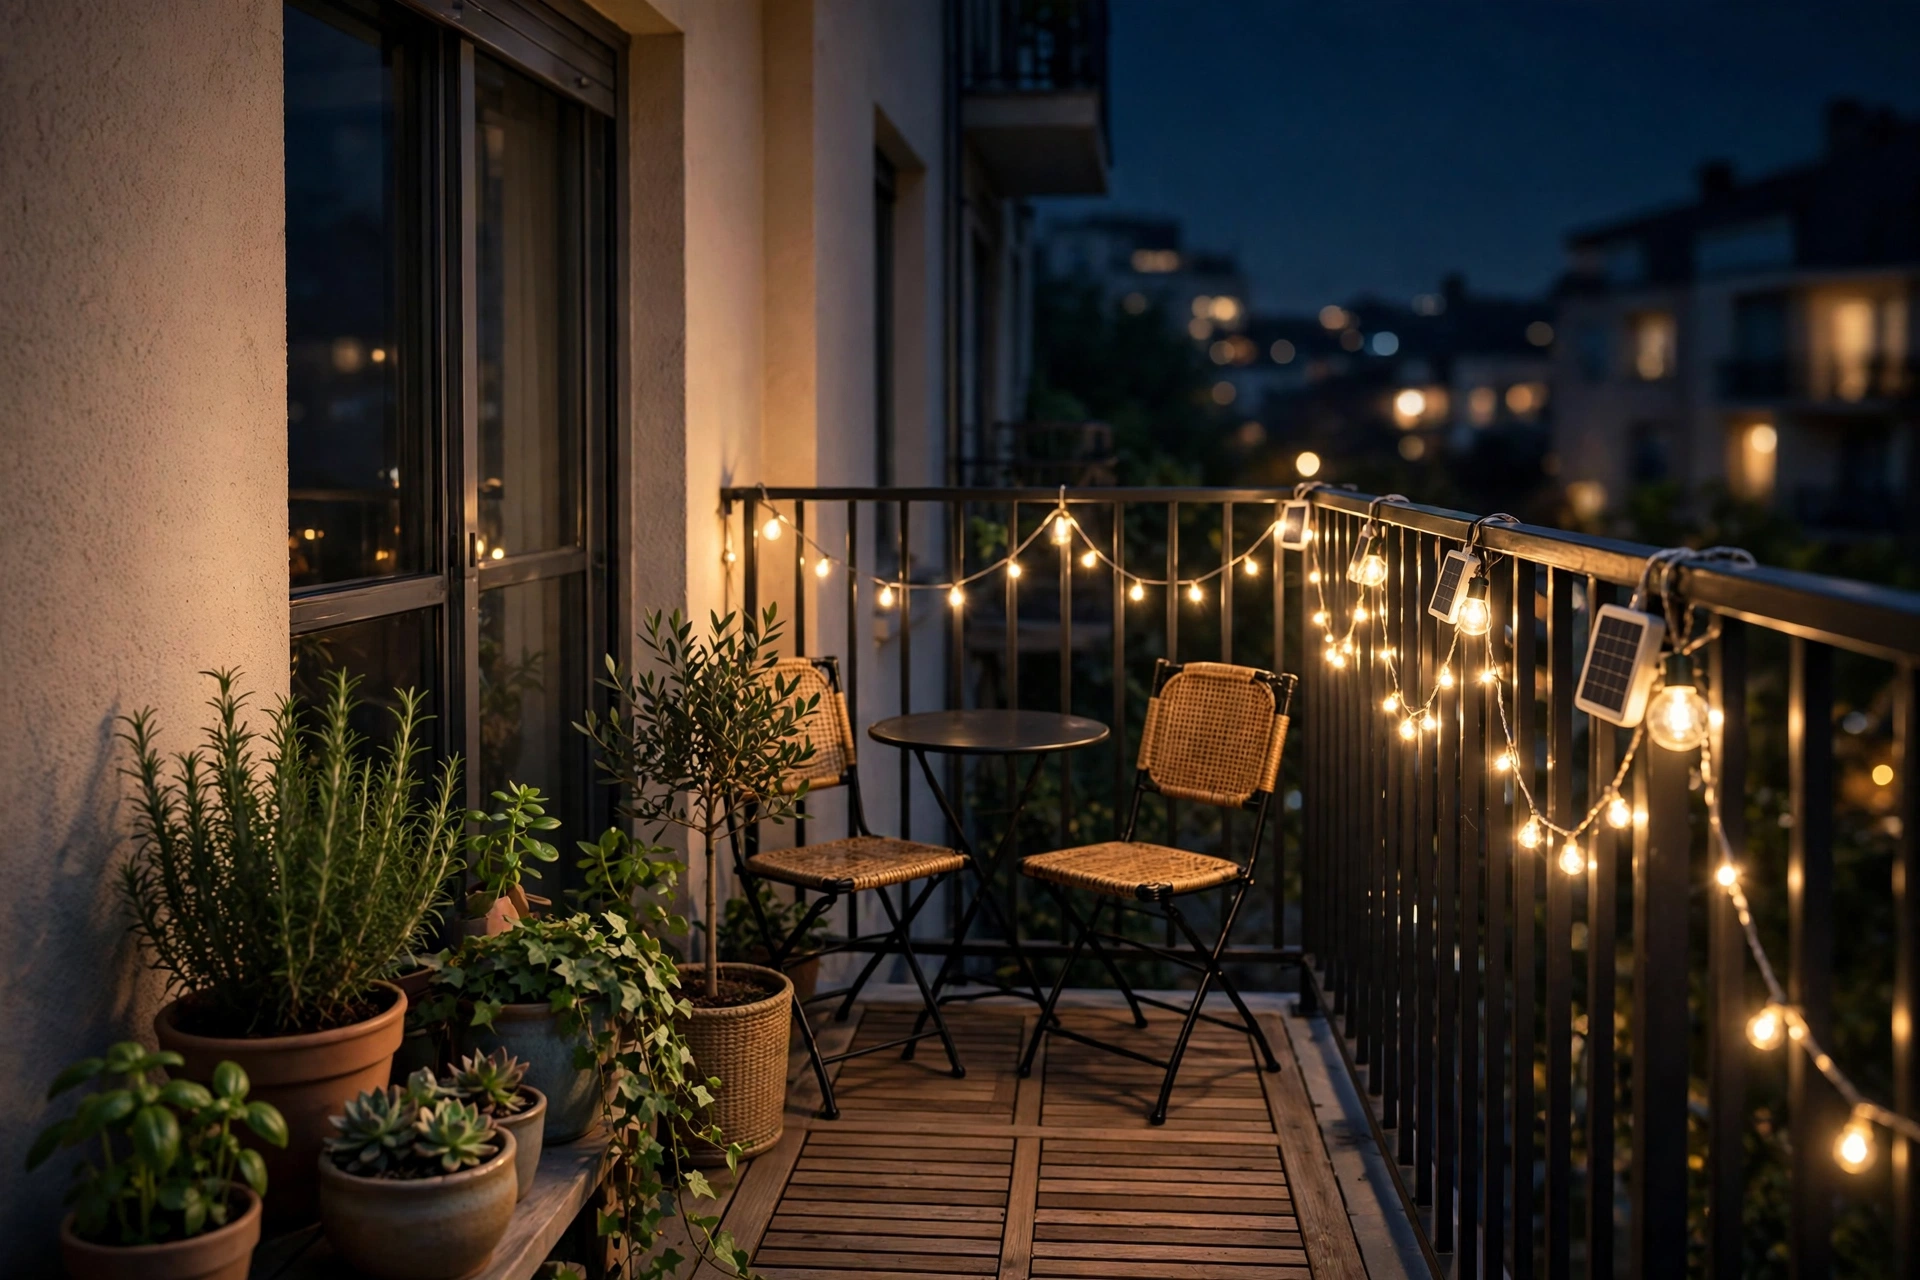
When I moved into my rental apartment, the first thing I wanted to fix was the balcony. It was a blank concrete rectangle with a metal railing — fine in daylight, gloomy the second the sun went down. String lights seemed like the obvious answer, until I remembered my lease: no holes, no screws, nothing that would cost me my security deposit. I’ve been working around no-drill rental rules for years now, and string lights are honestly one of the easiest wins. In this guide, I’ll walk you through four renter-safe methods to hang string lights on a balcony without drilling — adhesive hooks, a tension rod, zip-tie railing wraps, and freestanding poles — with real costs and honest pros and cons. Updated November 2026. or that warm bistro glow, tryEdison string lights.
Quick answer: The four best ways to hang string lights on a balcony without drilling are adhesive outdoor hooks ($8–$15), a tension rod across a doorway, zip ties wrapped around railings (cheapest at $5–$10), and freestanding poles in planters ($20–$80). All four come down clean at move-out.




Before You Start
- Check your lease and HOA rules. Most leases ban holes and permanent hardware, but clip-on or adhesive attachments are usually fine. When in doubt, email your property manager — get a “yes” in writing.
- Measure your space first. Measure the railing length and the height from rail to ceiling (if you have a covered balcony). A typical apartment balcony needs 25–50 feet of lights.
- Respect railing weight limits. String lights are light (a 50-foot strand is about 2 lbs), but poles or planters anchored to railings add leverage. Keep any planter-based setup at least 2 feet inside the railing line.
- Set a budget: $15–$80 total. The mounting method plus one or two strands of lights. Zip ties are the cheapest route; freestanding poles with planters cost the most.
- Gather basic tools: a tape measure, rubbing alcohol (for adhesive hook prep), zip ties or hooks, a small step stool, and optionally outdoor-rated clips or carabiners.
- Choose outdoor-rated lights. Look for an IP44 rating or higher on the packaging — those handle rain. Indoor fairy lights will corrode and die within weeks outside. or no-outlet setups, try solar fairy lights.
Method 1: Adhesive Outdoor Hooks
Adhesive hooks are the go-to for smooth surfaces: balcony walls, the underside of a covered balcony, wood posts, or glass panels. Outdoor-rated Command-style hooks use foam tape that holds in heat and peels off cleanly with the pull tab.
- Cost: $8–$15 for a pack of 6–8 large outdoor hooks, plus $20–$40 for lights.
- Install difficulty: Easy — about 20 minutes for a full balcony.
- Renter-friendliness: Excellent. No holes, no residue when removed correctly with the pull tabs.
How to do it: Clean each spot with rubbing alcohol and let it dry — this step matters more than the brand of hook. Press each hook on firmly for 30 seconds, then wait at least an hour before hanging weight. Space hooks 2–3 feet apart so the strand sags evenly, then drape the wire and clip it in.
Renter note: pull the tabs slowly and parallel to the surface at move-out — that’s what prevents paint damage and protects your deposit. Don’t yank them off.
My tip: I learned to skip the cheap dollar-store adhesive hooks for outdoor use — the tape softens in summer heat and drops strands overnight. Spending the extra few dollars on hooks actually rated for outdoor use saved me re-hanging everything in July.
Method 2: Tension Rod Across the Opening
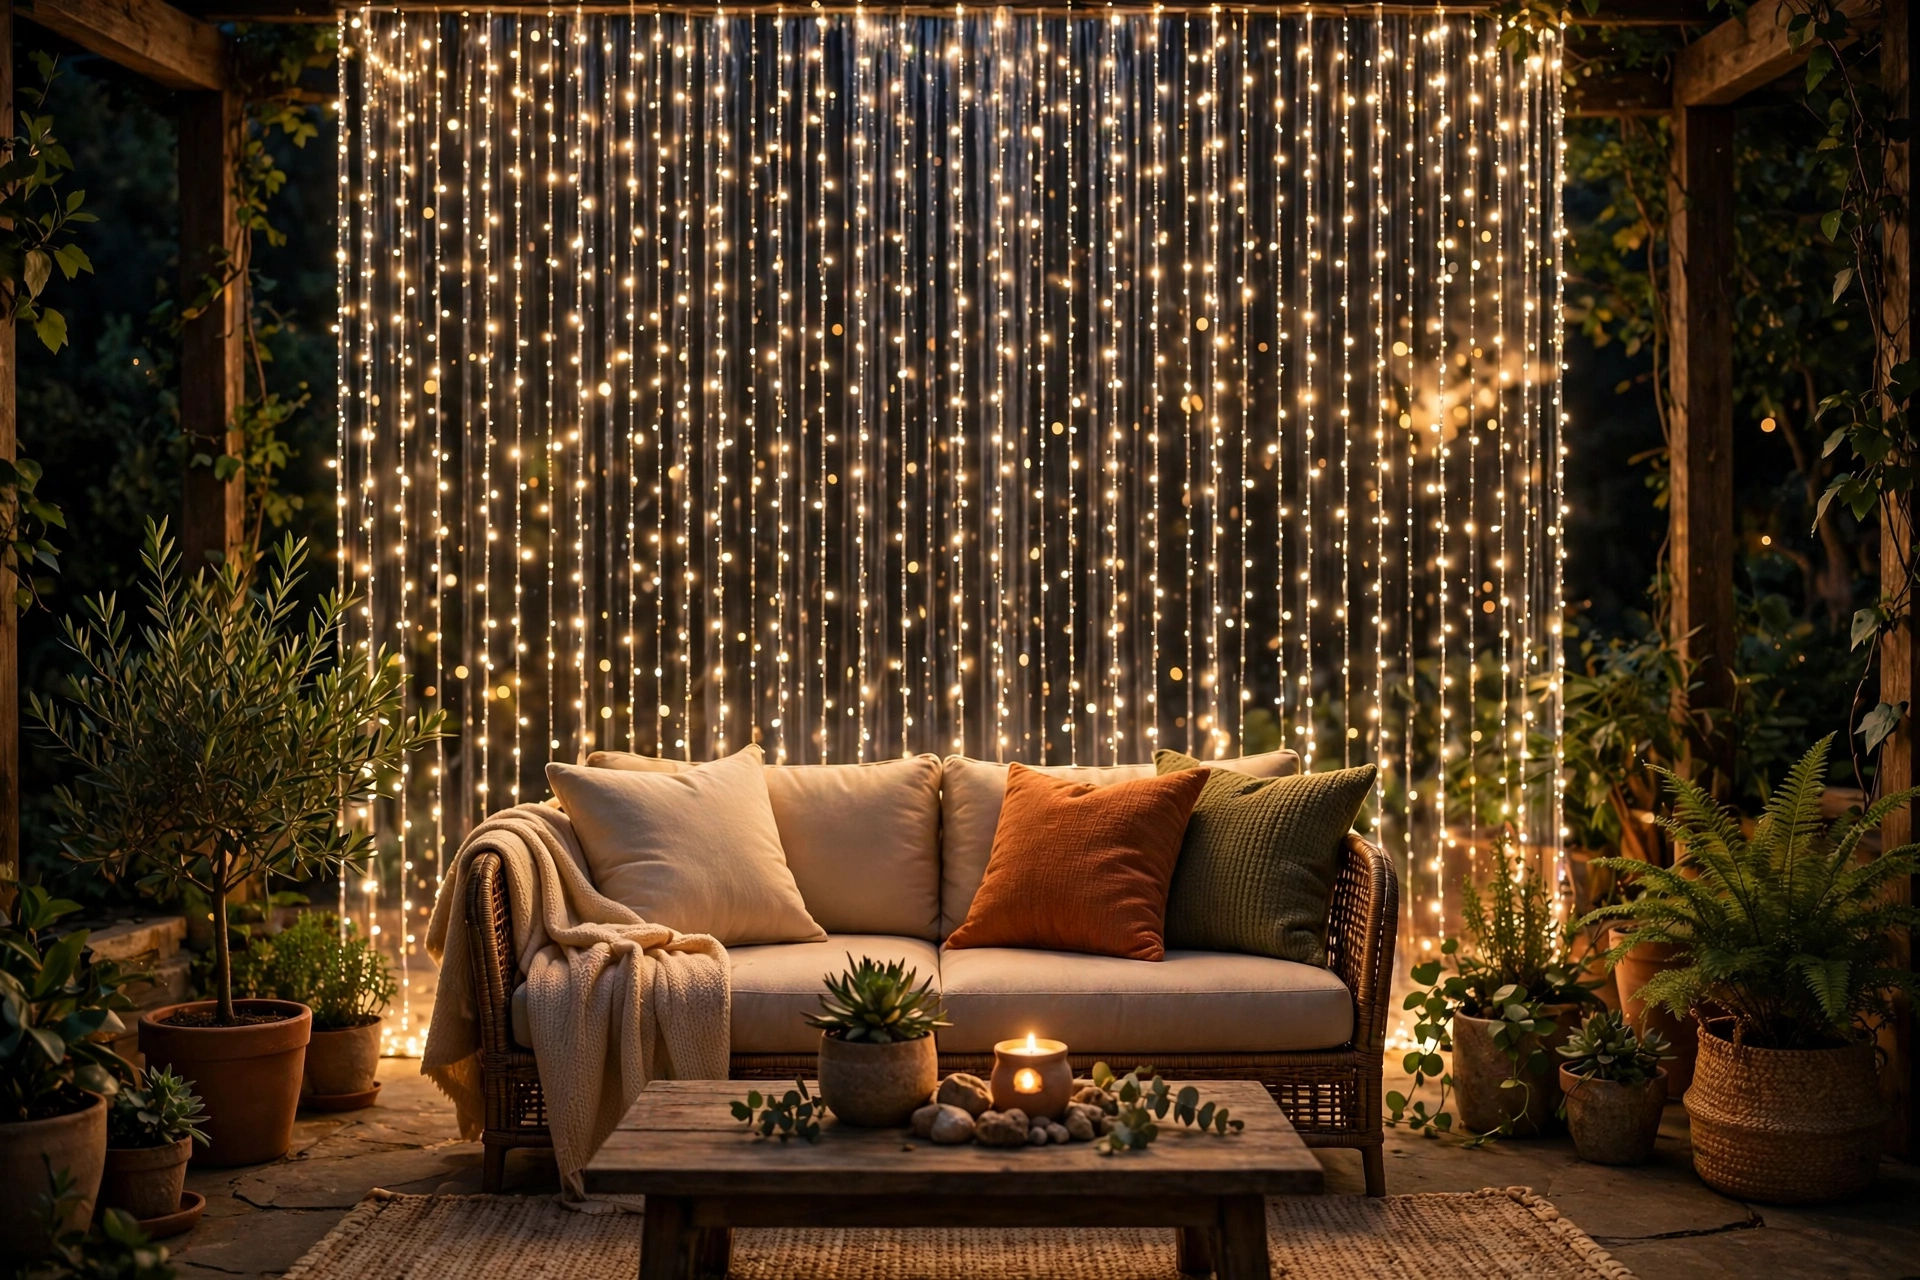
If your balcony has a doorway, an alcove, or two facing walls close together, a tension rod is a clean solution. The rod wedges between two surfaces with spring pressure — no mounting hardware at all — and lights hang from it like a curtain.
- Cost: $10–$20 for a heavy-duty tension rod, plus $20–$40 for lights.
- Install difficulty: Easy — twist to tighten, done in 5 minutes.
- Renter-friendliness: Excellent. Zero contact marks beyond normal pressure; remove in seconds.
How to do it: Measure the gap, then buy a rod rated for at least 1.5× the span width — string lights are light, but wind tugs at them. Twist to extend until snug, then drape the wire over the rod or attach small carabiner clips. Best across narrow spans (3–8 feet); most balcony doorways fall in this range.
Renter note: use rubber end caps if the rod didn’t come with them — they prevent scuff marks on paint or stucco, which is the one thing that could ding a deposit with this method.
My tip: I learned to test the rod’s grip by giving it a firm tug before hanging lights — if it slides under a hard pull, wind will move it too. A second rod crossing behind the first like an X stopped all slipping on my windy corner balcony.
Method 3: Zip Ties on the Railing
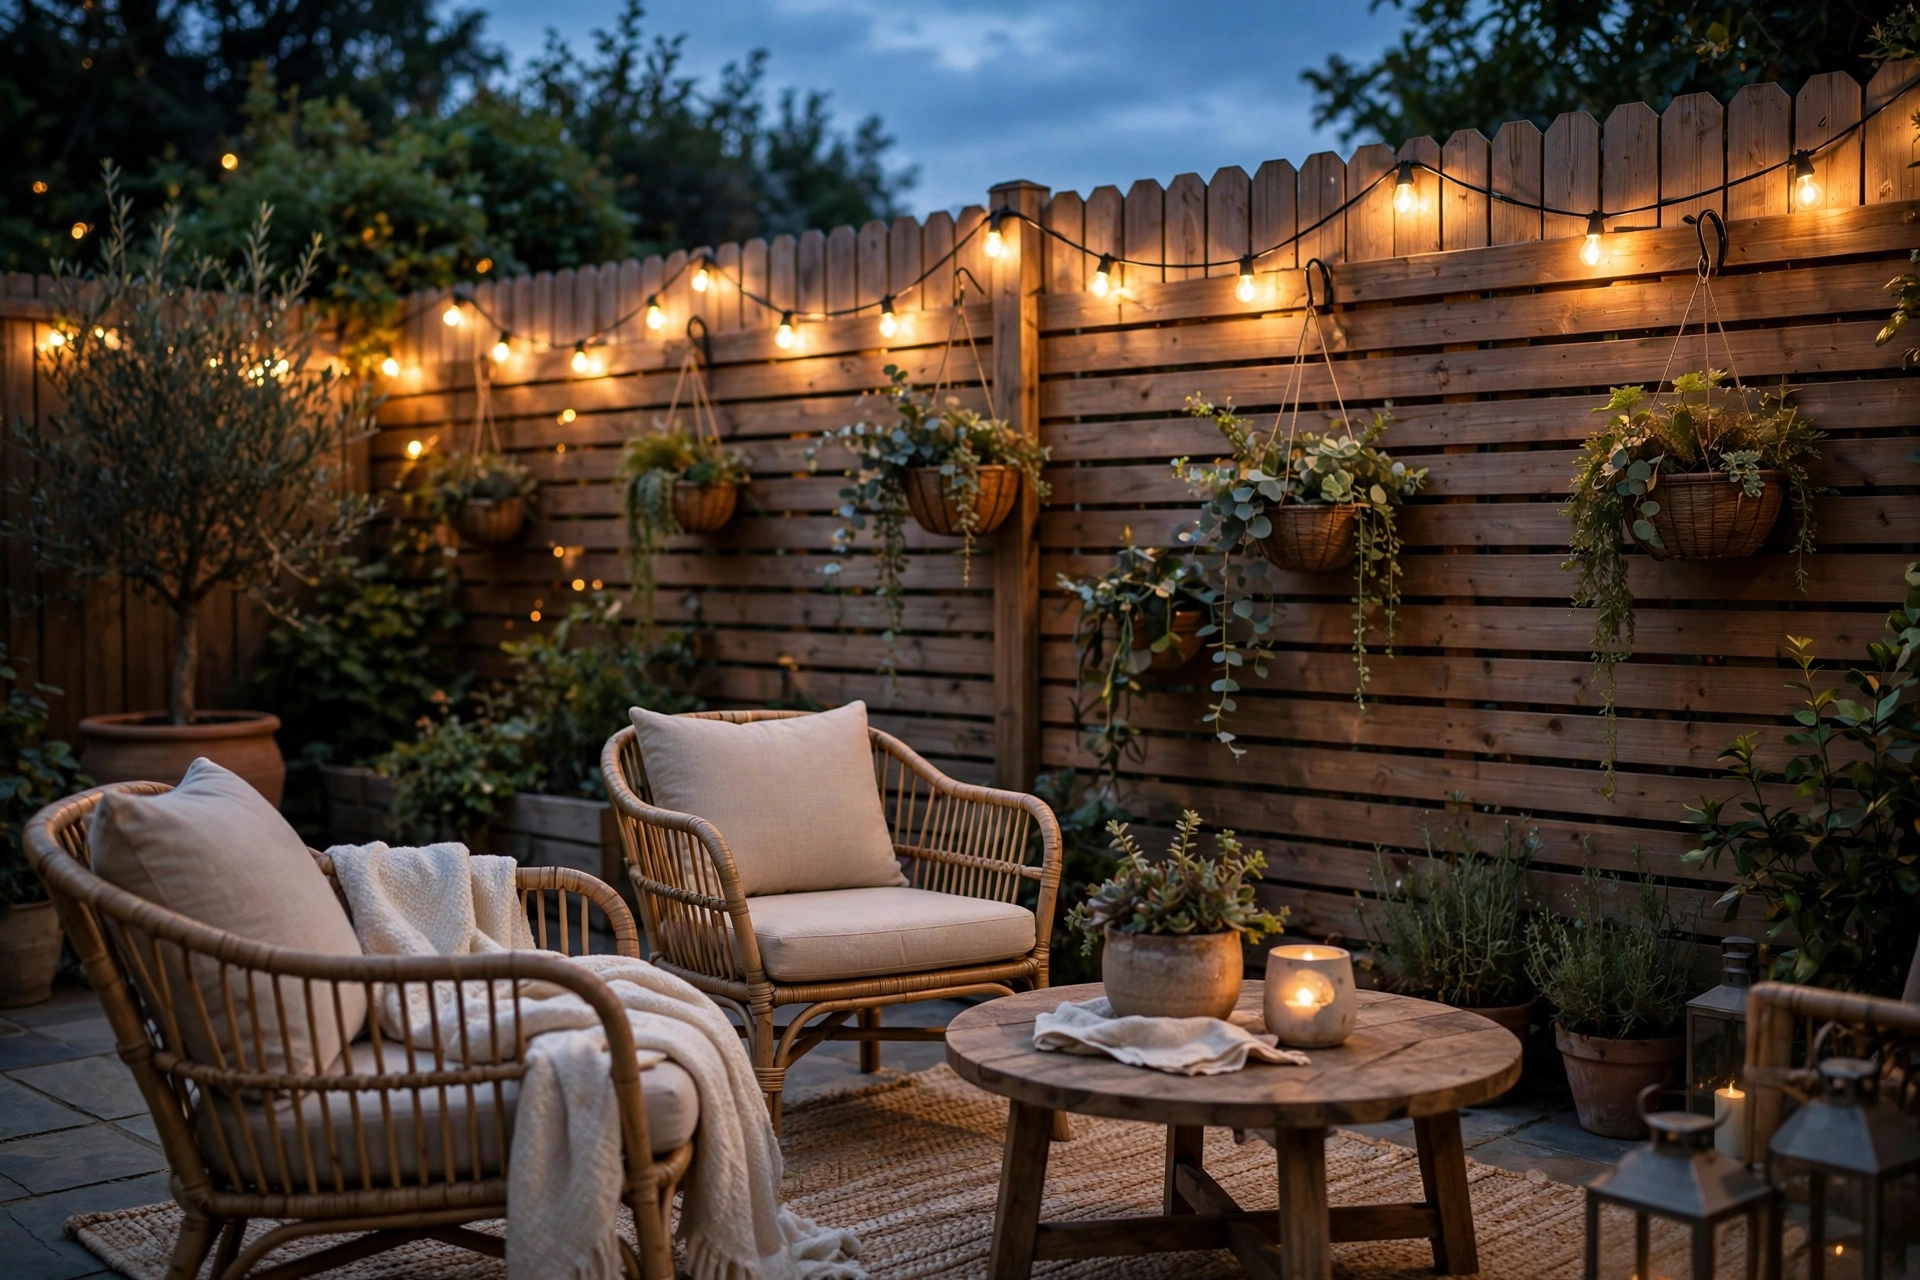
This is the simplest and cheapest method, and the one I recommend most for uncovered balconies: loop weather-resistant zip ties directly around railing balusters or the top rail, then thread the light strand through. Nothing touches the building — the lights attach only to your own railing.
- Cost: $5–$10 for UV-resistant zip ties, plus $20–$40 for lights.
- Install difficulty: Easy — about 30 minutes including spacing.
- Renter-friendliness: Excellent. Cut the ties at move-out and the railing is untouched.
How to do it: Buy UV-resistant (black) zip ties rated for outdoor use — standard white ones go brittle in sun within a season. Space ties every 18–24 inches along the top rail or balusters. Loop each tie loosely around the railing, thread the light wire through before cinching, then tighten just enough to hold without pinching. Weave the strand in a gentle swag between ties for that classic bistro look. If you’re pairing lights with a DIY privacy screen, stagger the tie heights so they share the same railing posts.
Renter note: this method leaves zero marks, which makes it the safest option for strict leases. It’s also completely reversible in minutes with a pair of scissors.
My tip: I learned to leave a little slack in each tie rather than cinching them tight — tight ties concentrate wind stress on one point of the wire, and that’s where strands fail. Loose loops let the wire flex, and my lights have survived two storm seasons this way.
Method 4: Freestanding Poles in Planters
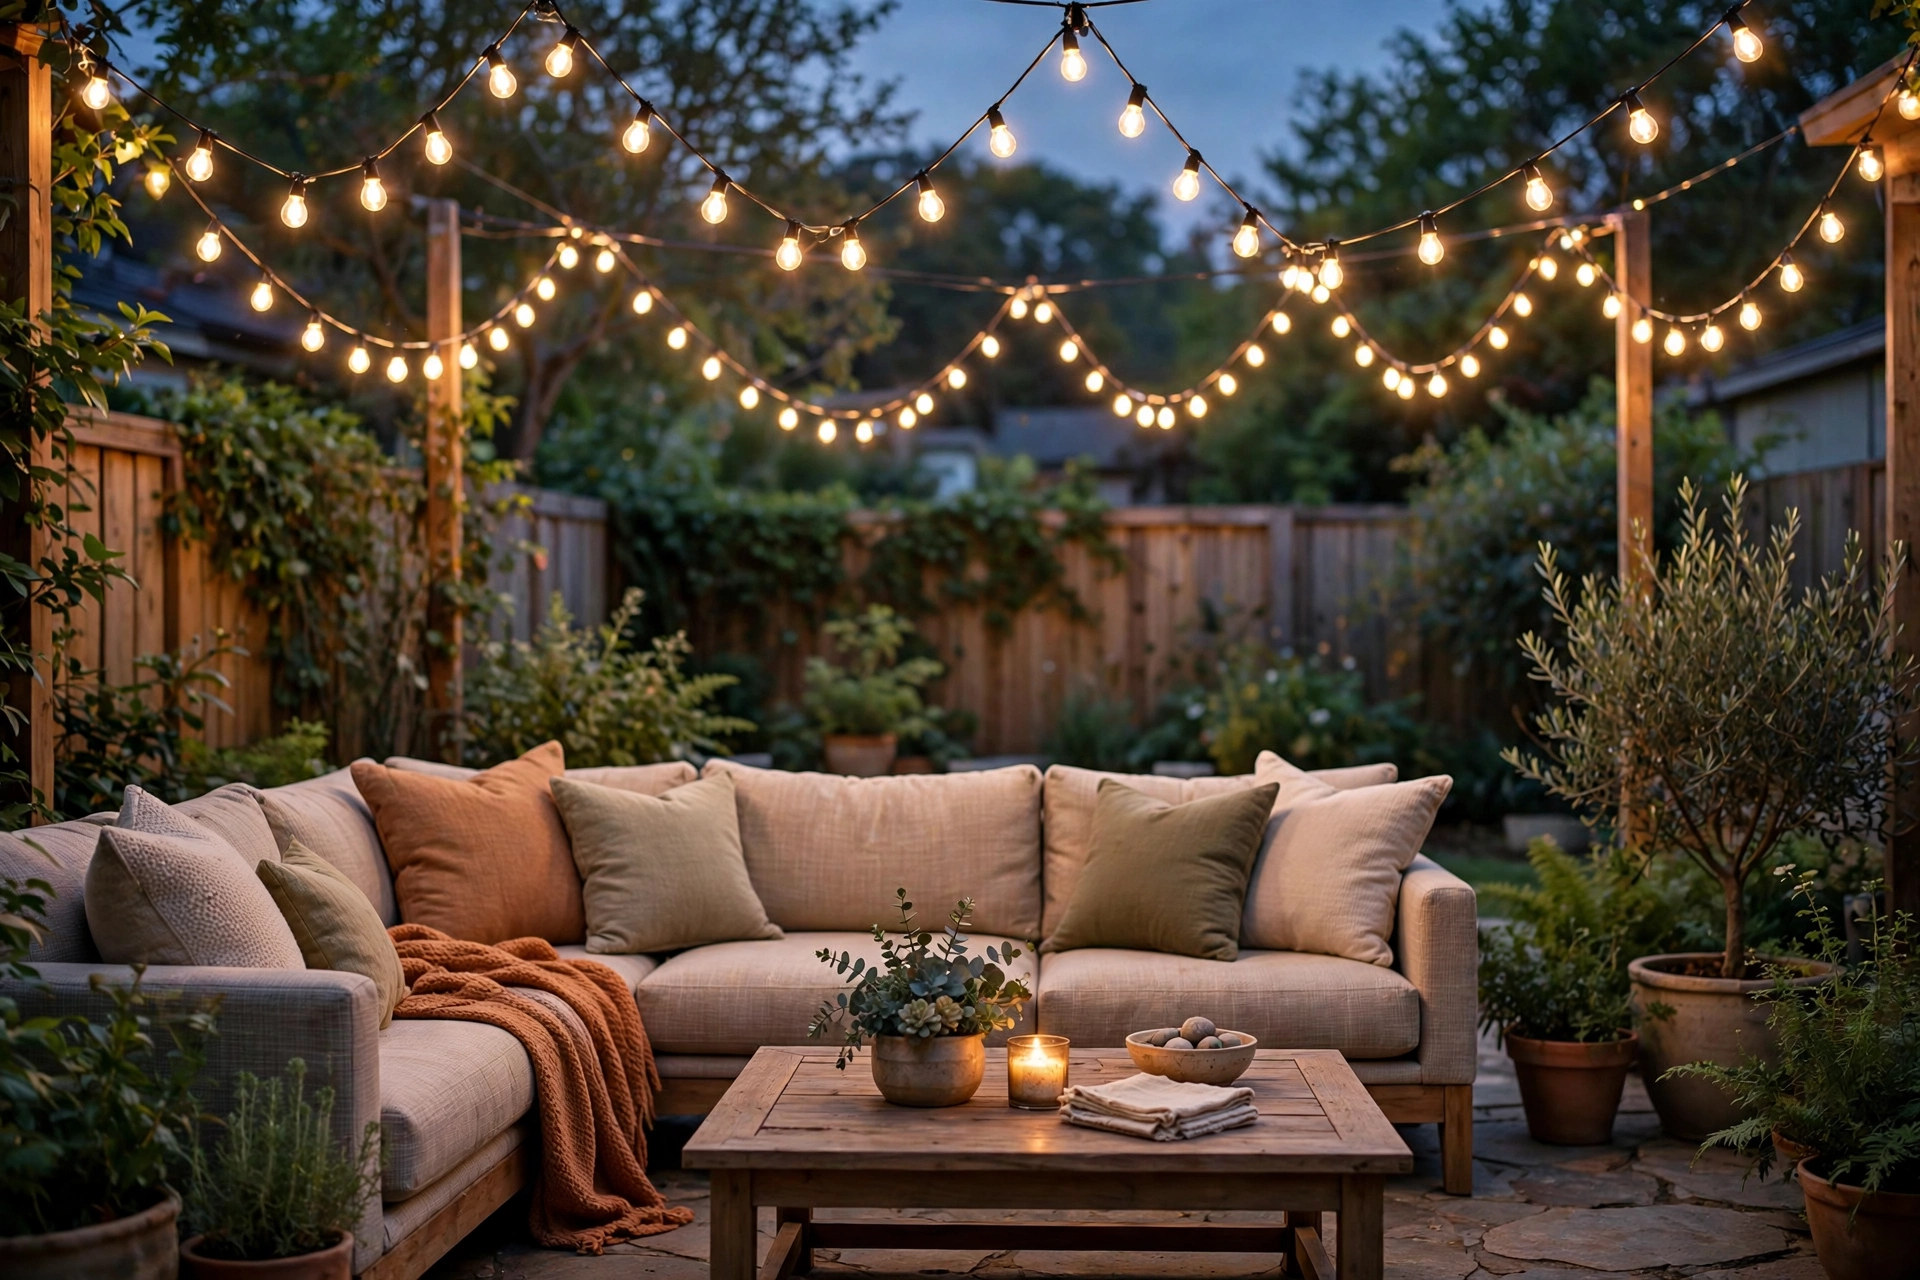
When there’s nothing to attach to — a wide-open balcony, glass railings, or a railing you’re not allowed to touch — poles solve the problem. Set tall poles (shepherd’s hooks, wooden dowels, or purpose-made string light poles) in heavy planters and string lights between them.
- Cost: $20–$80 depending on whether you use budget shepherd’s hooks or purpose-built poles, plus planters and soil if you don’t have them.
- Install difficulty: Moderate — plan on an hour including setting the planters.
- Renter-friendliness: Good. Fully freestanding; nothing attaches to the building. Planters just need a drip tray to protect balcony flooring like deck tiles.
How to do it: Use planters at least 12 inches wide, filled with soil and ballast (bricks or pea gravel) at the bottom. Set one pole per planter, burying at least 12 inches for stability. Space planters 6–10 feet apart and drape the strand between tops, securing with a wire wrap or zip tie at each pole. Plant trailing flowers around the base so it looks intentional. It pairs well with small seating — see small patio furniture ideas for apartments for layouts that work around pole placement.
Renter note: keep planters well inside the railing and check your balcony’s weight limits in the lease — wet soil gets heavy fast. Ballast is what keeps light planters upright in wind.
My tip: I learned to use a bag of pea gravel at the bottom of each planter instead of bricks — it’s cheaper, fills gaps better, and the drainage keeps roots healthy if you plant around the pole. My setup has held through gusty spring winds without budging.
Cost and Feature Comparison
| Method | Cost | Install time | Renter-safe | Durability |
|---|---|---|---|---|
| Adhesive hooks | $8–$15 | ~20 min | Yes | 1–2 seasons; re-stick in heat |
| Tension rod | $10–$20 | ~5 min | Yes | Multiple seasons; check grip monthly |
| Zip ties on railing | $5–$10 | ~30 min | Yes | 2–3 seasons with UV-rated ties |
| Freestanding poles | $20–$80 | ~1 hour | Yes | Multiple seasons; refresh ballast yearly |
The zip-tie method wins on price and simplicity for most renters. Adhesive hooks look the cleanest on covered balconies. Poles are the answer when there’s nothing to clip to.
FAQs
Can I hang string lights on a balcony without drilling?
Yes. Adhesive outdoor hooks, tension rods, zip ties around railings, and freestanding poles in planters all hold string lights securely with zero drilling. Most setups cost $15–$80 total and come down clean at move-out.
Will adhesive hooks damage railings?
Not if you use outdoor-rated hooks and remove them correctly. Clean with rubbing alcohol first, and at move-out pull the tab slowly, parallel to the surface — that prevents paint peeling and protects your deposit. Cheap indoor hooks are the ones that soften in heat and leave residue.
Are solar string lights bright enough?
Solar string lights are bright enough for ambiance, not task lighting — cozy glow, not reading light. On a balcony they’ll run 4–8 hours on a full summer charge. If your balcony is shaded or north-facing, plug-in LED strands are more reliable. For layout ideas, see these patio string light ideas.

How do I keep string lights from falling in wind?
Three things: space attachment points no more than 2–3 feet apart, use outdoor-rated hardware (UV zip ties, outdoor hooks), and leave slight slack so wind flexes the wire instead of yanking one anchor point. Avoid spanning long unsupported gaps — wind turns a 15-foot span into a sail.
Can I hang string lights on a balcony with a glass railing?
Yes — adhesive hooks stick well to glass, and outdoor-rated suction cups work too. The zip-tie method won’t work on glass, so adhesive hooks or freestanding poles are your best bets. For seasonal setups, winter patio transition ideas and an outdoor coffee bar pair nicely with glass-railing light setups.
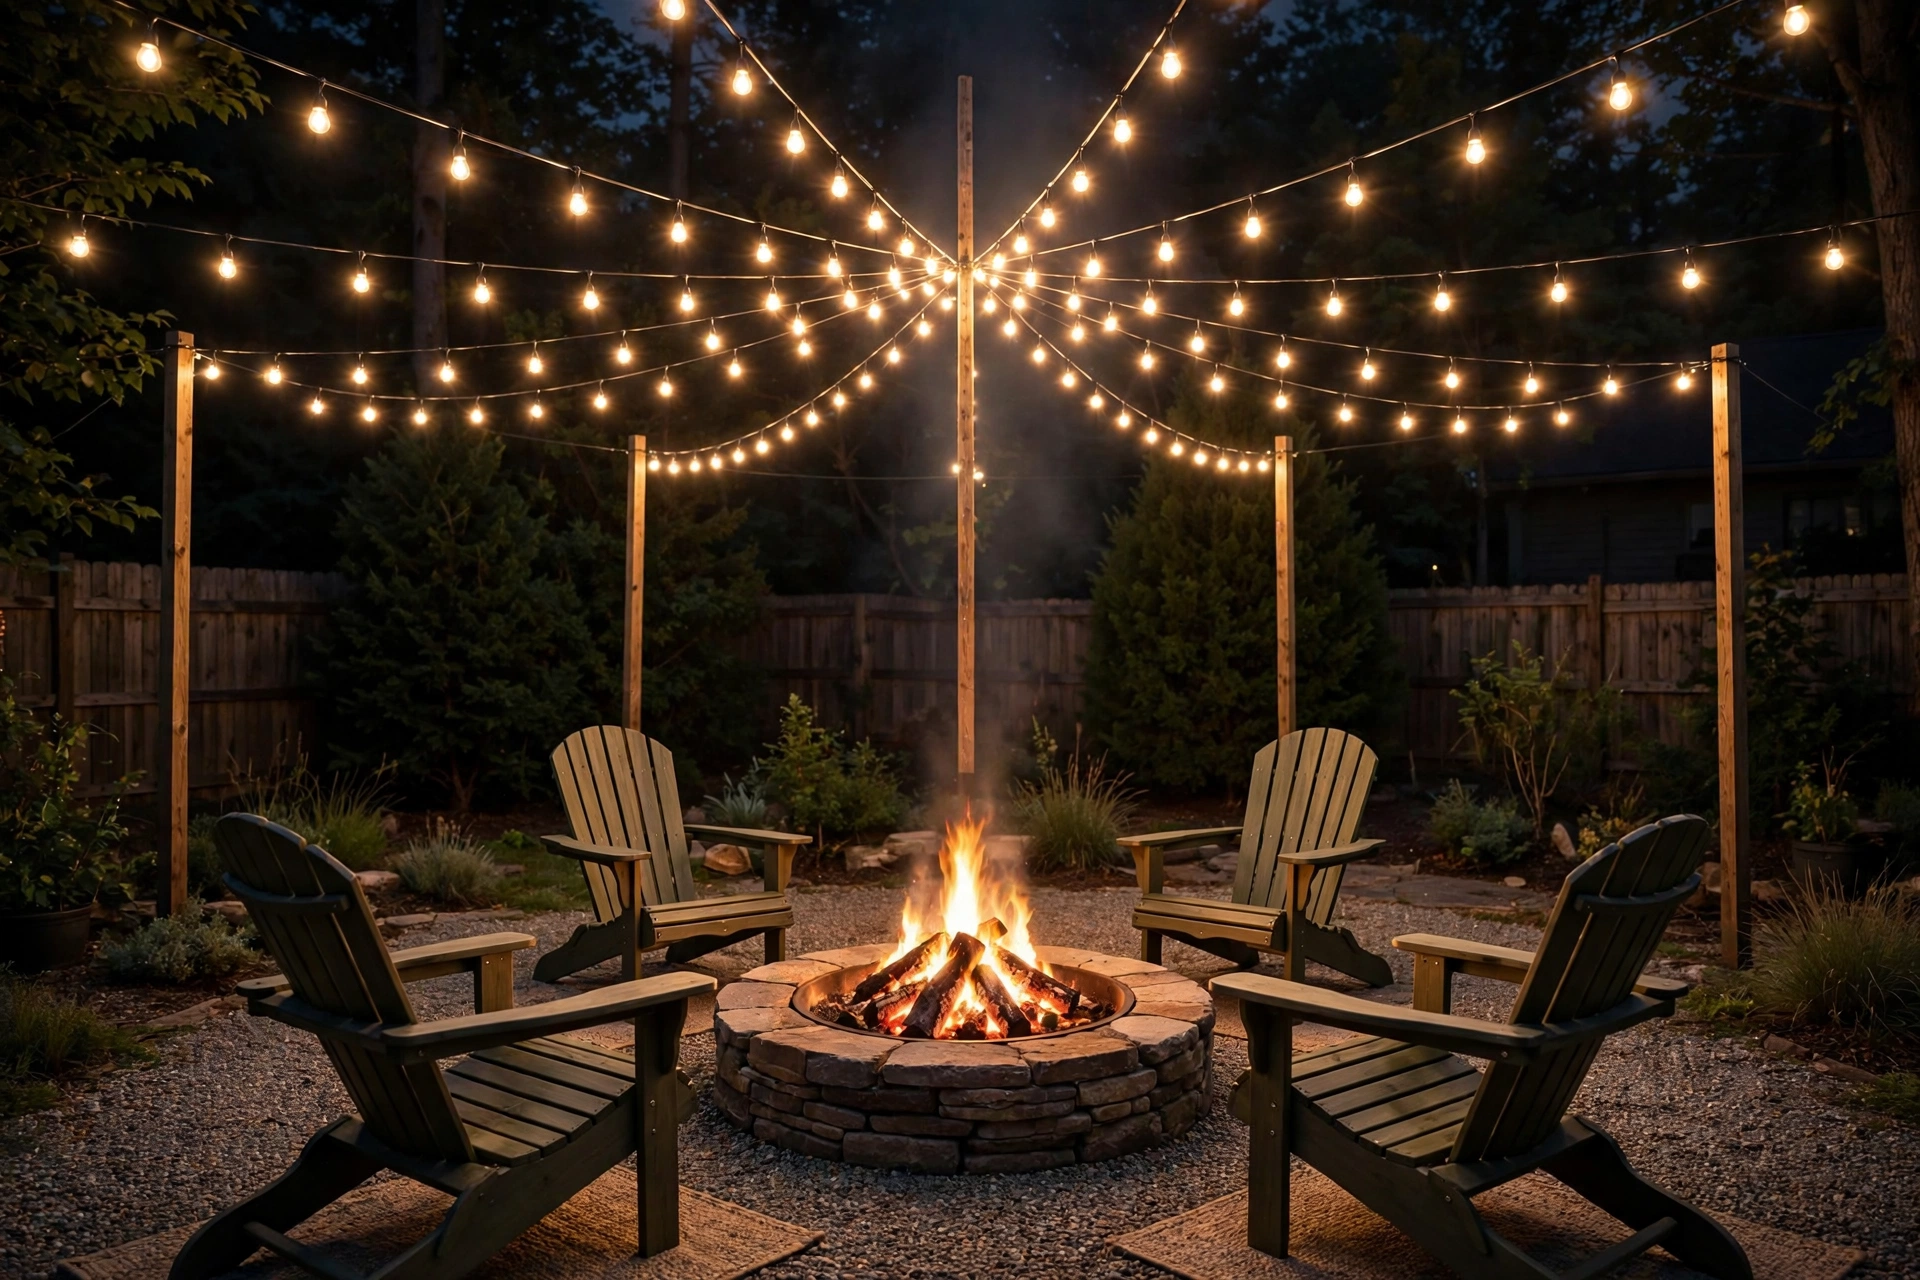
Once your lights are up, the rest of the balcony comes together fast — and none of it requires a drill either. Start with the method that matches your balcony’s layout, hang one strand, and see how it looks at night before adding more. A lit balcony you actually use beats a perfect one you never finished.
Once your lights are up, balcony privacy ideas for renters pair perfectly — lights behind a privacy screen glow beautifully at night.