
Concrete planters look like they cost $80 at a garden boutique. This version costs about $8 in materials and one relaxed weekend. If you can stir cake batter, you can do this.
What You’ll Need
- Quikrete concrete mix (a 60-lb bag makes several planters; use standard mix, not fast-setting)
- Two nested molds — plastic bowls, buckets, milk cartons, or silicone molds. The outer mold shapes the planter; the inner mold creates the cavity. The gap between them should be 1–1.5 inches (that’s your wall thickness).
- Cooking spray or petroleum jelly — mold release
- Bucket, trowel or stick for mixing
- Gloves and a dust mask — concrete dust is no joke
- A small stone or dowel to form the drainage hole (or drill it later)
Step 1: Prep Your Molds
Coat the inside of the outer mold and the outside of the inner mold generously with cooking spray. This is the difference between a planter that pops out cleanly and one that’s permanently fused to a mixing bowl. If using cardboard (milk cartons), line with a plastic bag instead — cardboard disintegrates but the bag peels off.
Step 2: Mix the Concrete
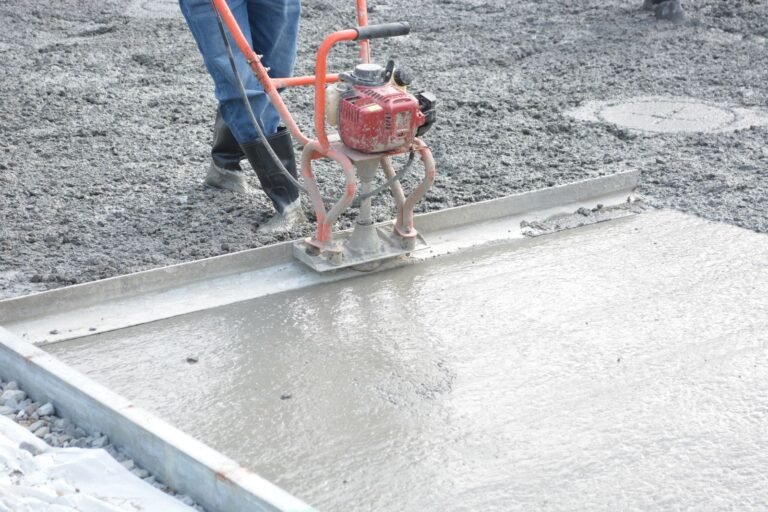
Pour dry mix into a bucket and add water slowly — you want thick oatmeal consistency, not soup. A good rule: about 3 quarts of water per 60-lb bag, added gradually. Mix thoroughly for 3–5 minutes, scraping the bottom. Let it slake (rest) 5 minutes, then remix. Wear the mask during this step.




Step 3: Fill the Outer Mold
Spoon concrete into the outer mold to about halfway. Tap the mold firmly on the ground 15–20 times and poke the mix with a stick — this releases air bubbles that would become ugly pocks in the finished surface.
Step 4: Set the Inner Mold
Press the inner mold down into the wet concrete until the walls are 1–1.5 inches thick all around. It will try to float — weigh it down with a rock or brick. Check that the inner mold sits level. Wipe away any concrete that squeezes over the rim for a clean top edge.
Step 5: Form the Drainage Hole
Push a wine cork, small stone, or greased dowel through the bottom of the inner mold area so it creates a channel through the planter floor. Or skip it and drill a ½-inch hole after curing (easier, honestly).
Step 6: Cure Slowly (This Is the Secret)
Cover the whole thing loosely with a plastic bag and leave it 48 hours minimum — 72 is better. Concrete gains strength through slow moisture curing, not drying. If it’s hot out, mist it once a day. Rushing this step is why DIY planters crumble.
Step 7: Demold and Finish
Remove the inner mold first (twist gently), then flex or cut away the outer mold. Let the planter air-cure another 5–7 days before planting. Sand any sharp edges with 80-grit sandpaper. Optional: seal the inside with a concrete sealer to prevent mineral leaching, and stain or paint the outside.
Step 8: Plant It
Add a ½-inch gravel layer, then potting mix (not garden soil). Concrete planters are perfect for succulents, herbs, and small annuals — the alkaline concrete actually suits Mediterranean plants. In freezing climates, bring small planters indoors for winter or they’ll crack.
Mold Ideas From Around the House
- Silicone baking molds — easiest release, fun shapes
- Two nesting plastic storage bins — for big statement planters
- Milk/juice cartons — square modern planters, just cut away the carton
- Beach buckets — tapered planters kids can help with
- Lamp shades (plastic) — fluted textures
Creative Variations to Try Next
Hypertufa planters — Replace half the sand/Portland in your mix with peat moss and perlite. The result is lighter, more porous, and looks like ancient stone. Same mold process.
Leaf-imprint planters — Press large leaves (hosta, rhubarb) into the inside of the outer mold before pouring. Peel them away after demolding for a stunning botanical relief.
Colored concrete — Add liquid cement color (iron oxide pigments from the hardware store) to the mix. Charcoal, terracotta, and sand tones look incredibly high-end.
Tiered stack — Make three graduated sizes and stack them with the largest at the bottom, offset slightly. Fill the gaps with trailing plants like string of pearls or creeping jenny.
Winter Care for Concrete Planters
Concrete is porous — trapped water freezes, expands, and cracks the walls. In zones 6 and colder:
– Empty small planters and store them upside-down in a garage or shed.
– For large planters that must stay out, wrap with burlap and bubble wrap, and raise them on pot feet so water drains instead of pooling underneath.
– Never let a concrete planter sit in a saucer of water over winter.
Concrete Mix Ratios Cheat Sheet
For standard planters, you don’t need precision — but these ratios help:
- Basic planter mix: 1 part Portland cement : 2 parts sand : 3 parts gravel (or just use pre-mixed Quikrete — honestly easier)
- Smoother finish: use “topping mix” (sand-only aggregate, no large gravel) for silkier surfaces
- Stronger walls: add a handful of fiberglass fibers (sold as “fiber reinforcement” at masonry suppliers) — dramatically reduces cracking in thin walls
- Water: start with less than you think. You can always add water; you can’t take it out. Target: holds its shape when squeezed, no puddles forming
Pro tip: For your first planter, buy one 60-lb bag of standard mix and practice on a small mold. Your second planter will look twice as good — the learning curve is exactly one pot long.
Want the concrete look without the work? Try our faux concrete planters with spray paint hack. And dress up your finished planters with ideas from front porch planter ideas. This Old House has a good concrete mixing primer if you want to go deeper.
FAQ
What kind of concrete is best for planters?
Standard Quikrete or Sakrete concrete mix (not mortar mix, not fast-setting). For smoother, more refined planters, use a “topping mix” or add a handful of Portland cement to standard mix.
How long do concrete planters last?
Decades, if cured properly and protected from freeze-thaw cycles. Sealing the inside extends life and prevents white mineral crust (efflorescence) on the outside.
Why did my concrete planter crack?
Three usual causes: mix too wet, cured too fast (uncovered in sun/wind), or walls too thin (under 1 inch). Keep walls 1.5 inches thick and cure under plastic for the full 48+ hours.
Are concrete planters safe for vegetables?
Yes — cured concrete is inert. If you’re concerned about lime leaching raising soil pH, seal the interior with a food-safe concrete sealer and stick to alkaline-tolerant crops, or just use them for ornamentals and herbs.