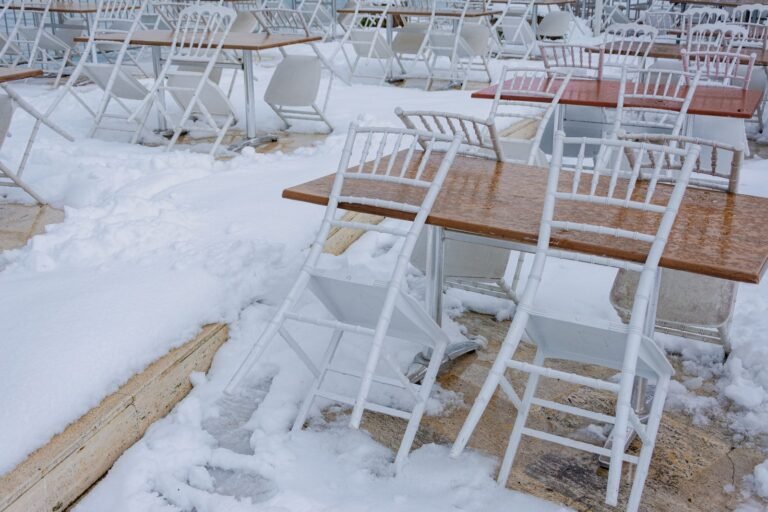

One neglected winter can do more damage to patio furniture than five summers of use. The good news is that winterizing outdoor furniture is a single-afternoon job, and the exact care depends entirely on the material.
1. Deep-clean every piece before anything else
Never store or cover dirty furniture. Grease, pollen, bird droppings, and mildew trapped under a cover all winter become stains and rot by spring. Wash each piece with warm water and a few drops of dish soap, using a soft brush to work into the grain or weave. Rinse thoroughly and let everything dry completely in the sun — ideally a full day — before covering or moving it inside. Trapped moisture is the number one winter killer, and no cover can fix furniture that went in damp.
Best for: Every material, every climate — this step is non-negotiable.
2. Decide your teak strategy: seal it or let it silver
Teak contains natural oils that make it one of the toughest outdoor woods, and it will happily survive winter outdoors. The real question is what you want it to look like in spring. Left alone, teak weathers to a silvery-gray patina that many people love and that requires zero maintenance. If you want to keep the honey-brown tone, you need to protect it before the cold sets in. Neither choice is wrong — but you have to pick one, because a teak piece with patchy half-protected areas looks worse than either option fully committed.
Best for: Teak owners deciding between maintenance-free gray and golden-brown teak.
3. Teak sealer versus teak oil: choose honestly
Here is the straight talk most furniture brands skip. A teak sealer forms a thin barrier that slows UV damage and repels water, and it only needs reapplying every one to two years. Teak oil, on the other hand, gives a rich finish but needs reapplying every few months, can turn mildewy in damp climates, and quality teak honestly does not need it because the wood is already full of oil. If you want to keep the color with minimum fuss, go with a sealer. If you love the ritual of oiling wood and live somewhere dry, oil works. Clean the wood with a teak cleaner first and let it dry fully before applying either one.
Best for: Teak owners who want the golden look without re-oiling every few weeks.
4. Natural wicker and rattan: bring it inside, full stop
This is the one material with no debate. Natural wicker and rattan are plant fibers, and they absorb moisture like a sponge. A winter of rain, snow, and freeze-thaw cycles will leave them brittle, sagging, and splitting — and there is no fixing broken rattan. Before winter, brush the pieces clean, let them dry fully, and move them into a garage, shed, basement, or even a covered porch where they stay dry. If you are short on space, consider whether these pieces are worth keeping outside long-term at all.
Best for: Natural wicker and rattan sets in any climate that gets freezing temperatures.
5. Resin (all-weather) wicker: cover it, but do not seal it
Resin wicker is the synthetic version that actually handles weather well, but it is not invincible. Cold makes the plastic weave brittle, and a heavy snow load or one careless bump can crack it. Wash it down, check for cracked strands now (they will get worse over winter), and cover it with a breathable furniture cover. Do not apply oil or sealant — resin has no grain to feed, and products designed for wood can leave a sticky film on it. If your winters are brutal, move resin wicker inside too; nothing beats a garage.
Best for: All-weather resin wicker that stays outside with a good cover.
6. Steel and wrought iron: hunt for rust before winter starts it
Metal furniture does not care about cold — it cares about moisture plus time. Rust that you ignore in October becomes a structural problem by March. Inspect every joint, foot, and weld, and treat any orange spots now: sand them down to bare metal with fine sandpaper, wipe clean, and touch up with a rust-inhibiting metal paint in a matching color. Pay special attention to feet and undersides, where chipped coating meets wet ground all season. This one repair session can double the remaining life of an iron set.
Best for: Wrought iron and steel furniture with any existing chips or rust spots.
7. Aluminum: wash, wax, and walk away
Aluminum is the easiest outdoor furniture material to winterize, because it does not rust. The powder-coated finish handles weather fine, and the main enemies are dirt ground into joints and salt air corrosion near the coast. Wash the frames with soapy water, rinse well, and dry completely. A thin coat of automotive paste wax on the frame adds a slick surface that sheds moisture all winter and makes spring cleanup easier. Cover the pieces or move them inside, and that is the whole job.
Best for: Aluminum and powder-coated metal sets — the lowest-maintenance winter care of all.
8. Cushions and fabric: wash, dry, store inside
Cushions are the most common winter casualty, and the fix is simple. Remove all cushions, umbrellas, and fabric accessories from the frames. Wash them according to their tags, then dry them completely — a full sunny day at minimum, because damp fabric stored in a bin grows mildew fast. Store them indoors in breathable storage bags or on a shelf in the garage, never sitting on a concrete floor where moisture wicks up. This matters even more than covering the frames themselves; replacement cushions cost more than most covers.
Best for: Any outdoor seating set with cushions, umbrellas, or fabric slings.
9. Pick covers that breathe — skip the blue tarp
The cover choice matters more than the price. Breathable, weather-resistant furniture covers with vents, tie-downs, or elastic hems let trapped moisture escape instead of turning your furniture into a greenhouse. A cheap blue tarp does the opposite: it holds condensation against the furniture, and wind flapping wears the finish underneath. Measure your pieces and buy covers that fit snugly — oversized covers pool water and sail away in storms. For reference on material-by-material winter storage, Outer's winter care guide walks through the same principles piece by piece.
Best for: Furniture staying outside all winter — the cover is doing the protecting.
10. Elevate, ventilate, and do one mid-winter check
Whether your furniture is covered on the patio or tucked in a corner, keep it off bare ground. Set feet on pavers, wood blocks, or a deck rather than soil or a lawn, where moisture wicks up all winter. Leave a little airflow around covered pieces rather than wrapping them tight like a burrito. Then, halfway through winter — a quick Saturday in January — walk out and check: tighten loose cover straps, brush off heavy snow so it does not compact against the furniture, and tip any standing water off cover surfaces. That five-minute check catches the problems that actually cause damage.
Best for: Anyone storing furniture outdoors in a snow or freeze-thaw climate.
FAQ
Can I leave teak furniture outside all winter uncovered? Yes, teak will survive it — the natural oils resist rot and moisture far better than most woods. What you will get in spring is silvery-gray teak and possibly surface mildew, which scrubs off. A breathable cover and a pre-winter cleaning still help it age gracefully, but uncovered teak is not a disaster the way uncovered wicker is.
Is it OK to use a tarp instead of a furniture cover? It is better than nothing for a week, but not for a whole winter. Tarps trap moisture against the furniture and the flapping edge can abrade the finish in wind. Fitted breathable covers with tie-downs cost a little more and solve both problems, which is why they are worth the money.
Should I store cushions with the furniture? No — store cushions separately indoors, always. Even covered, cushions under a furniture cover sit in still, humid air all winter and mildew is almost guaranteed. Wash them, dry them fully, and keep them in a dry spot inside the house, garage, or shed.
When should I winterize my outdoor furniture? Before the first hard frost, and ideally a couple of weeks before that. Cleaning and drying takes a full day of sun, and sealers and touch-up paint need mild temperatures to cure properly. If frost is already hitting overnight, prioritize: clean, dry, and cover now; do the refinishing touch-ups in spring.
Pair this job with your other fall yard shutdown tasks — like your winter fire pit party setup and outdoor fireplace patio ideas — so the whole backyard goes to sleep in one weekend. If you have an outdoor shower too, my guide on how to winterize an outdoor shower covers the plumbing side of the same weekend.