
A wood-fired hot tub costs thousands. A DIY outdoor bathtub built from a stock tank and heated with firewood costs under $500, needs no electricity, and gives you the same soul-warming soak under the stars.
This is one of our favorite backyard bathtub DIY projects because every part is simple: a farm-store tank, a wood stove that heats the water, basic plumbing you can buy at any hardware store. Follow these ten steps and you'll be soaking by next weekend.
What You'll Need
- Galvanized stock tank, 6 or 8 feet round (about $150–$350)
- Wood-fired water heater: a "snorkel" stove that sits inside the tub, or an external coil stove (about $150–$400 used or DIY)
- Cinder blocks or gravel for the base
- Garden hose, drain valve, and basic fittings
- Floating thermometer (non-negotiable for safety)
Total budget: $300–$500 depending on the heater you choose. For more inspiration on what your finished setup can look like, browse our outdoor bathtub ideas roundup.
Step 1: Pick the Perfect Spot
Choose level ground within hose reach of a spigot and with room to stack firewood nearby. Morning sun helps warm the water passively; afternoon shade keeps a summer soak from turning into soup.
Think about privacy now, not later — you need screening at seated height. Also check sightlines from upstairs neighbor windows, and keep the tub at least 10 feet from wooden structures since you'll have an open fire nearby.
Step 2: Choose Your Tank
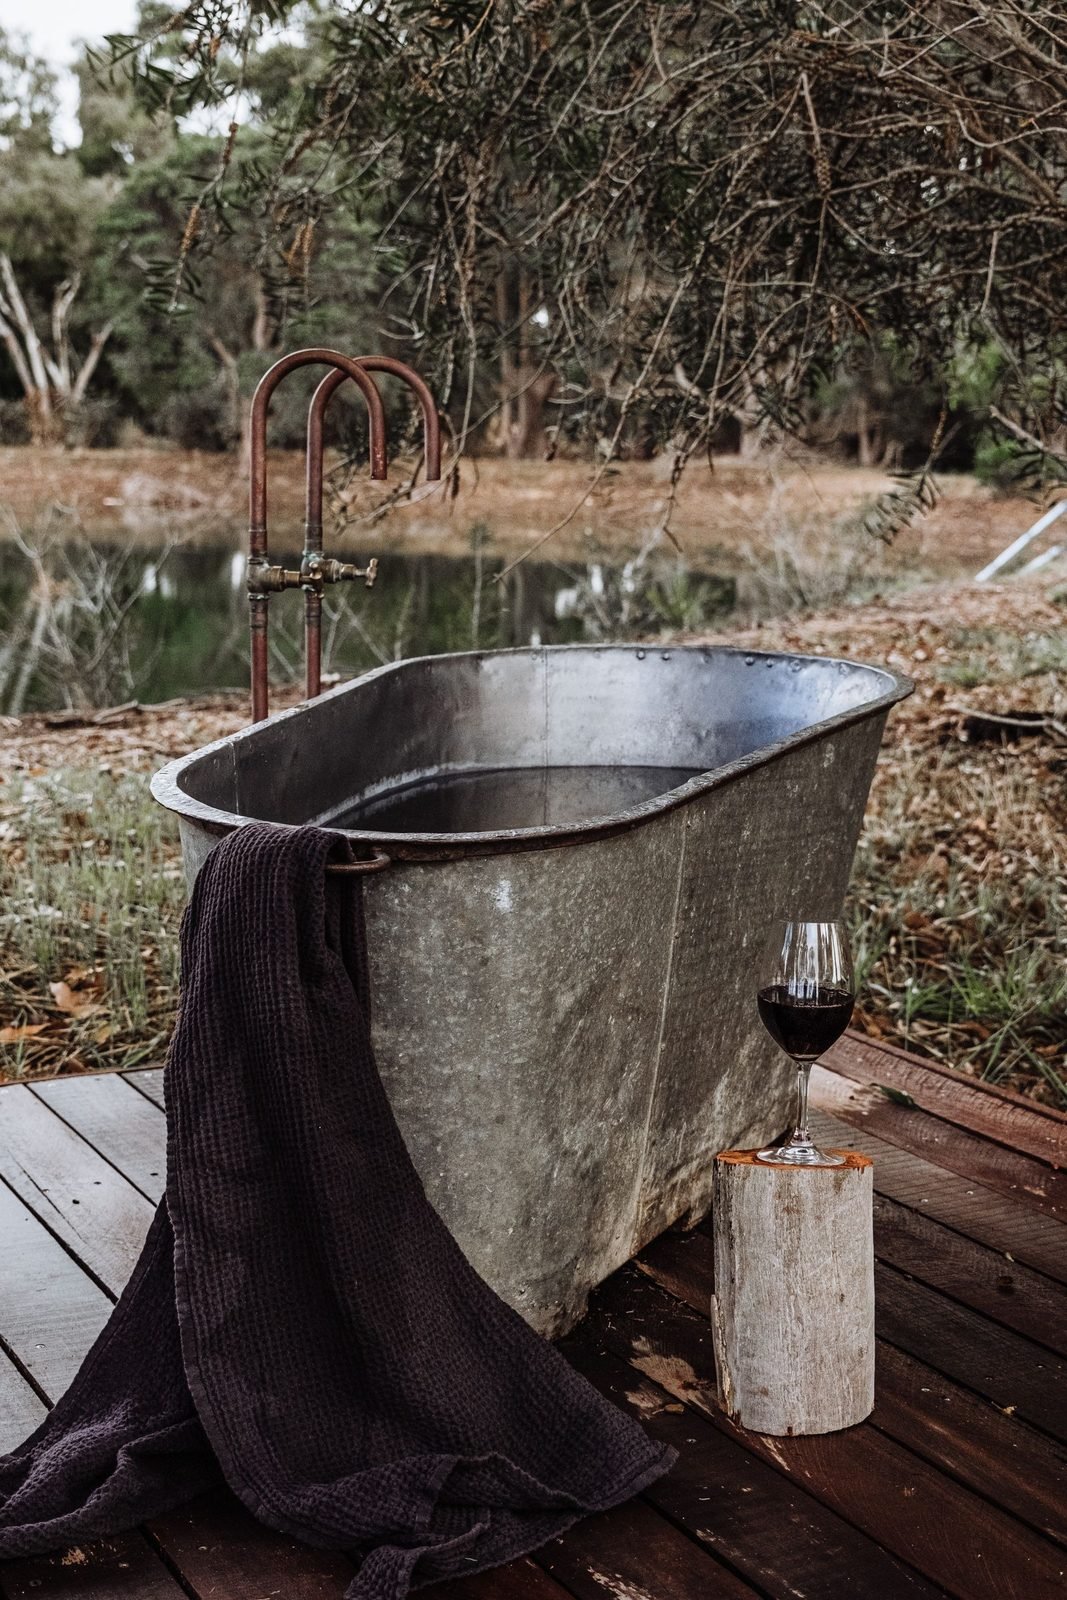
For soaking, an 8-foot round tank (about 2 feet deep) comfortably fits two adults; a 6-foot tank is perfect for one and heats faster. Galvanized steel is the classic choice — tough, affordable, and it develops a nice patina.
Inspect before you buy: the tank should be straight-walled with no sharp dents, and the factory drain plug should turn freely. Avoid tanks with flaking interior coating. Family Handyman's guide to stock tank pools covers sizing, leveling, and rust prevention in detail — most of it applies directly to a soaking setup.
Step 3: Build a Rock-Solid Base
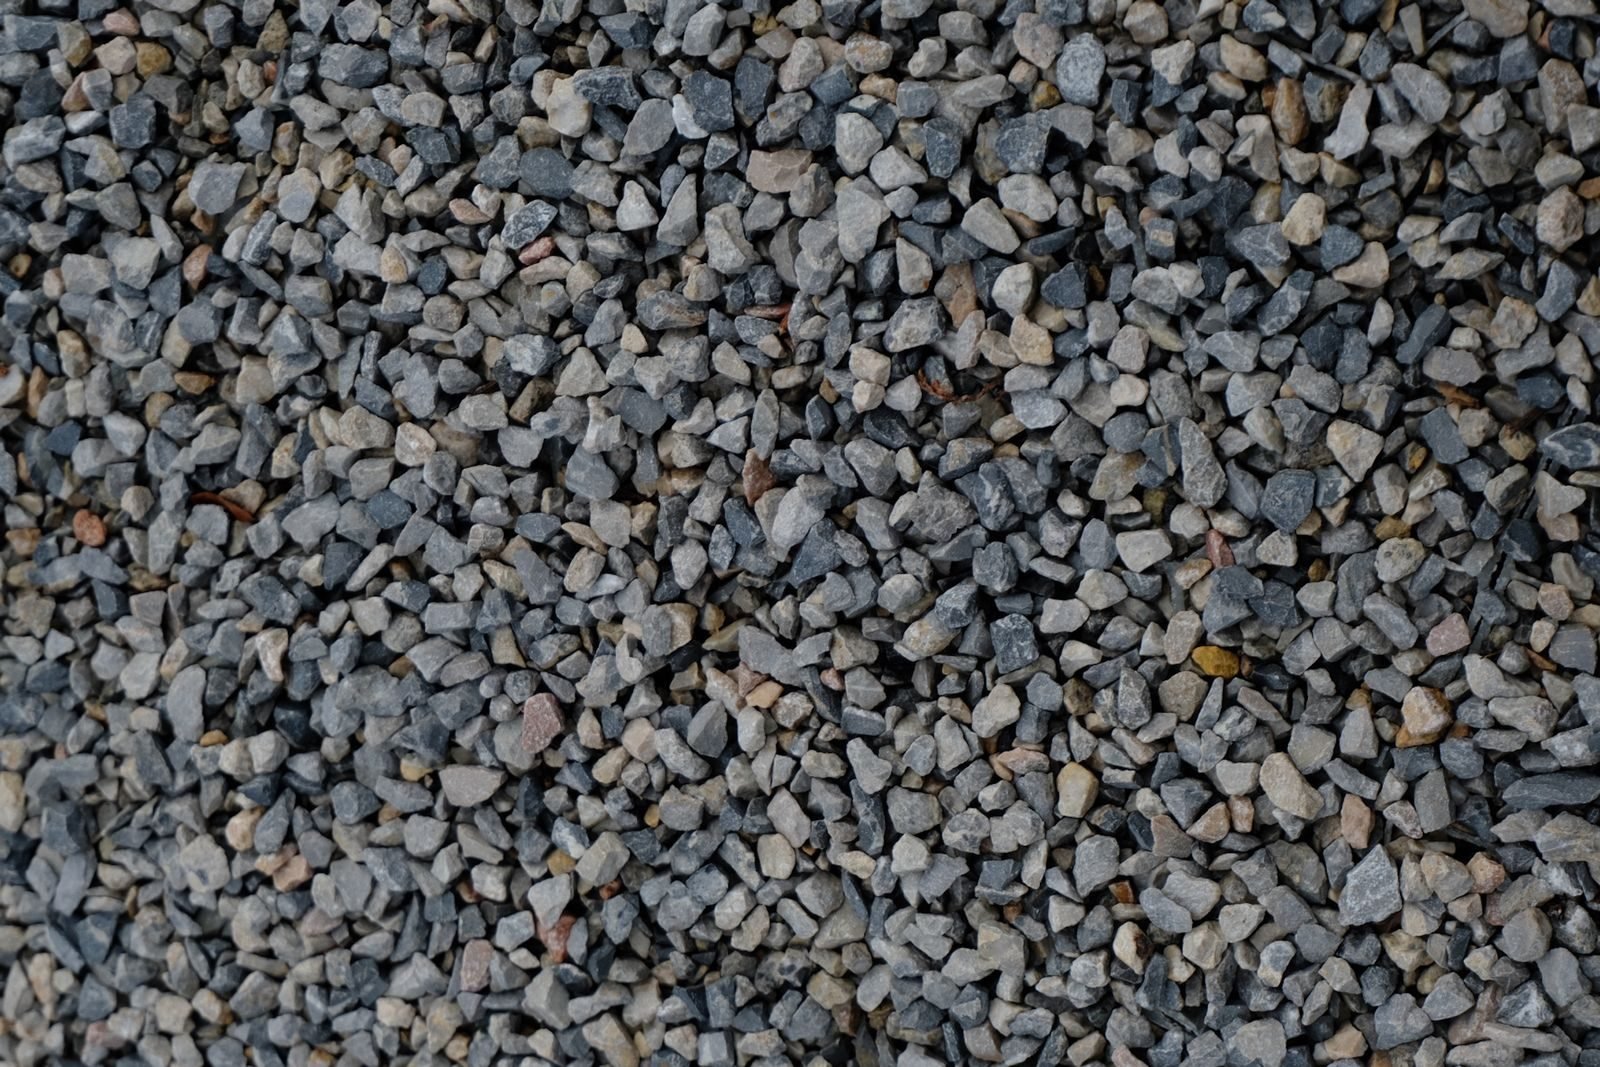
A filled 8-foot tank weighs over 3,000 pounds, so the base matters. Clear the sod, level the ground, and lay a 4-inch bed of compacted gravel or a grid of cinder blocks. Check level in at least four directions — an unlevel tank stresses the seams and looks terrible.
For a nicer finish, ring the gravel pad with landscape edging and top it with pea gravel. This also gives you a mud-free zone to stand on while getting in and out, which matters more than you'd think on a cold night.
Step 4: Clean and Prep the Tank
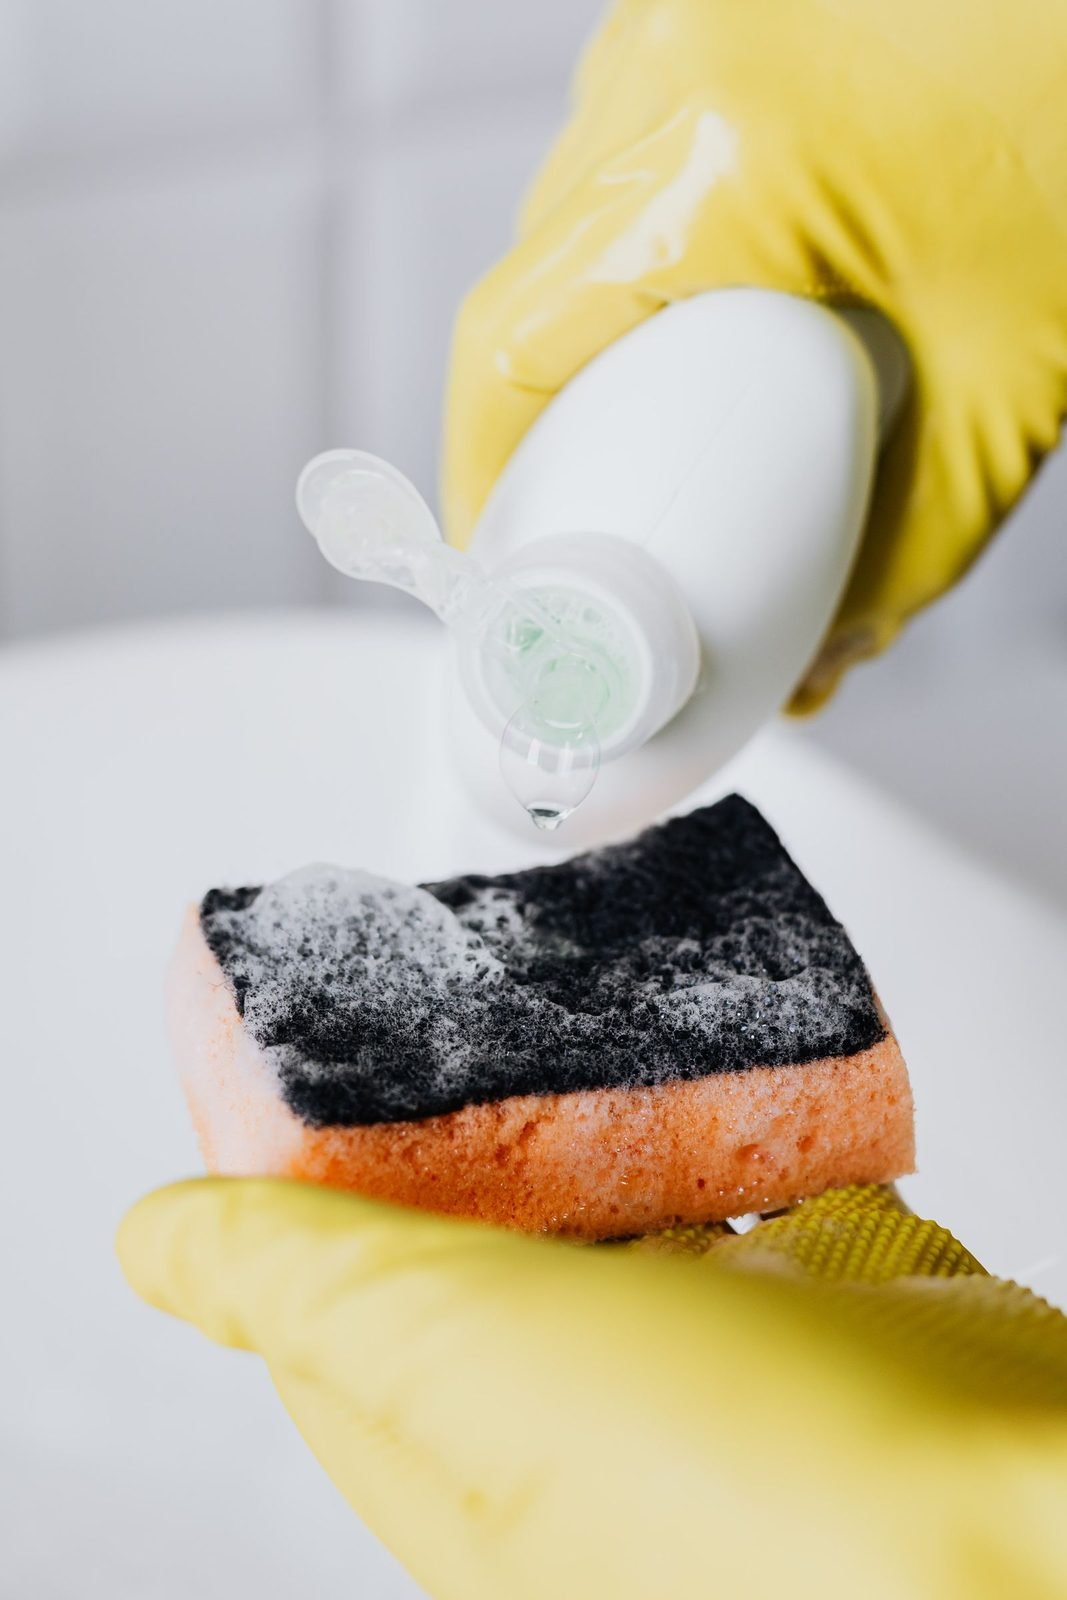
New stock tanks ship with manufacturing oils and residue. Scrub the interior with dish soap and a stiff brush, rinse thoroughly, and let it dry. Some builders paint the exterior with metal paint at this stage — matte black looks sharp and absorbs solar heat.
If you're going for a full garden integration, this is also the moment to plan the surround: a simple cedar deck ring or stacked-stone skirt transforms a metal outdoor bathtub from farm equipment into a designed feature. Our outdoor bathtub in garden ideas show how the landscaping makes the tub.
Step 5: Choose Your Wood-Fired Heater
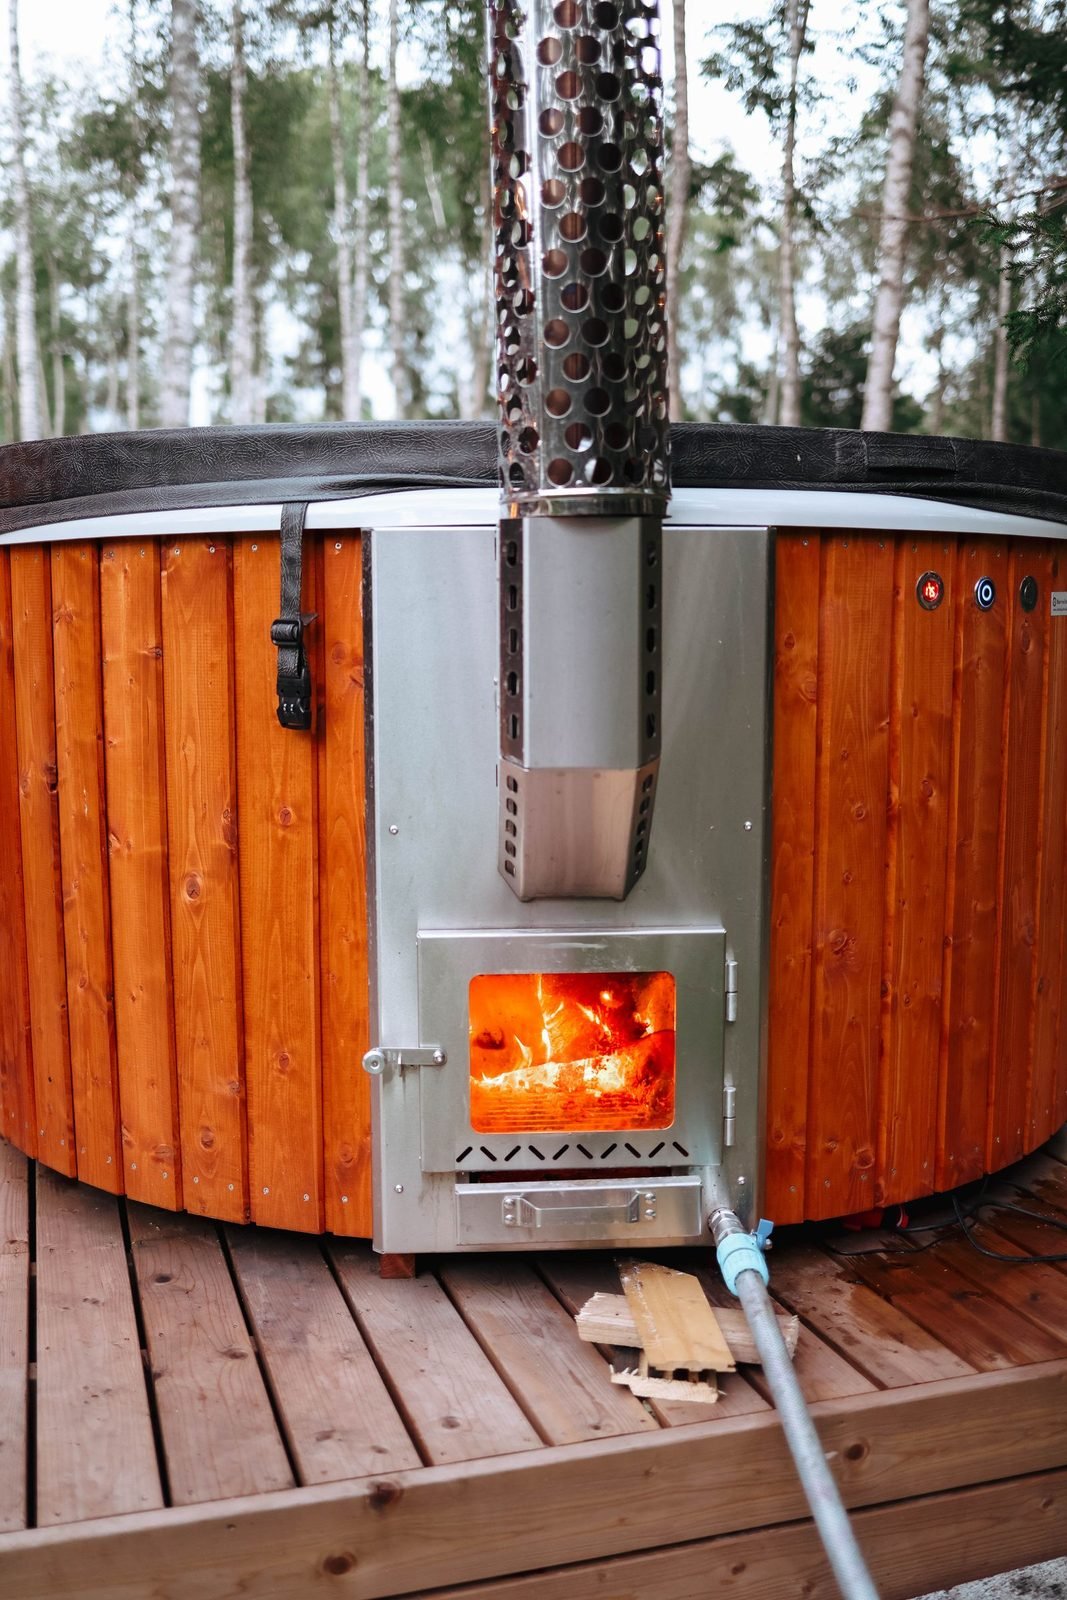
You have two main options. A snorkel stove sits inside the tub (in a corner, fenced off from bathers) and heats water directly — simple, efficient, and the classic choice. An external coil stove sits beside the tub and circulates water through a fire-heated copper coil via thermosiphon — no hot metal inside the tub with you.
The snorkel stove is cheaper and simpler; the external coil is safer and easier to tend while soaking. Either way, budget 2–4 hours of burn time to bring cold water up to soaking temperature, and always use dry hardwood for a clean, hot fire.
Step 6: Plumb the Fill Line
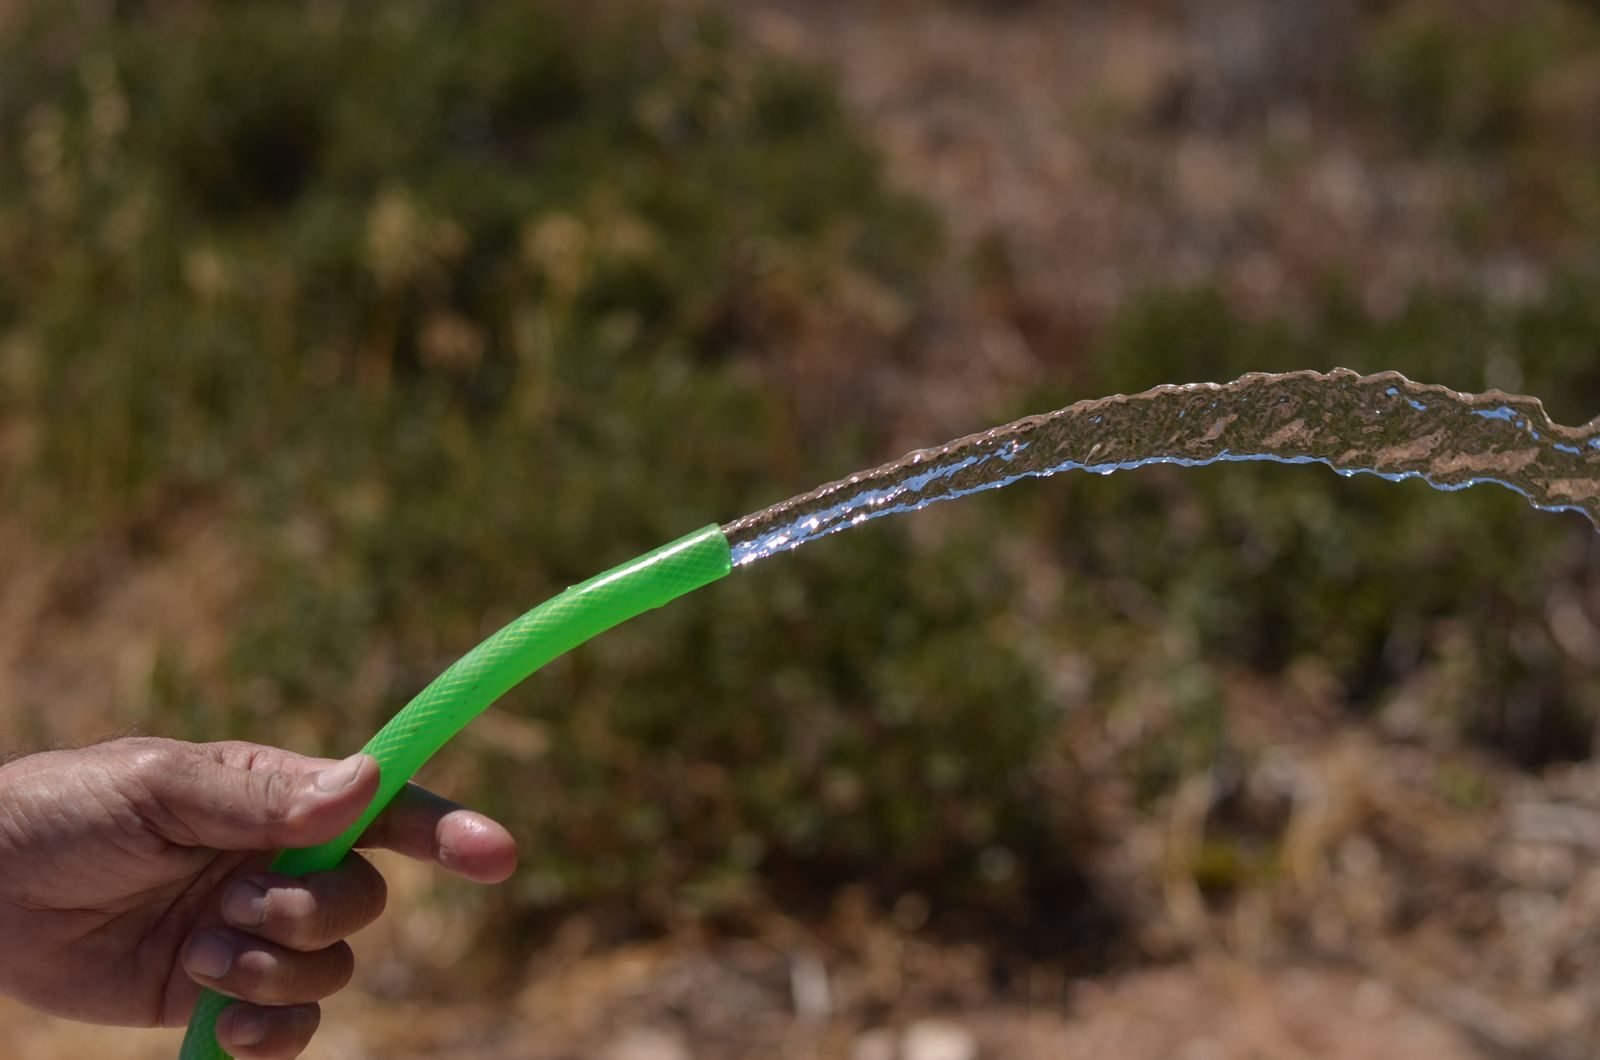
The simplest fill is a garden hose — no plumbing required. If you want it fancier, run a frost-proof hose bib to the tub area so you're not dragging 50 feet of hose across the lawn every time.
Position the fill so water enters away from the heater, which encourages circulation as the tub fills. A full 8-foot tank holds roughly 750 gallons, so start filling early in the day; most garden hoses deliver 5–10 gallons per minute.
Step 7: Install the Drain
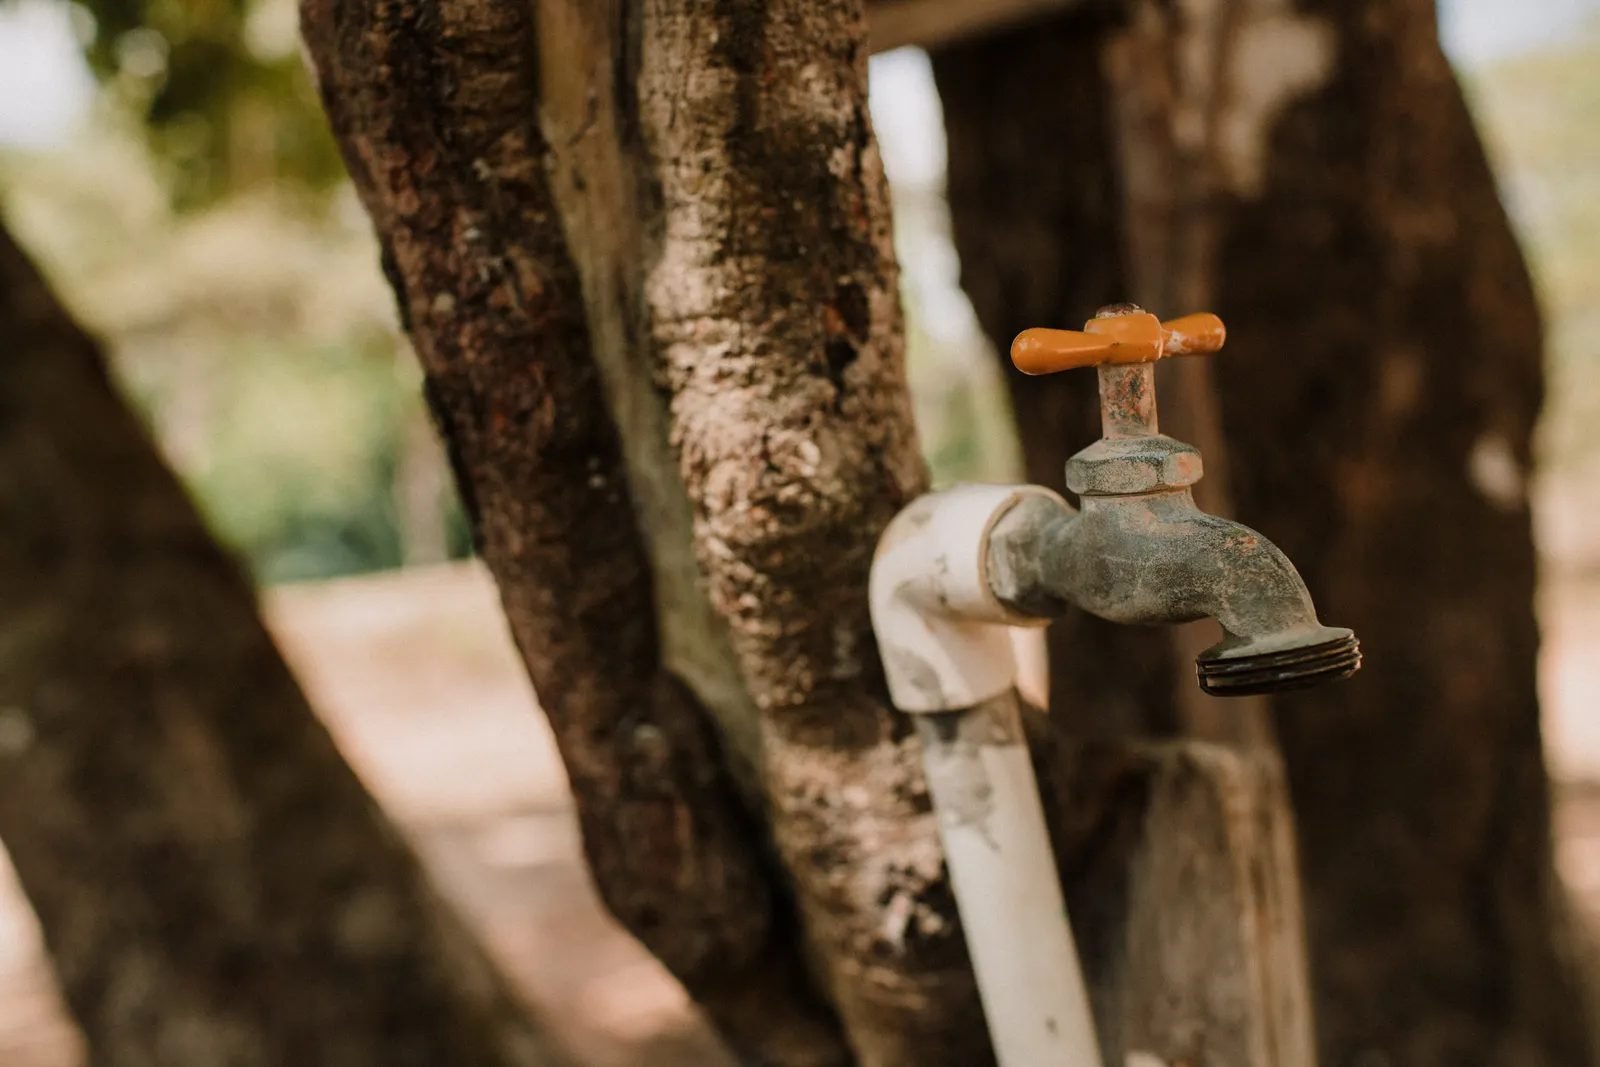
Use the tank's factory drain plug as your primary drain, and add a ball valve for easier operation. Run a short hose from the drain to a garden bed — with plant-safe soaps, your bath water becomes free irrigation.
Plan drainage before you fill, not after: 750 gallons has to go somewhere. If your yard is flat or the soil is heavy clay, our guide to outdoor shower drainage options covers French drains and dry wells that work just as well for tubs.
Step 8: Add Simple Filtration
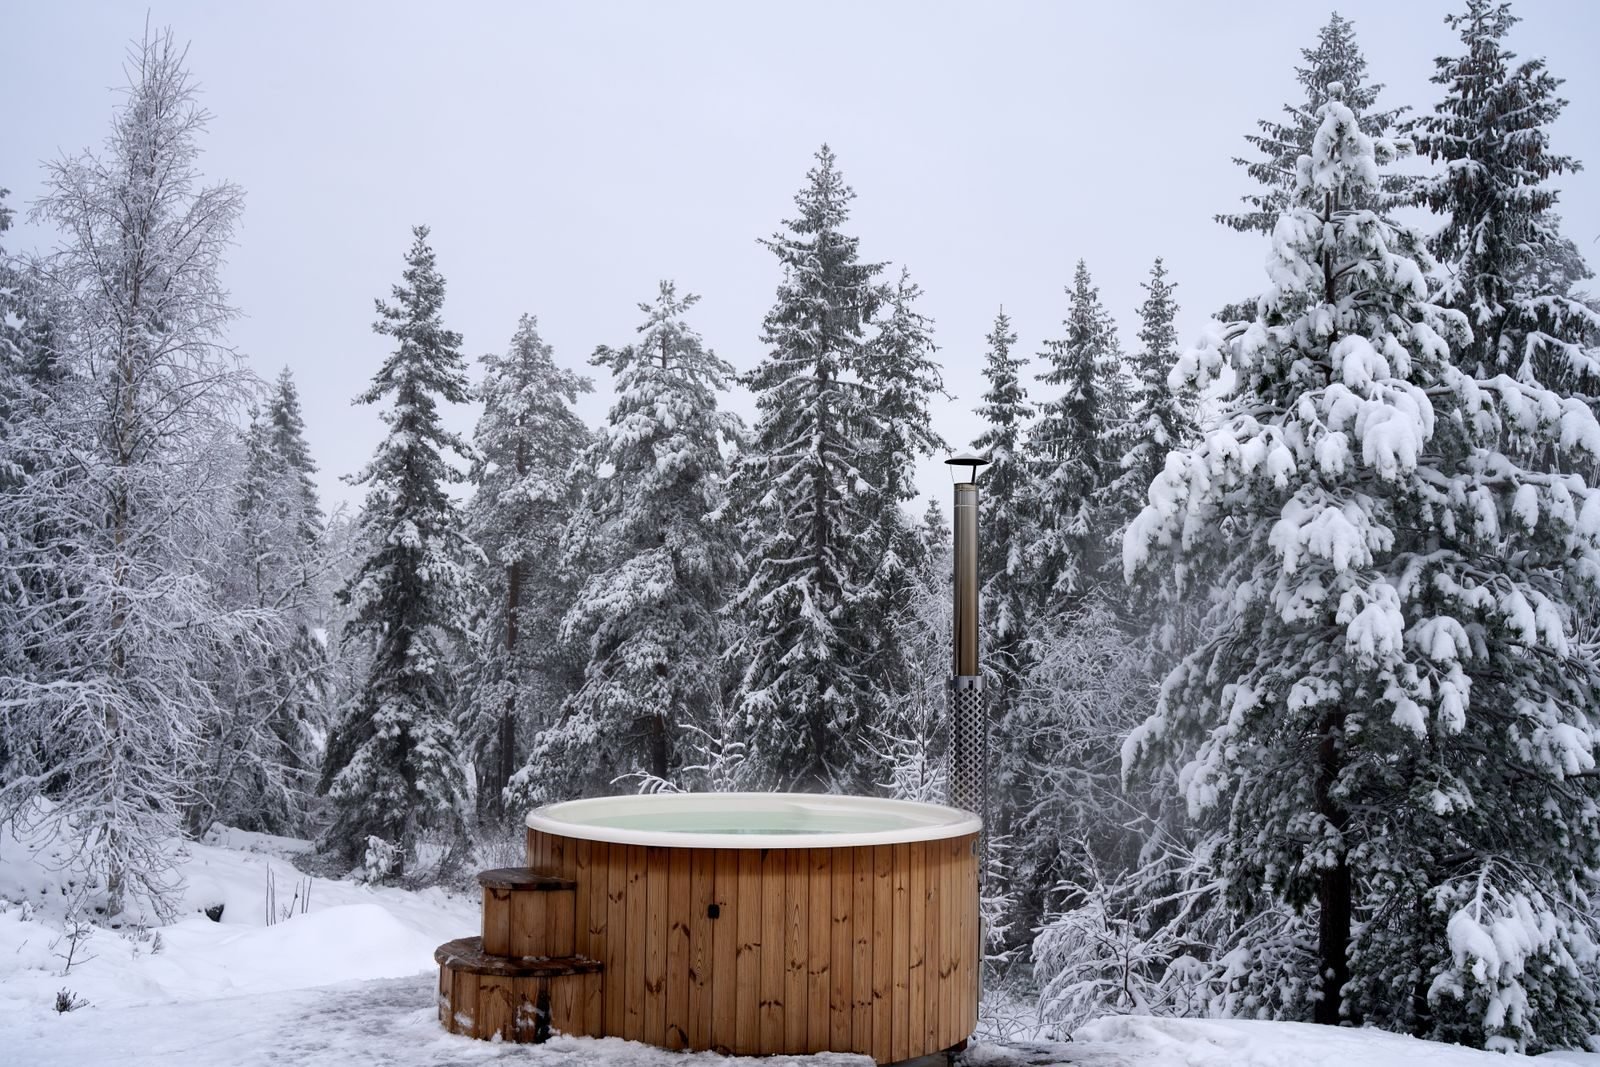
You don't need a pool filter for a soak you drain regularly, but a little circulation goes a long way. A small solar-powered pump keeps water moving between soaks, which discourages mosquitoes and keeps the water fresher.
For sanitation, a floating chlorine or bromine dispenser with a minimal dose works, or go chemical-free and simply drain and refill every few days. If you choose the drain-and-refill route, a dark fitted cover between soaks keeps debris — and heat — in.
Step 9: Heat Safely — Read This Twice
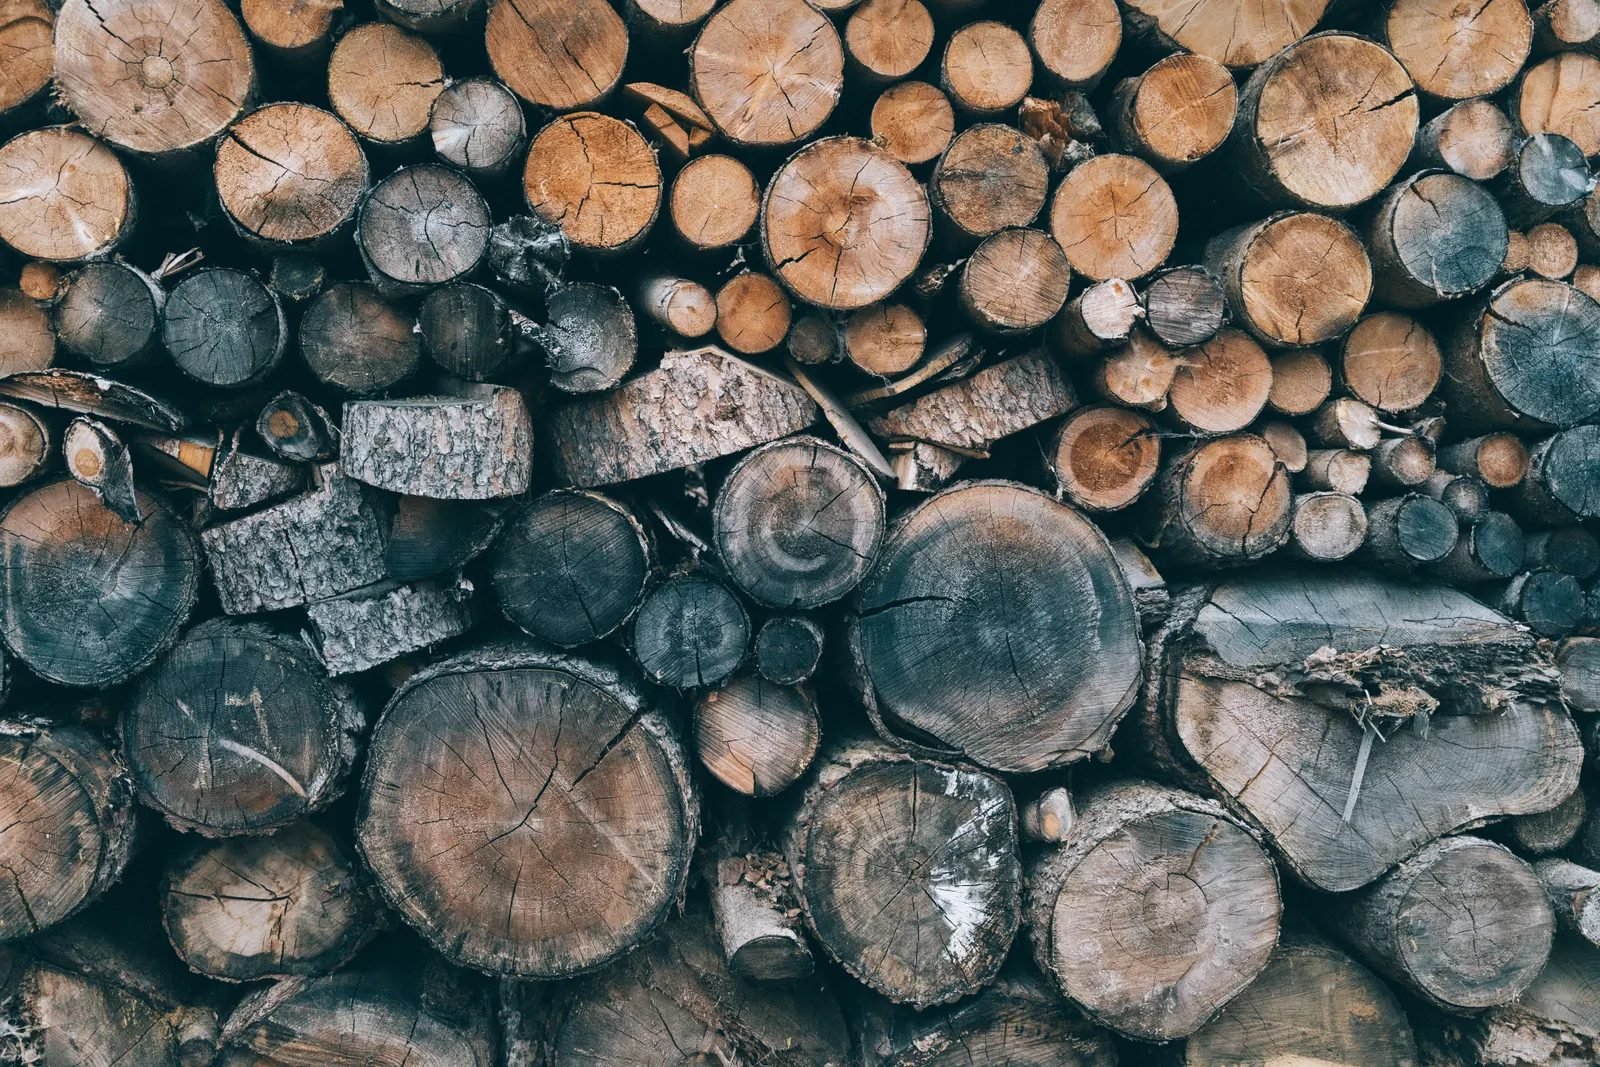
Fire plus water demands respect. Always use a floating thermometer and never get in above 104°F (40°C) — wood-fired tubs can overshoot fast, especially as the fire dies down and heat keeps transferring. Keep a bucket of cold water or a hose nearby to temper the tub quickly.
Fence off any hot stove surfaces inside the tub with the manufacturer's guard, keep kids supervised at all times, and never leave the fire burning unattended. Let the fire burn down before long soaks, and stir the water well before getting in — hot spots near the heater can be 20 degrees warmer than the far side.
Step 10: Cover and Maintain
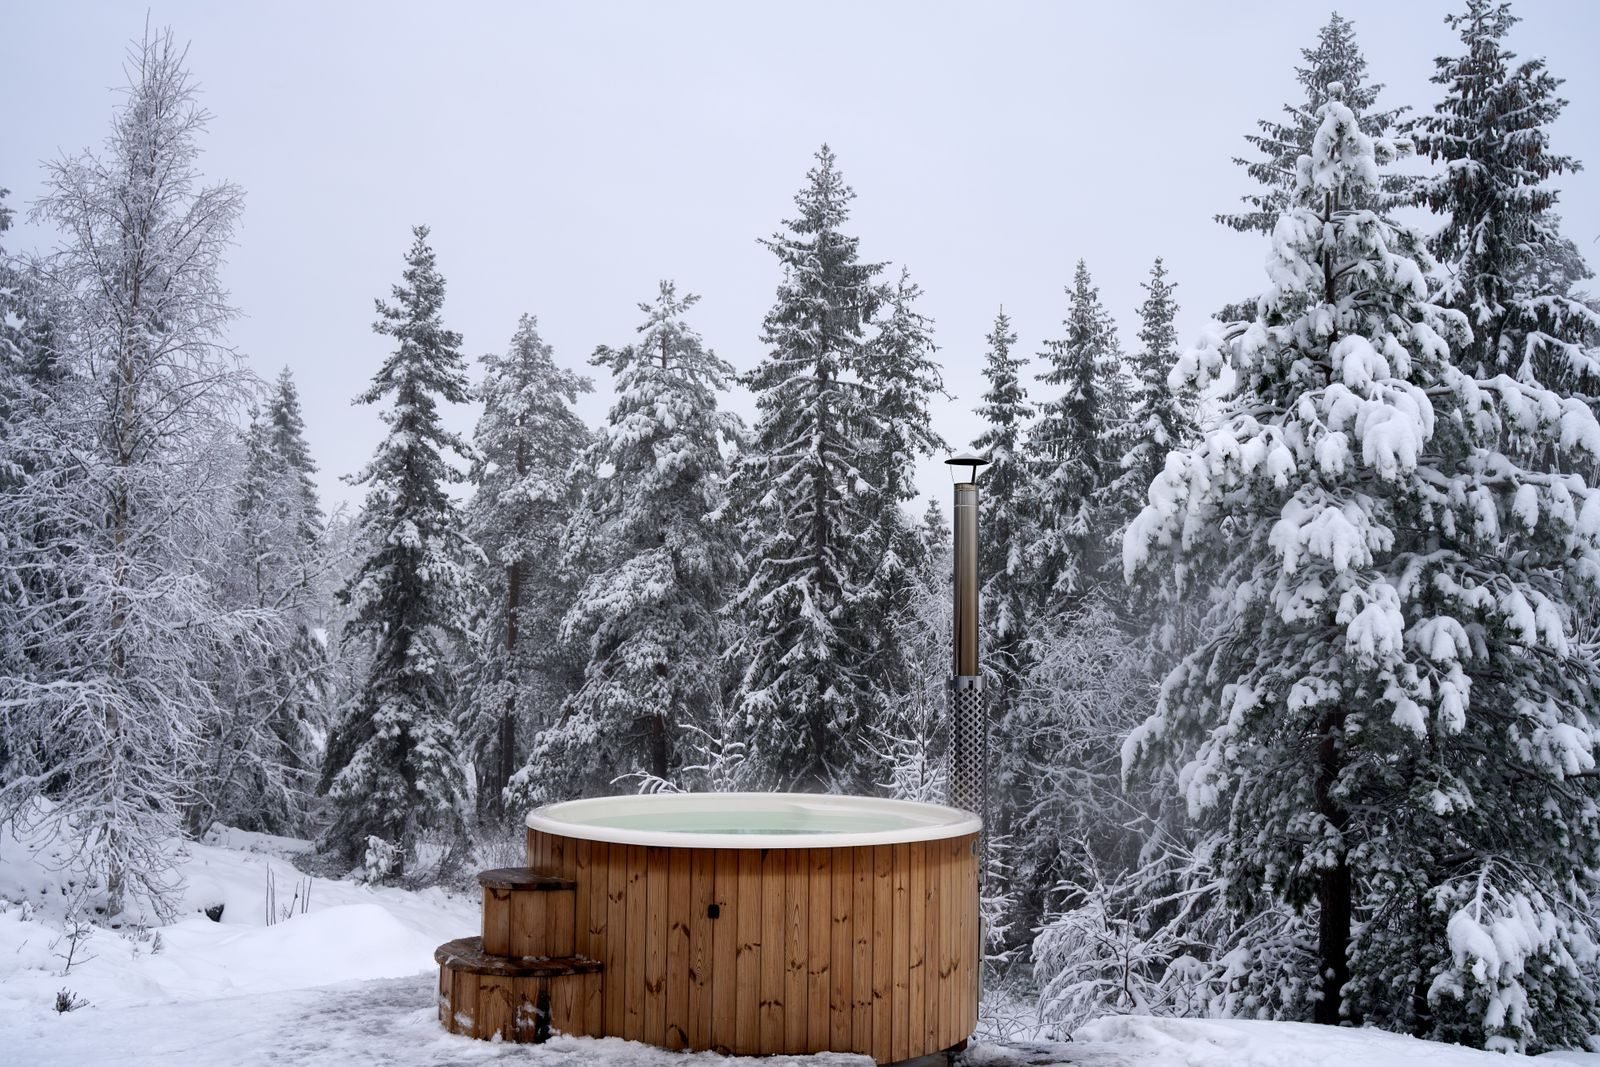
A fitted cover is the highest-ROI accessory: it keeps heat in, debris out, and cuts your firewood use dramatically. An insulated hard cover is best; a floating thermal blanket plus a tarp works on a budget.
Maintenance is simple: scrub the waterline weekly, check the heater for ash buildup, and drain completely before the first hard freeze unless you plan to keep it heated all winter. Touch up exterior paint yearly and your DIY outdoor bathtub will soak happily for a decade.
The First Soak
Light the fire about three hours before you plan to get in, test the temperature in several spots with your thermometer, and bring everything you need within arm's reach — towel, water bottle, and a headlamp for after dark. There's something deeply satisfying about a hot bath you heated with wood you split yourself.
If you want to dress up the scene, a simple pergola overhead with string lights turns the whole setup into an evening destination — our DIY pergola ideas include several designs that pair perfectly with a soak station.
FAQ
How long does it take to heat a stock tank bathtub with wood?
Expect 2–4 hours to bring cold hose water up to a comfortable 100–104°F, depending on tank size, starting water temperature, and how hot your fire burns. A cover on the tub while heating cuts the time significantly. Start the fire well before you plan to soak.
Is a galvanized stock tank safe to bathe in?
Yes, for soaking. Galvanized steel is zinc-coated, and zinc is stable in neutral-pH water at bath temperatures. Keep the water's pH neutral, avoid harsh acids or bleach, and don't use the tub for drinking water. If the coating ever flakes badly, it's time to replace the tank.
Can I use a wood-fired bathtub in winter?
Absolutely — that's when it's best. You'll burn more wood and heat-up takes longer, but a steaming tub in falling snow is unforgettable. Just never let water sit unheated in the tank through a freeze; drain it completely or keep the fire going.
How much firewood does each soak use?
Roughly an armload or two of split hardwood per heating session once the system is dialed in — far less with a good cover. Dry hardwood (oak, maple, ash) burns hotter and cleaner than softwood, so your woodpile goes further.