
Bistro lights aren’t just string lights with a fancier name — they’re a dining design tool. Hung right, they turn a picnic table into a Parisian café. These 11 ideas focus on the dining zone specifically: heights, layouts, and ambiance for eating outdoors.
1. The Classic Canopy Over the Table
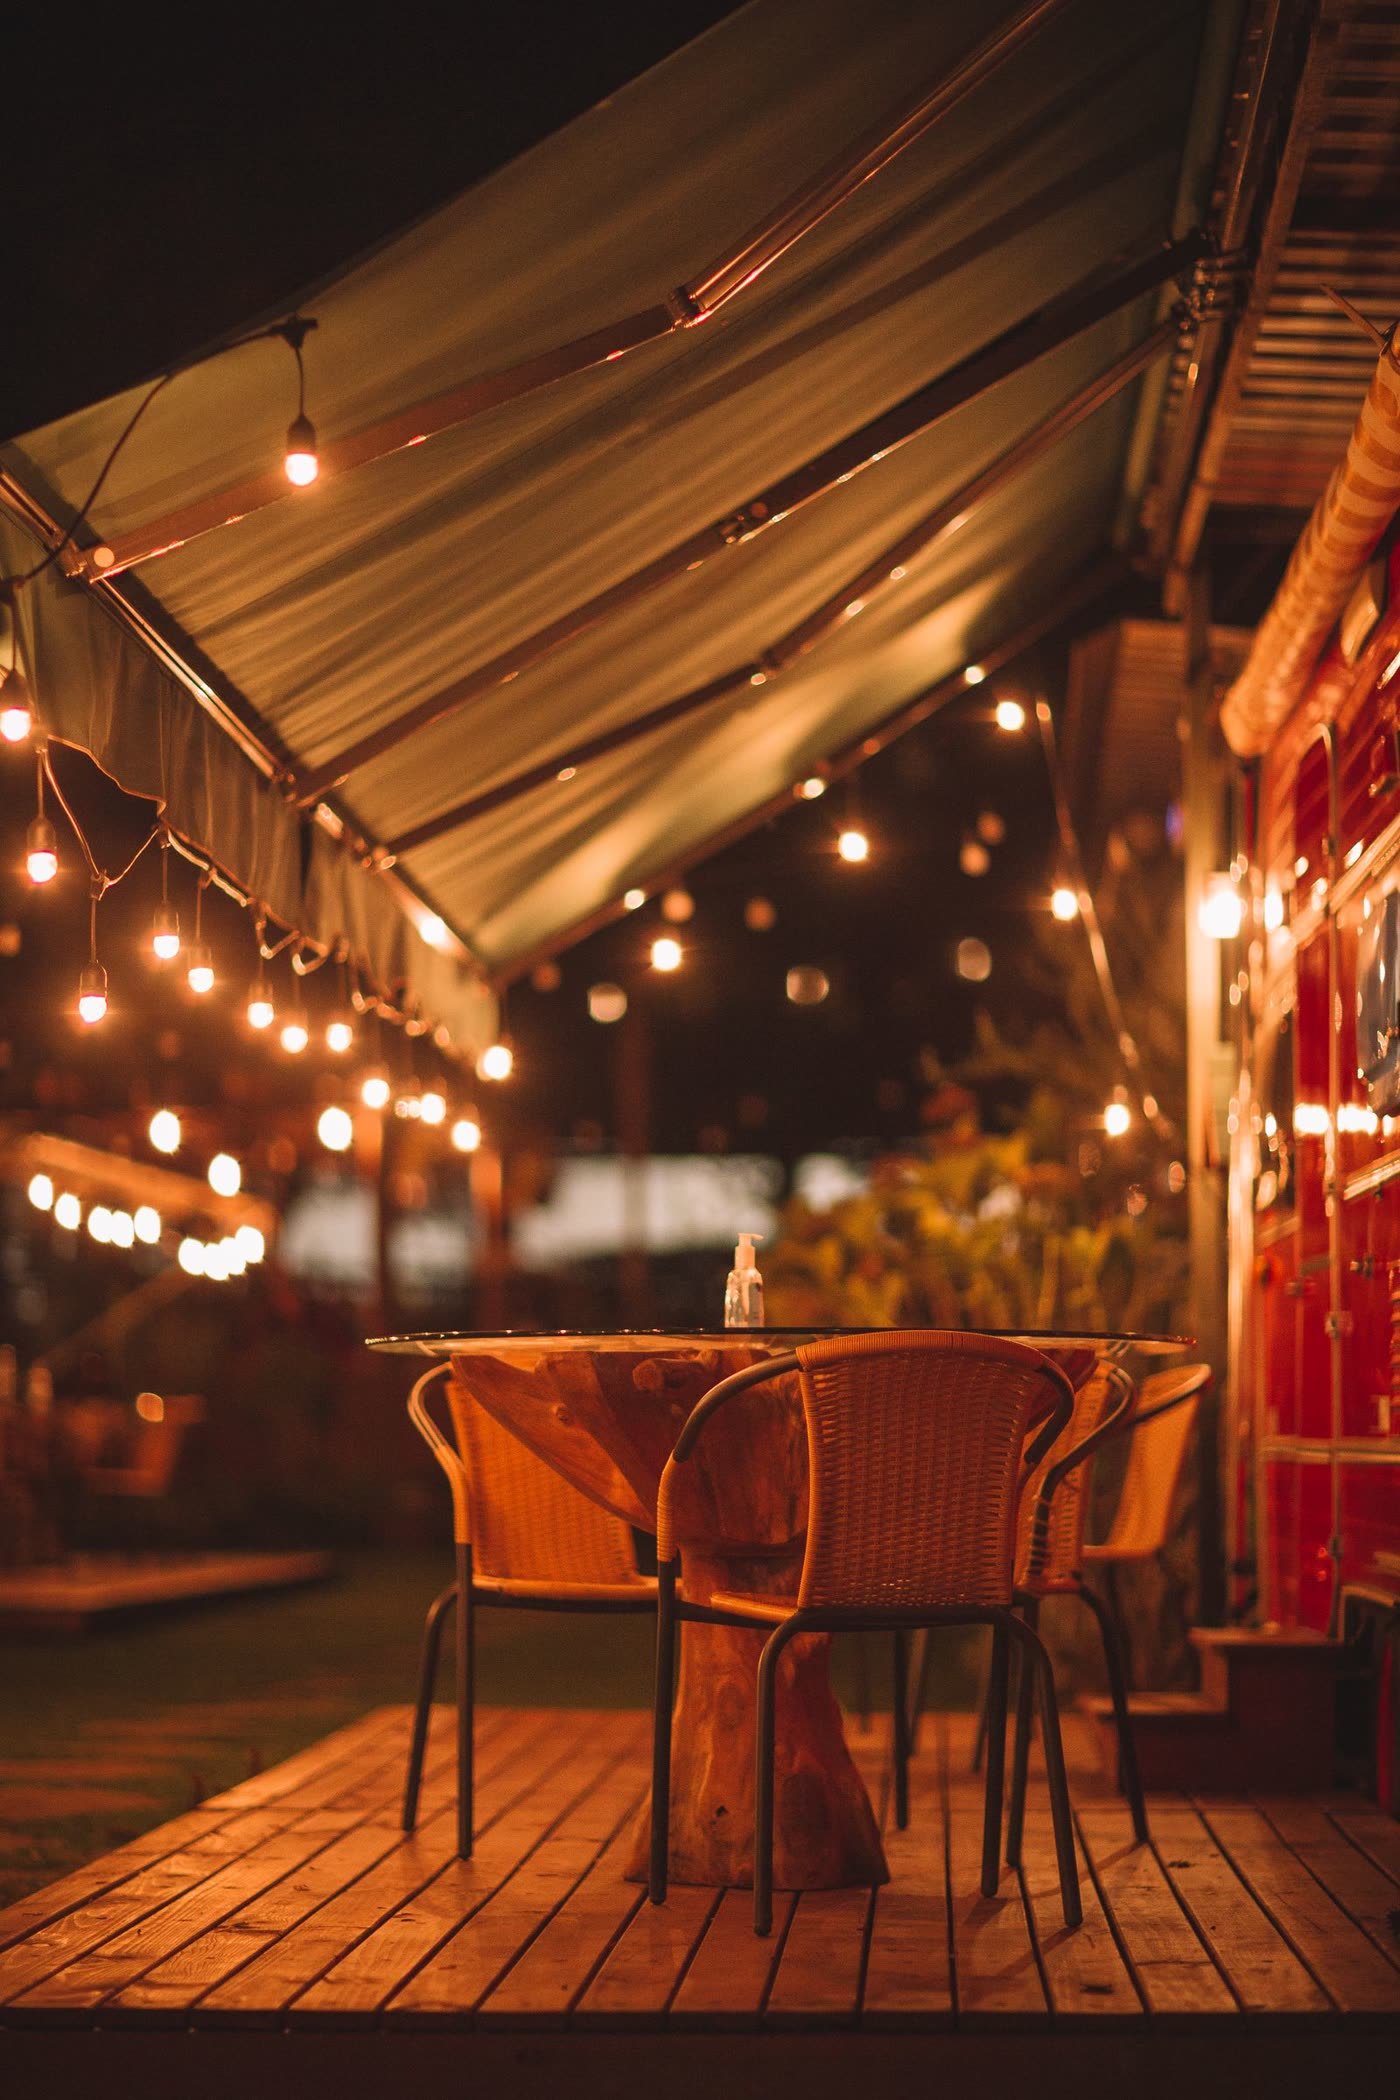
Drape bistro lights in parallel rows directly over the dining table, 8–10 feet high. Diners get even, flattering light — no harsh shadows on faces, no dark plates.
Best for: The core dining setup every backyard needs.



2. The V-Pattern from a Central Pole
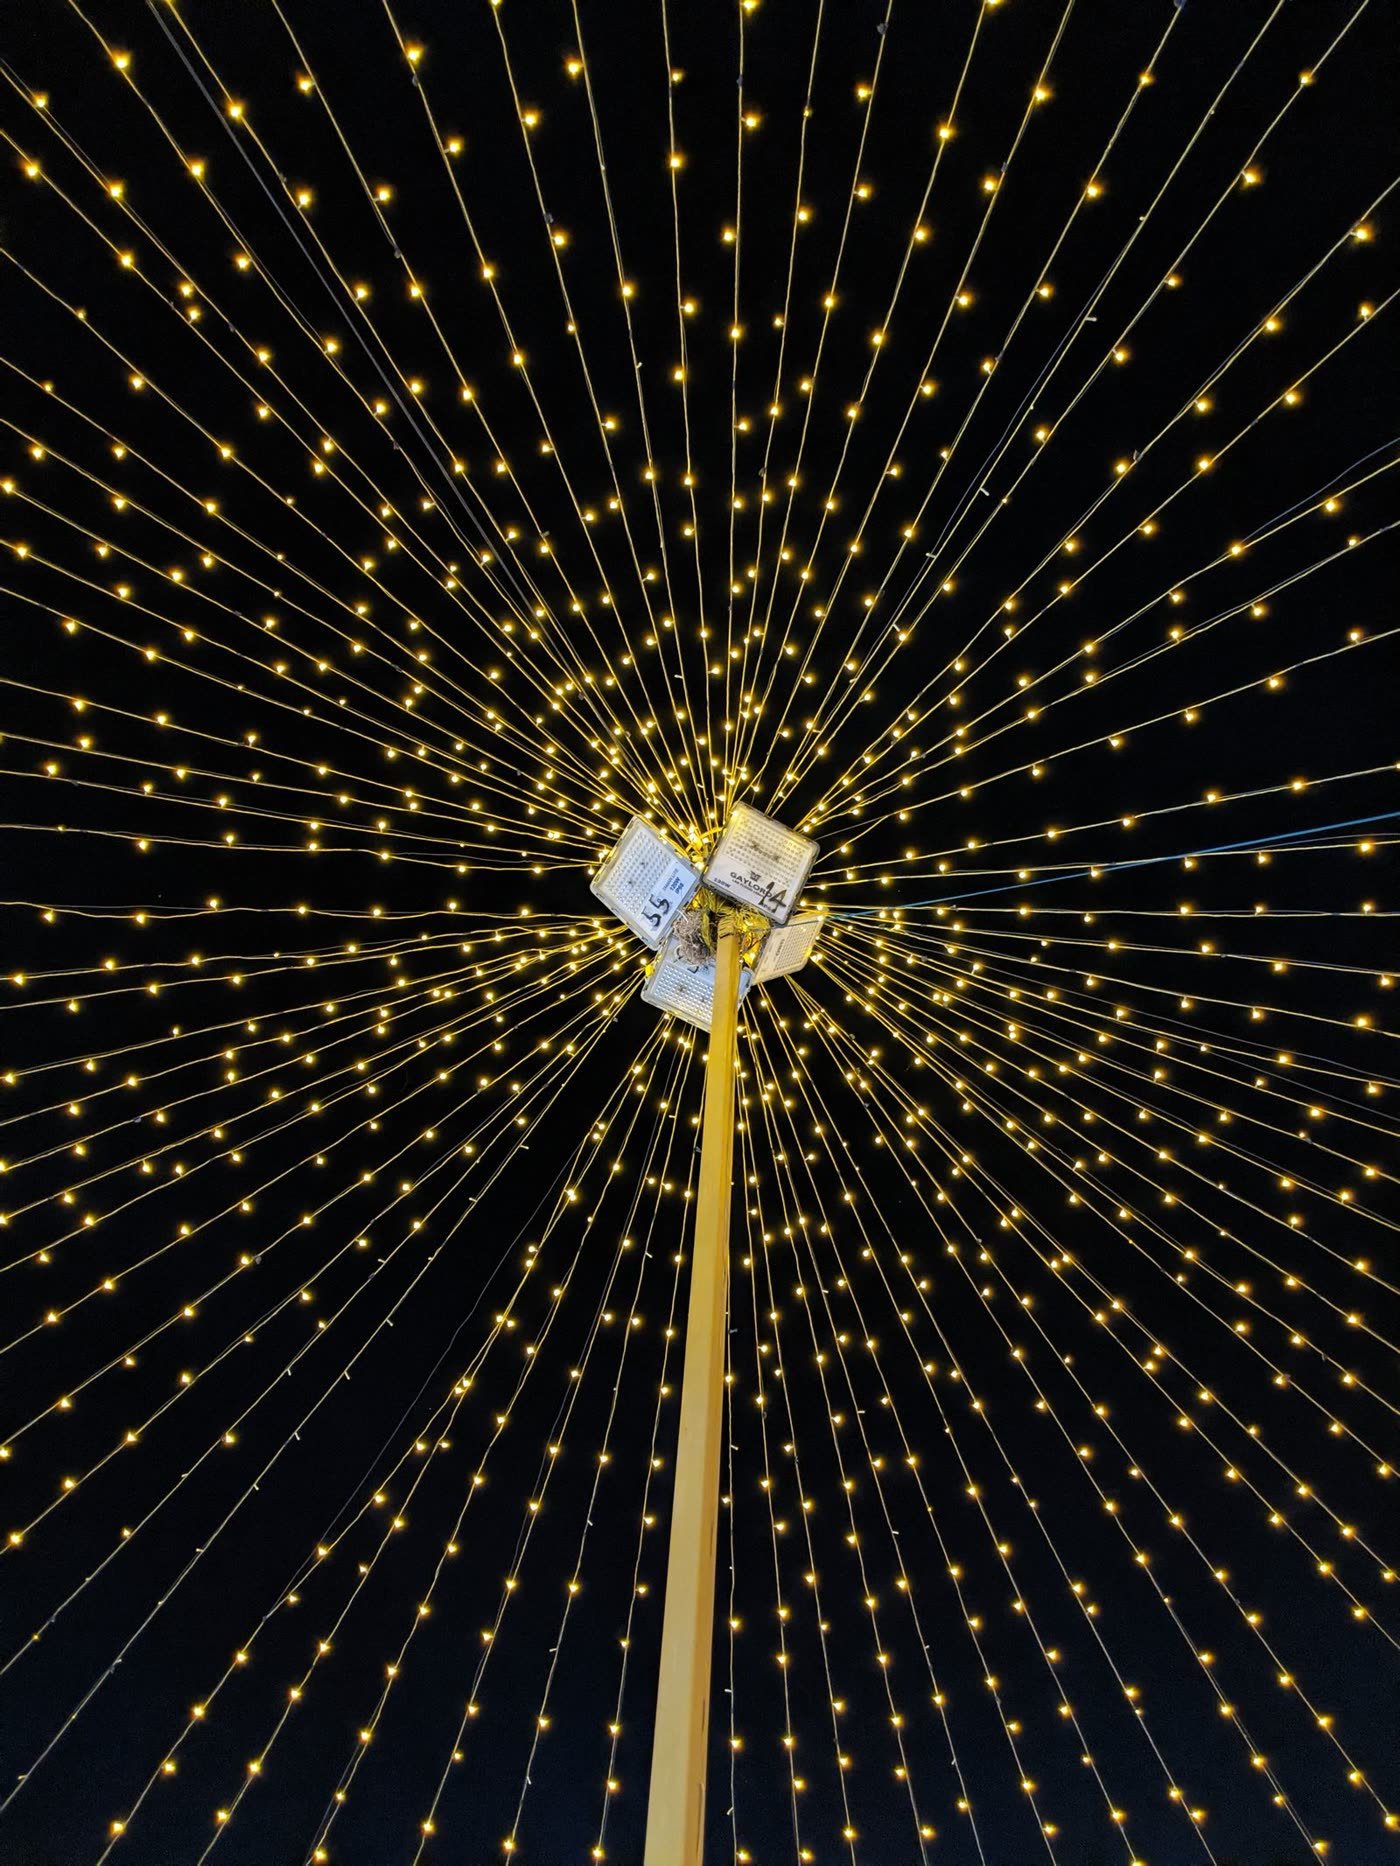
Run strands from a tall center pole outward to the pergola, fence, and house in a V or fan pattern. It creates a tent of light that makes the dining zone feel like a destination.
Best for: Open yards with no overhead structure.
3. Pergola Beam Weave
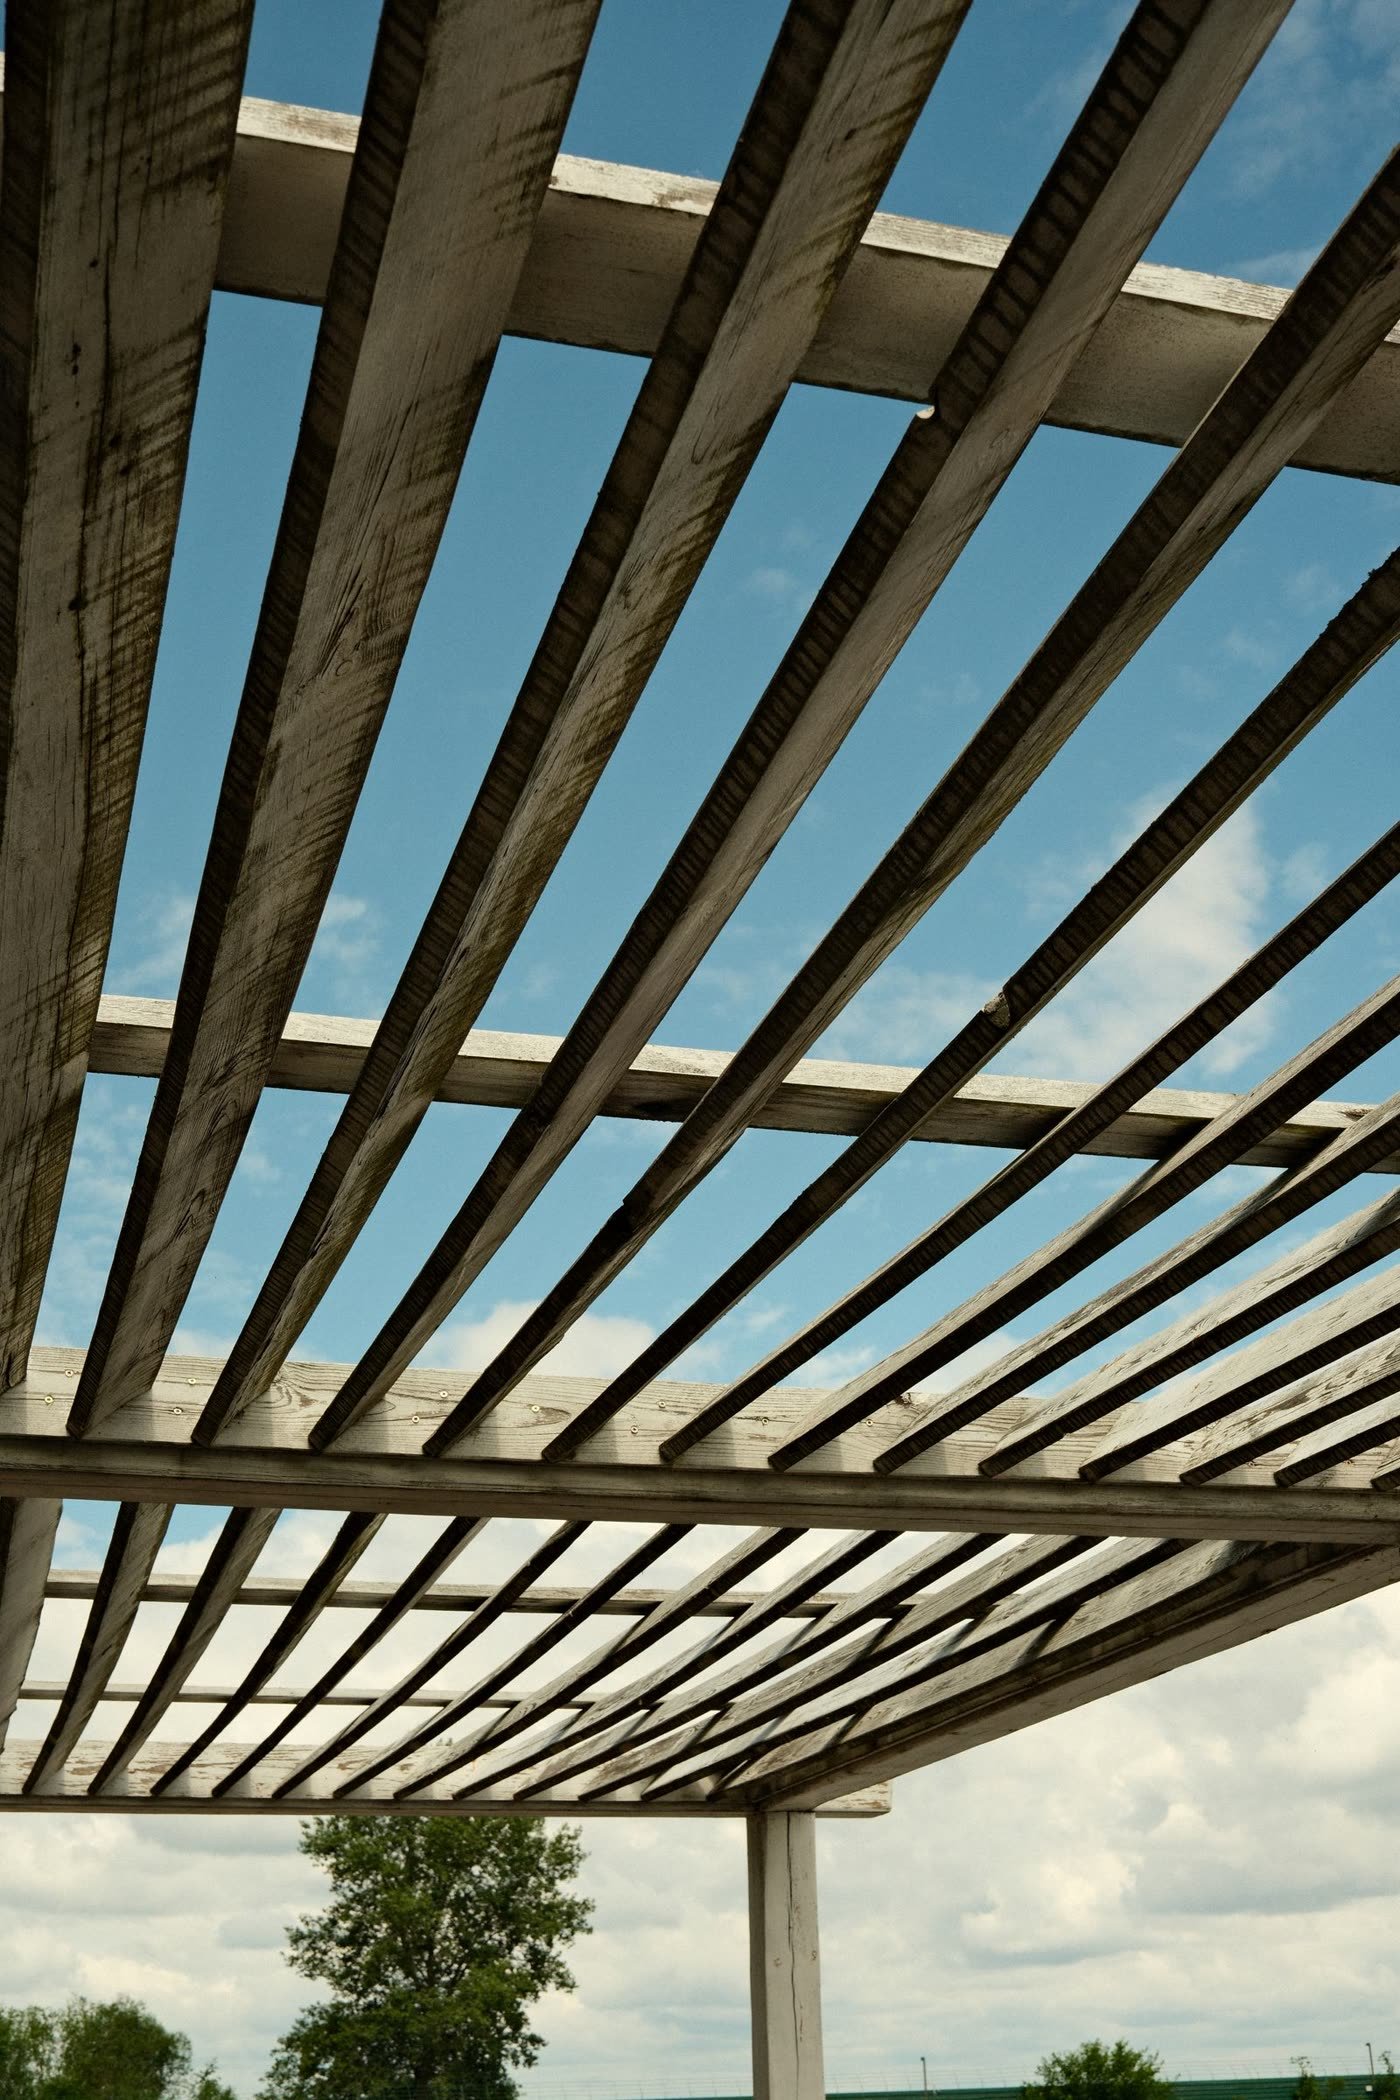
Weave bistro lights through pergola beams in a loose zigzag rather than straight lines. The irregular pattern looks organic and casts beautiful moving shadows.
Best for: Pergola-covered dining areas.
4. Low-Hang Intimacy (7 Feet)
Hang lights lower than you think — around 7 feet over the table — for small dinner parties. Lower lights = more intimate pool of glow, less light spilling into the whole yard.
Best for: Date nights and small gatherings.
5. High-Hang Airiness (10+ Feet)
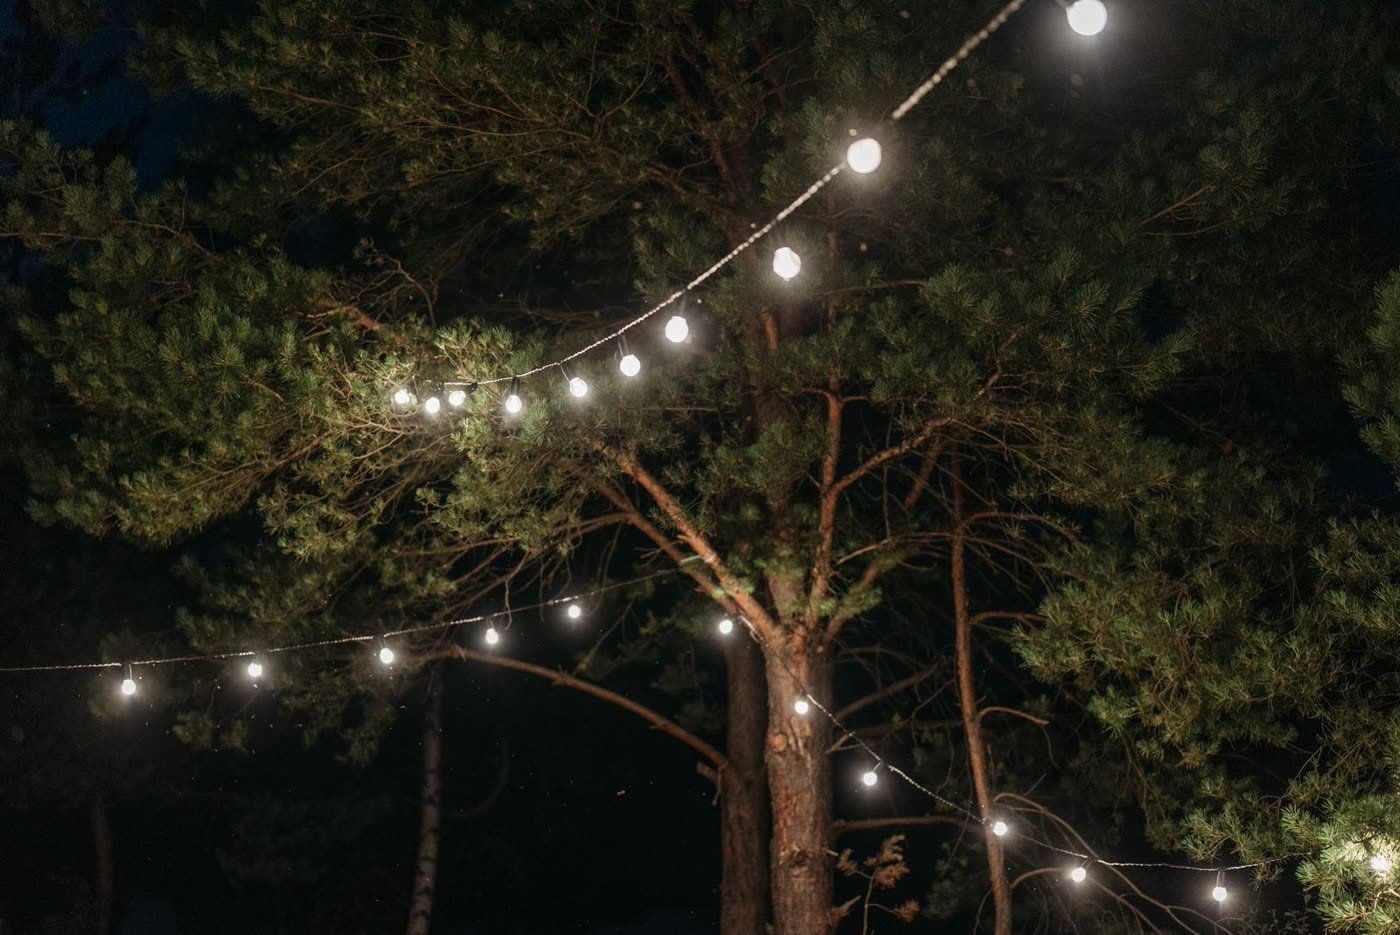
For big parties, hang at 10–12 feet so the light feels like stars, not a ceiling. Guests can stand and mingle without ducking.
Best for: Large gatherings and standing receptions.
6. Bistro + Candle Centerpieces
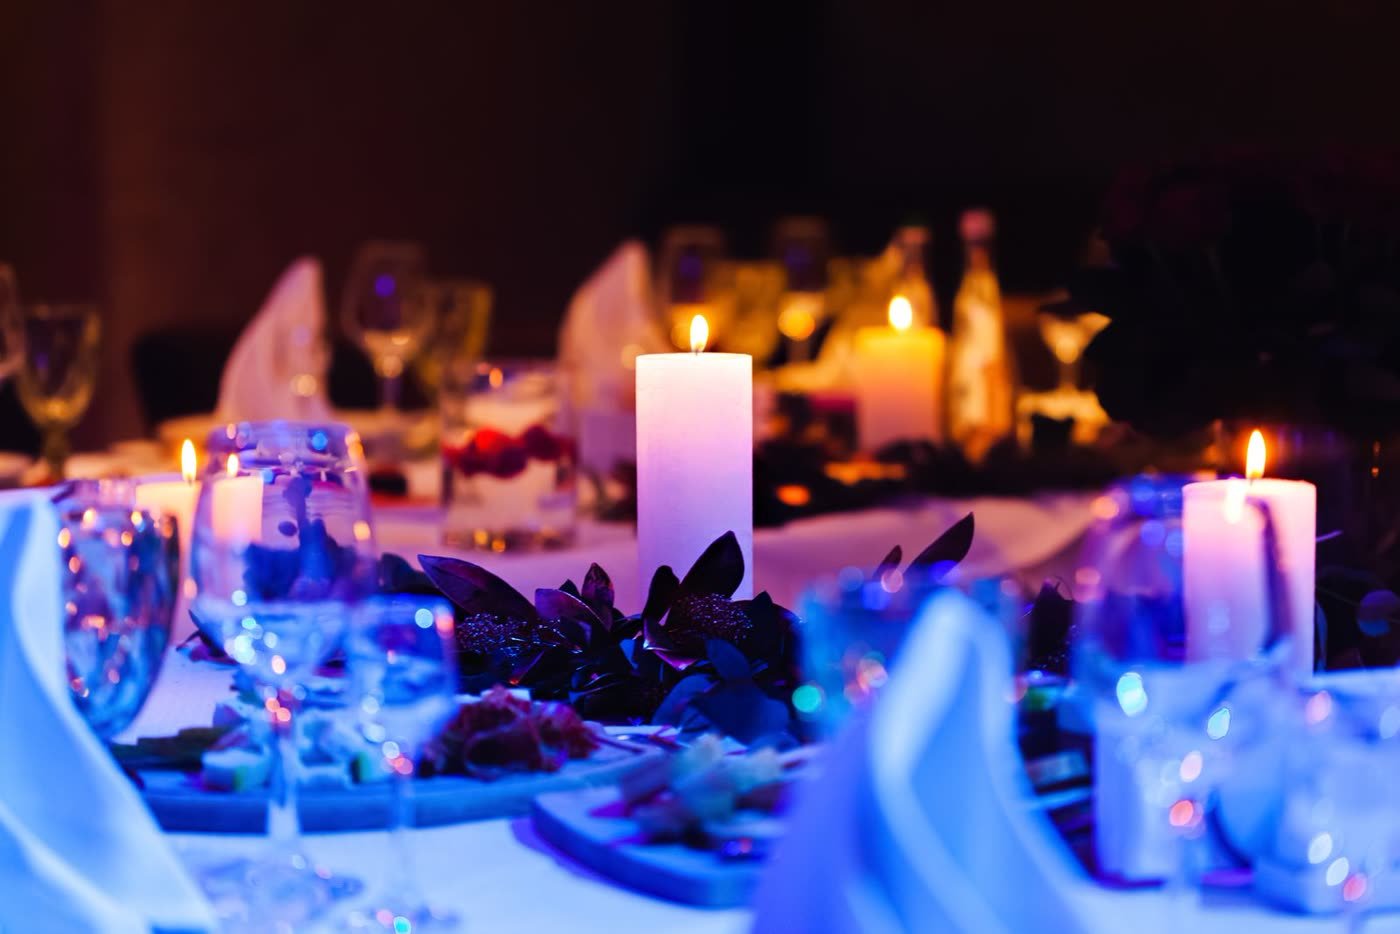
Pair overhead bistro lights with low candle centerpieces on the table. Two light heights — overhead wash plus tabletop flicker — is what restaurants do, and it works at home too.
Best for: Dinner parties that should feel special.
7. The Dining-to-Lounge Transition

Run one strand from the dining table to the lounge chairs so the two zones connect visually. Guests drift between dinner and drinks without crossing darkness.
Best for: Backyards with separate dining and seating areas.
8. Globe Size Matters

Larger globes (G40) read as bistro-café; smaller ones (G30/mini) read as fairy lights. For dining, go G40 — the bigger bulbs give better downward light on the food.
Best for: Getting the café look right, not the dorm-room look.
9. Warm White Only for Dining
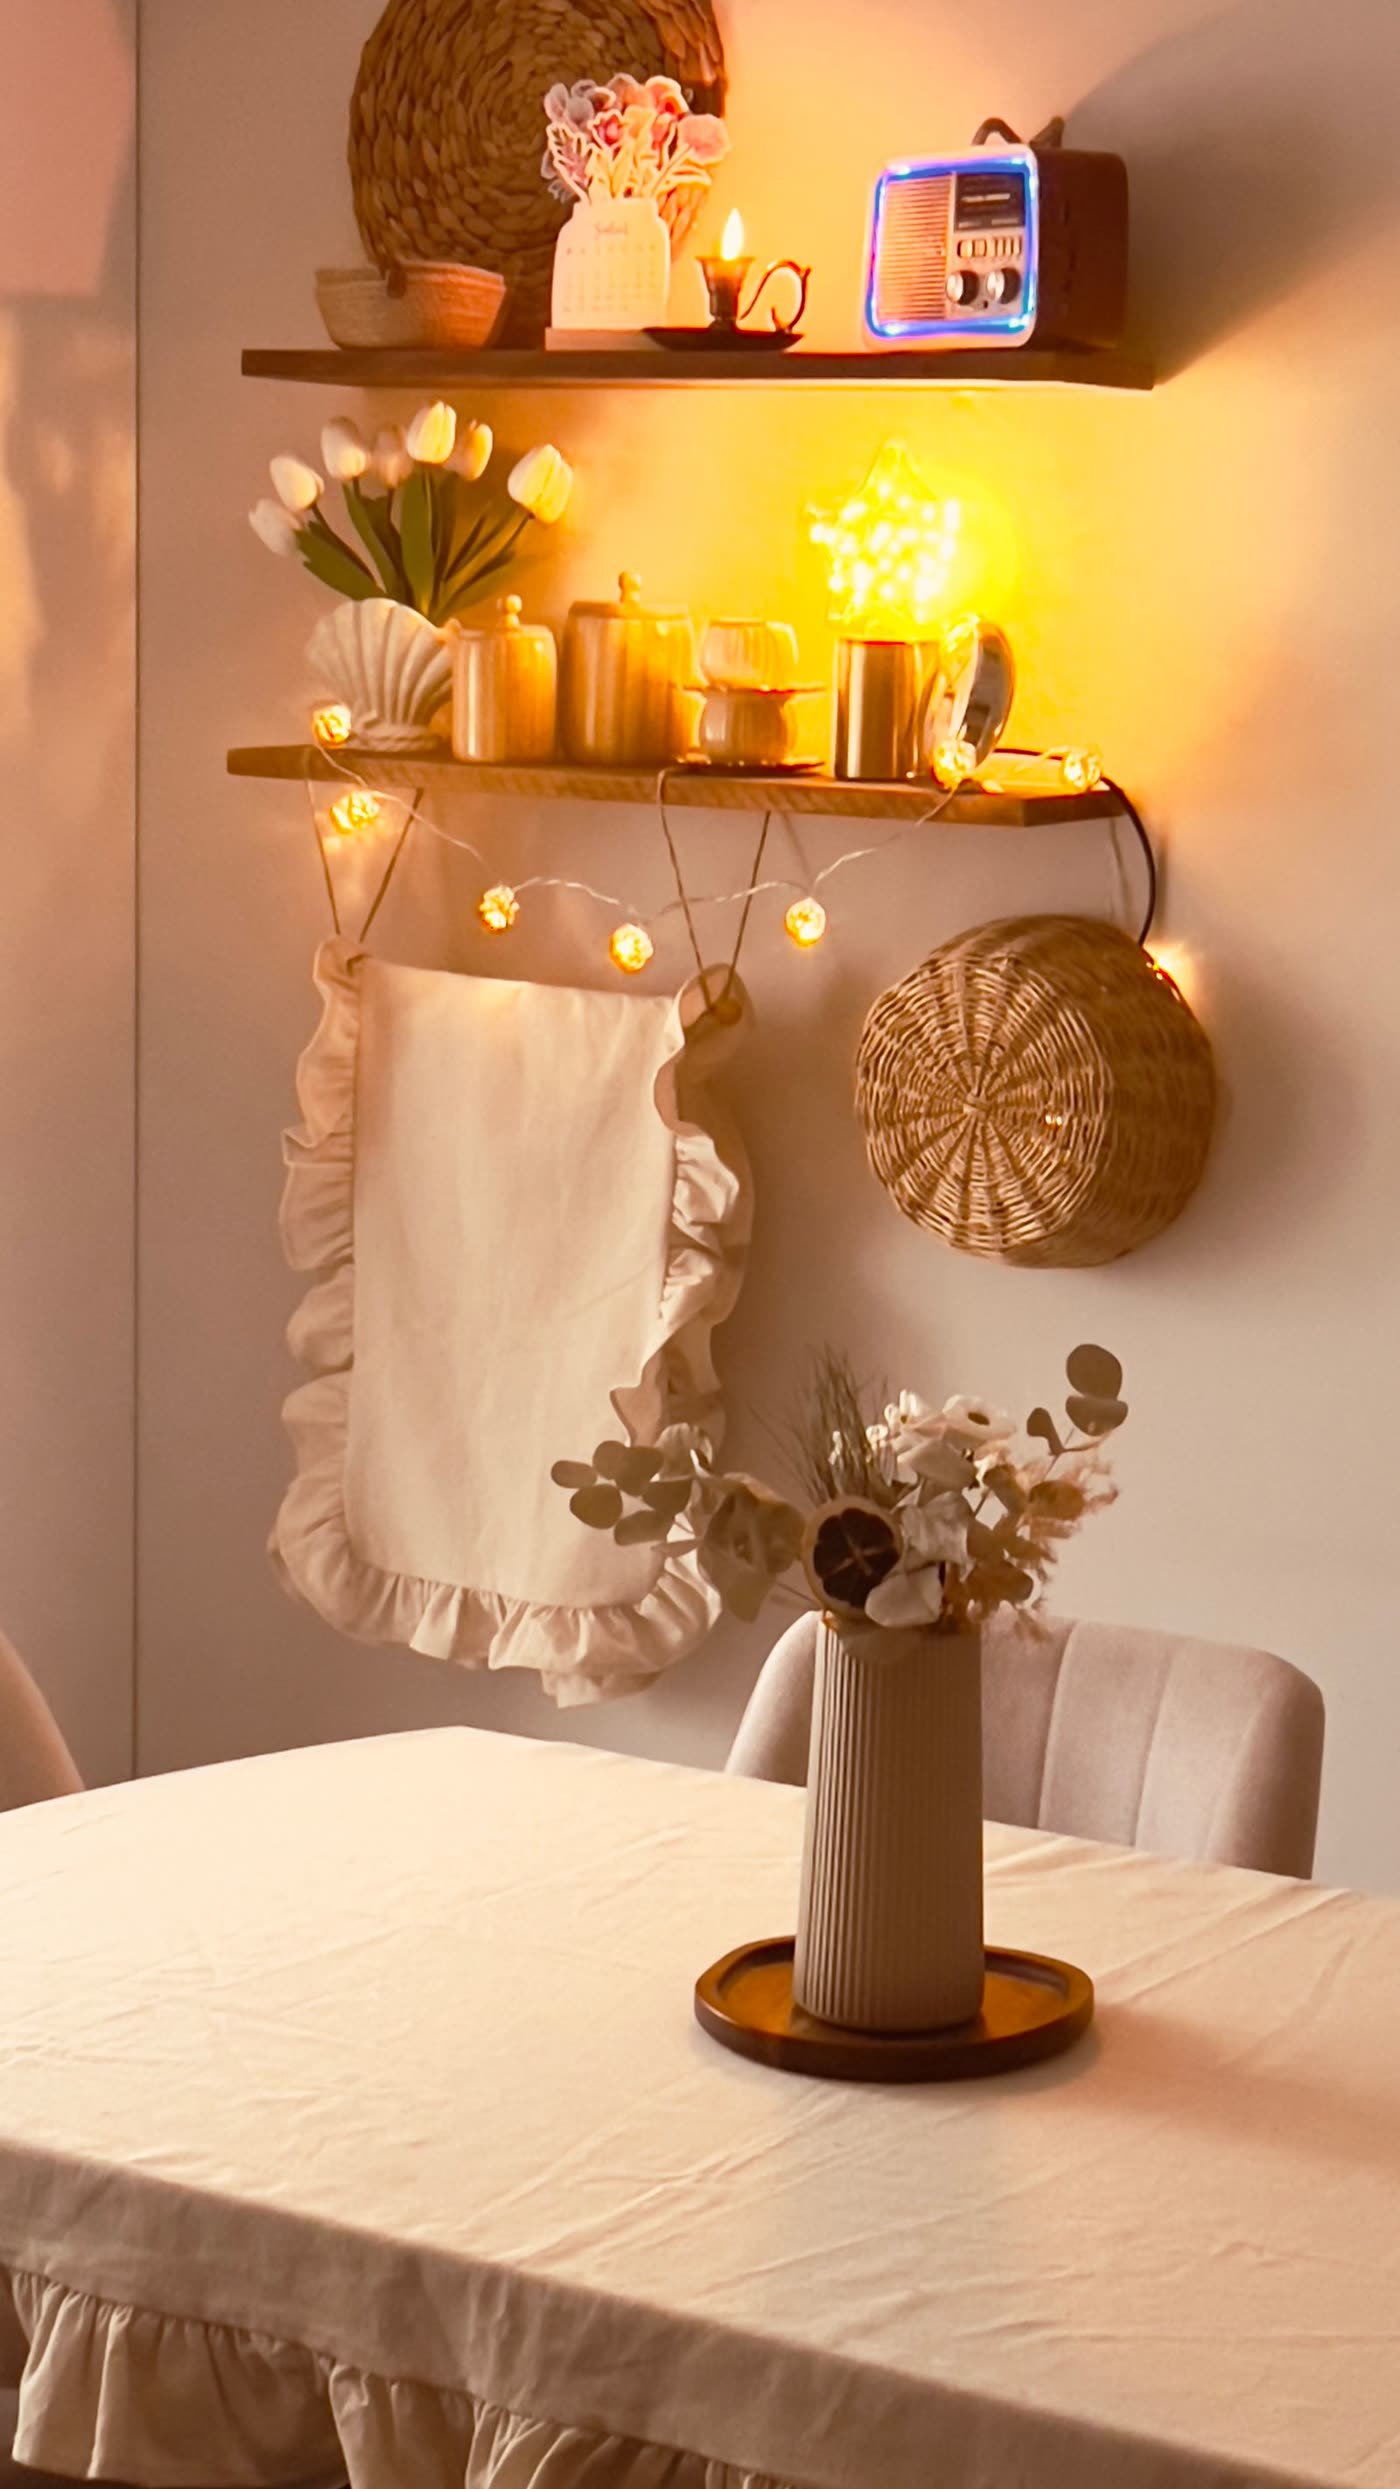
2700K warm white makes food look appetizing and skin look good. Cool white over a dining table makes everyone look tired and the food look gray. This rule is non-negotiable.
Best for: Every dining setup, forever.
10. Dimmer-Controlled Bistros
Put bistro strands on an outdoor dimmer or smart plug. Full brightness for setup and cleanup, 50% for dinner, 25% for late-night lingering.
Best for: Hosts who want one setup for the whole evening.
11. The Second Strand for Depth
Hang one strand over the table and a second, higher strand 6 feet behind it over the serving area. The layered depth photographs beautifully and separates cooking from dining.
Best for: Backyard chefs with a grill or serving station nearby.
Hanging Heights Cheat Sheet
| Setup | Height above table |
|---|---|
| Intimate dinner (seated) | 7–8 ft |
| Standard dining | 8–10 ft |
| Party / mingling | 10–12 ft |
Keep strands taut enough to prevent big swags over the table (drips and wind), and always use outdoor-rated strands and extension cords. For the full entertaining setup, see our outdoor coffee bar patio for the drinks station and backyard wedding decor ideas for scaling bistro lighting to events.
Commercial-grade bistro strands with shatterproof LED bulbs last seasons longer than big-box string lights, per This Old House’s outdoor lighting guide.
What to Look For When Buying Bistro Lights
Bulb type: LED, shatterproof. Plastic LED G40 bulbs survive drops, hail, and kids’ baseballs. Glass incandescents break, burn out fast, and eat electricity. This is the single most important spec.
Strand length and spacing. Standard strands run 48 feet with bulbs every 2 feet. Measure your span first — too short means an ugly extension cord mid-air; too long means coiling excess somewhere visible.
Connectable strands. End-to-end connectable strands let you daisy-chain up to the manufacturer’s limit (usually 3–5 strands). Non-connectable strands force you back to the outlet every 48 feet.
Wire gauge. Heavier 16–18 AWG wire sags less and lasts longer than thin 20+ AWG. For permanent installs, commercial-grade wire is worth it.
Color temperature: 2700K. Warm white only for dining. If the listing doesn’t state Kelvin, email the seller — “warm white” is unregulated marketing speak until you see the number.
6 Bistro Light Mistakes That Ruin the Vibe
Hanging them dead level. Perfectly straight strands look rigid and commercial. A gentle swag (6–12 inches of dip between supports) is what gives bistro lights their relaxed café feel.
Using indoor strands outside. Indoor-rated strands corrode, short out, and become a fire risk. The box must say outdoor / wet-rated — check before you hang, not after the first rain.
Forgetting a support wire. Long spans of heavy G40 strands stretch and sag over time. Run a galvanized guide wire and zip-tie the strand to it for spans over 20 feet.
Mixing bulb colors. One warm strand plus one “daylight” strand = instant regret. Buy all strands from the same product line in 2700K warm white.
No drip loop at connections. Where the strand meets the extension cord, leave a U-shaped dip so rainwater drips off instead of running into the plug. Five seconds of prevention against a tripped breaker mid-party.
Plugging into an unprotected outlet. Outdoor outlets need GFCI protection and weatherproof covers. If your outlet predates GFCI, use a portable GFCI adapter — they’re under $20 and non-negotiable for safety.
Do bistro lights use a lot of electricity?
LED bistro strands sip power — a 48-foot LED strand uses about the same as one old 60W bulb. Running them nightly costs pennies per month.
Can I hang bistro lights without a pergola?
Yes — use a tall shepherd’s-hook-style pole, a tree, the house eave, or a freestanding string-light pole kit (under $40 for two). No permanent structure needed.
Your Bistro Light Weekend Plan
Saturday morning: Measure your dining zone and sketch the layout — parallel rows need two anchor points per strand; V-patterns need a center pole plus perimeter anchors.
Saturday afternoon: Install anchors (pole kit, screw eyes into the pergola, or heavy-duty adhesive hooks on the house). Hang the guide wire first for spans over 20 feet.
Sunday: Hang the strands with a gentle swag, add the drip loop at every plug connection, and put it all on an outdoor smart plug or dimmer. Test at dusk and adjust the swag until it looks effortless.
Budget: $60–120 for two quality LED strands plus a pole kit — the highest visual impact per dollar in all of outdoor lighting.
FAQ
What’s the difference between bistro lights and string lights?
Bistro lights use larger G40 globes on heavier-duty wire, designed as semi-permanent installations. Standard string lights are lighter-duty and more decorative.
How high should bistro lights hang over a dining table?
Eight to ten feet for standard dining — high enough to stand under comfortably, low enough to actually light the table.
Can bistro lights stay up year-round?
Commercial-grade outdoor strands, yes. Take down or protect connections in harsh winters to extend their life.
How many strands do I need for a dining area?
For a 6-person table zone (roughly 12×12 ft), two 48-foot strands in parallel rows gives full, even coverage.