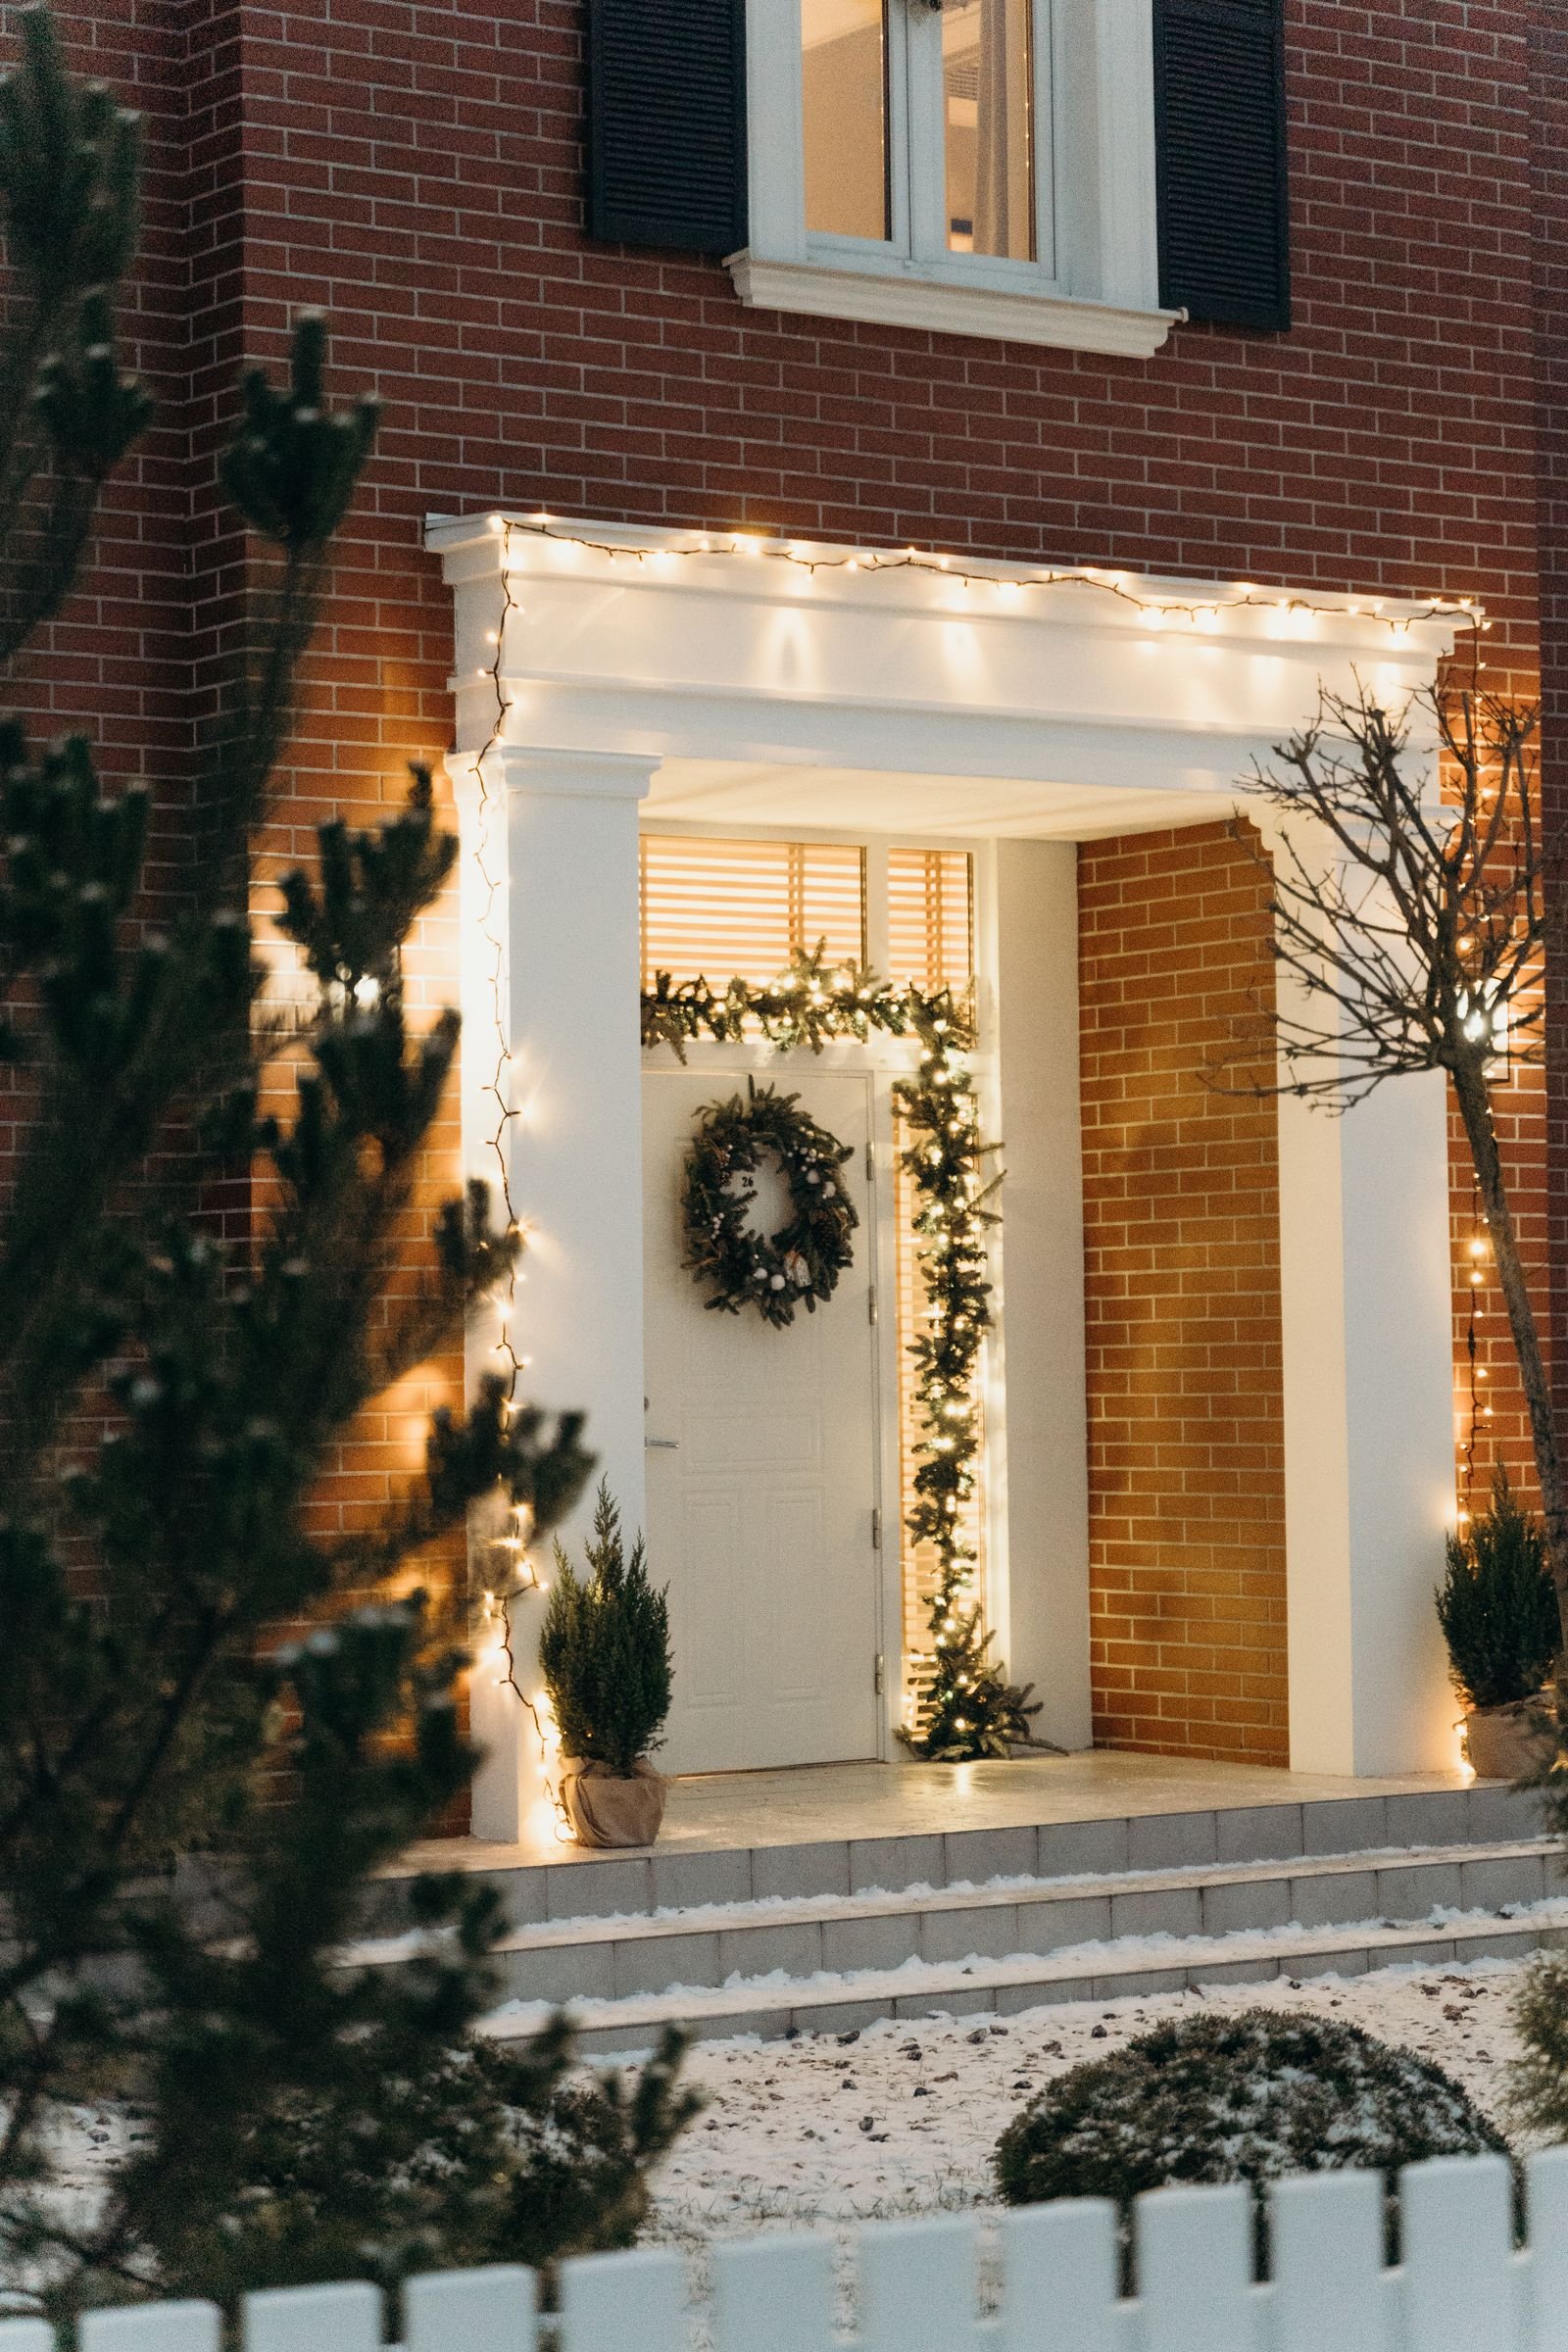

Every December I used to stand on my porch holding lights in one hand and a hammer in the other, knowing my lease said no holes. Renting does not have to mean a dark porch. With the right clips and hooks, you can outline a roofline, wrap a railing, and frame a door for about $15 to $45, then take it all down in January without a patch job.
Start by browsing these porch-ready outdoor Christmas light ideas to pick your look, then work through the ten no-drill methods below.
1. Plan the Run Before You Hang Anything

Pro tip: Measure your roofline, rails, and door frame, then add 10 percent extra length before buying a single strand.
A 25-foot strand rarely covers 25 usable feet once you allow for dips, corners, and the drop to the outlet. Sketch the porch, mark the outlet, and test every strand on the ground first, replacing dead bulbs indoors instead of on a ladder. If you are in an HOA community, check the rules first, since some HOAs restrict string lights and display dates even when installation causes no damage.
2. Gutter and Shingle Clips Along the Roofline

Pro tip: Space all-in-one plastic clips every 12 to 18 inches so the line stays straight and does not sag.
These clips, about $8 to $12 for 50, slide onto a gutter edge or under a shingle tab and grip a C7 or C9 socket or a mini-light wire. Fit them with all bulbs facing the same way for that clean, professional roofline. Plastic will not rust or scratch painted gutters and pops off in seconds at takedown. Never force a clip onto a brittle, frozen shingle.
3. Adhesive Outdoor Hooks on Trim and Soffits

Pro tip: Clean the surface with rubbing alcohol, press for 30 seconds, and wait a full hour before hanging any weight.
For smooth trim and soffits, adhesive hooks are the renter’s best friend. The Command outdoor light clips from 3M suit clean, smooth surfaces such as doors, flat vinyl siding, and soffits, and 3M advises waiting 1 hour before hanging lights. The strips are rated for roughly 21°F to 126°F (-6°C to 52°C), and 3M recommends one clip every 2 feet of lights. A pack costs about $10 to $14, and pulling the tab straight down in January releases it without paint damage.
4. Brick Clips That Grip Without Drilling

Pro tip: Measure your mortar joint height first — the wrong clip size will slip under load.
Brick clips are small metal clamps that hook onto a protruding brick and are held by the brick above. No drilling, no masonry screws, no marks. Most support up to 25 pounds per clip — plenty for wreaths, garland, and light strands — at roughly $12 to $18 for four to eight. They work best when bricks sit proud of the mortar. If your mortar is flush or brick is painted and crumbly, test one clip overnight before committing to a full run.
5. Vinyl Siding Clips That Slide Into the Seams

Pro tip: Slide the hook up into the seam until it clicks, then roll it down to lock — never screw through vinyl.
Vinyl expands and contracts, and one nail hole can crack a panel in cold weather. Siding clips hook into the horizontal seam where panels overlap instead. Stainless versions cost about $9 to $15 for 10 to 20, hold roughly 10 to 15 pounds each, and leave siding untouched. Space them every 18 to 24 inches for lights, closer for heavy garland. They slide back out just as easily in January.
6. Railing Wraps and Zip Ties for Porch Rails

Pro tip: Spiral the strand itself every 6 to 8 inches instead of pinning it, so removal takes minutes.
For railings, the simplest method needs no clips: weave the strand around the top rail and balusters. Where you need security, add clear or green UV-resistant zip ties, about $6 for 100, snugged loosely so they do not pinch the wire. Cut them with flush cutters at takedown rather than yanking. On white painted rails, put painter’s tape under each tie to prevent rub marks.
7. Tension Rods Between Porch Posts for Curtain Lights

Pro tip: Measure post-to-post twice — curtain lights look best hanging flat, not bunched.
If your posts sit 6 to 10 feet apart, a tension rod wedged between them creates an instant frame for curtain and icicle lights. True tension rods run $15 to $30, need no screws, and support the top wire evenly. Drape the panel over the rod, secure the ends with two zip ties, and let the strands fall straight. It also makes a glowing backdrop behind a porch swing without touching the ceiling or house.
8. Command-Strip Garland and an Over-Door Wreath Hanger

Pro tip: For a wreath over 5 pounds, skip adhesive and use an adjustable over-door hanger — it holds more and never fails overnight.
Swag garland over the front door using large outdoor adhesive hooks, one every 2 to 3 feet for a 9-foot faux pine garland, and let the adhesive cure fully. For the wreath, an over-door metal hanger, about $8 to $15, adjusts to door thickness, needs no hardware, and accepts a felt pad where it meets painted wood. It is the fastest part of the display to install and the first thing guests notice.
9. Power Without the Mess: Timers, GFCI and Tidy Cords

Pro tip: Put everything on one outdoor timer set for dusk to 11 p.m. to save power and extend bulb life.
Always plug outdoor lights into a GFCI outlet, and keep connections off the ground in a weatherproof cord cover box, about $12 to $20. Before daisy-chaining strands, check the manufacturer’s limit, since overloading causes most blown fuses — this guide on how many outdoor string lights you can safely connect walks through the math by bulb type. Secure one outdoor-rated extension cord along the wall with adhesive clips and coil the excess behind a planter, not across the steps.
10. Takedown and Storage With Zero Residue

Pro tip: Photograph your finished porch before dismantling it — next December you will have a perfect map.
Work in reverse: unplug, remove strands before pulling clips, and release adhesive strips by pulling the tab slowly straight down, never outward, which tears paint. Check your lease and community display deadlines as you pack up. Wrap each strand around cardboard or a storage reel to prevent tangles, label by location, and keep clips in a zip bag inside the same bin. A careful takedown takes 30 to 45 minutes and leaves no trace.
Frequently Asked Questions
Will adhesive hooks really hold Christmas lights all season?
Yes, as long as you prep the surface properly and respect the weight limit. Clean the area, apply the strip in mild weather if possible, and wait the full hour before hanging. Cold snaps below the rated range and dusty or peeling paint are the two most common causes of clips letting go mid-season.
How do I hang lights on brick if the mortar is flush?
When mortar sits flush, standard brick clips have nothing to grip, so switch methods instead of forcing them. Run adhesive hooks on the trim above the brick, use gutter or soffit clips for the roofline, or hang a tension rod between posts. These routes give you the same outline effect without drilling into masonry.
Can renters hang Christmas lights without losing a deposit?
In most cases, yes, because every method in this guide is fully reversible. Clips, wraps, and adhesive strips leave no holes or residue when removed correctly. To be safe, photograph the porch before and after, keep your hardware receipts, and check your lease for any clause about exterior decorations or display dates.
What is the cheapest way to hang lights without nails?
Gutter and shingle clips are usually the cheapest route, at around $8 to $12 for a pack of 50 that covers a typical porch roofline. Zip ties for railings cost even less. Reuse the same clips each year and your only recurring cost is replacement strands, making the whole system cheaper over time.