
Before fire pits were trendy, there was the chiminea: a bulbous clay fire chamber with a chimney that draws smoke up and away from your guests. It’s still one of the smartest fire features for a small patio — real wood fire, minimal smoke in your face, and a sculptural garden object even when it’s stone cold.
These 8 chiminea patio ideas cover choosing, placing, styling, and burning safely — everything you need to get it right the first time. Let’s get into it.
1. Classic Clay Chiminea

The traditional Mexican clay chiminea (bulb body, tall neck) throws warm, radiant heat and looks like garden art. Cost: $80–$200. Clay must be cured before first use — build 3–4 small fires first, or thermal shock can crack it.
Best for: Traditional, Mediterranean, and Southwestern patios.
2. Cast Iron Chiminea

Cast iron heats up slower but holds heat far longer than clay, and it won’t crack from thermal shock. Modern designs range from rustic to sleek. Cost: $150–$400. It will rust — embrace the patina or oil it yearly.
Best for: Cold climates where you want heat that lingers after the fire dies.
3. Steel Chiminea (Modern)

Powder-coated steel chimineas come in contemporary shapes and colors, weigh half what clay does, and shrug off rain. They’re the low-maintenance middle ground at $100–$300.
Best for: Modern patios and anyone who won’t baby a clay pot.
4. The Corner Placement

Tuck the chiminea into a patio corner at a 45-degree angle, facing the seating. This keeps the chimney clear of traffic, puts the heat where people sit, and turns dead corner space into the focal point.
Best for: Small patios where a central fire feature would eat the layout.
5. Chiminea as the Table Centerpiece Zone

Place a small chiminea (24–30 inches tall) on a stone-topped side table or low pedestal between two lounge chairs. It becomes a personal fireplace — radiant heat at conversation distance.
Best for: Couples’ corners and intimate seating pairs.
6. Styling the Surround
Dress the chiminea like furniture: a stack of firewood in a log holder beside it, a woven basket of kindling, string lights overhead, and a weatherproof rug under the seating. The chiminea is the anchor; the styling makes it a room.
Best for: Making a $150 chiminea look like a $1,500 setup. Our outdoor lantern decor ideas layer light around it beautifully.
7. Cooking on a Chiminea

The flat top of many chimineas (or a grill grate across the mouth) handles foil-packet dinners, kebabs, and even a small kettle. It’s not a grill replacement, but fireside cooking for two is half the fun.
Best for: Date nights. Pair with our outdoor cooking station ideas for the full setup.
8. Winter Storage & Care
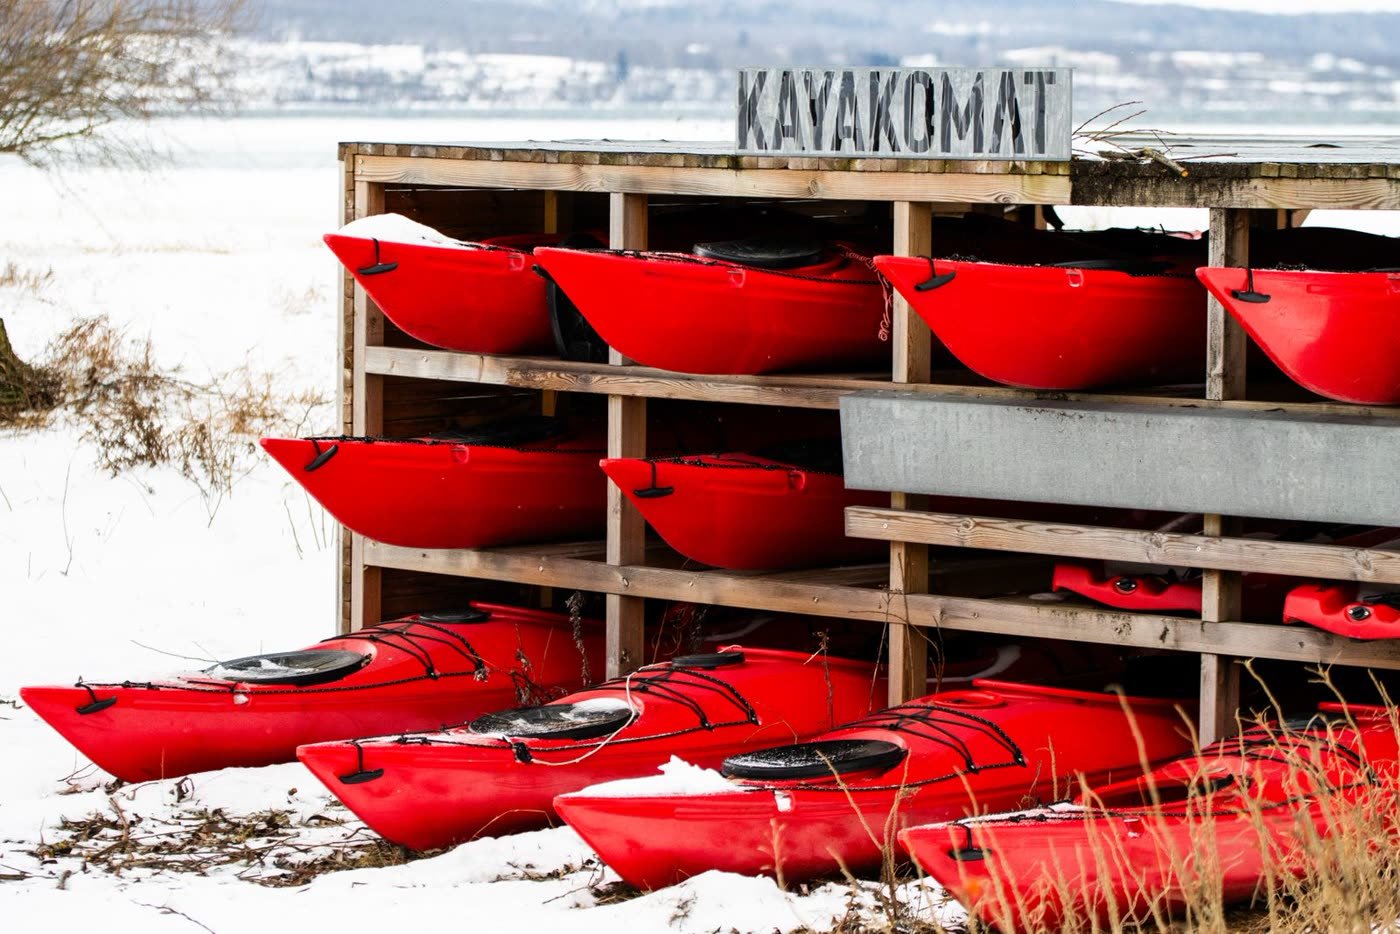
Clay chimineas must come under cover before freeze-thaw cycles — water in the clay expands and cracks it. Cast iron and steel can winter outside with a fitted cover, but bring them in if you get deep freezes. Always empty ash (it holds moisture against the material).
Best for: Protecting your investment — a covered chiminea lasts a decade; an exposed clay one lasts two seasons.
Chiminea Buying Checklist
Before you buy, run through this list — it prevents the five most common regrets:
- Size vs. space: Measure your spot. A 4-foot chiminea on a 6-foot balcony overwhelms; a 2-foot one on a big patio disappears. General rule: the chiminea should be 1/4 to 1/3 the width of the seating zone it serves.
- Material honesty: Be real about maintenance. Clay is beautiful but demands curing, covering, and winter storage. If that sounds like chores, buy cast iron or steel and enjoy your evenings instead.
- Mouth size: A wider mouth (10″+) takes standard split logs; narrow mouths need you to cut wood small. Check before you buy, not after.
- Stand included? Many chimineas need a separate metal stand for airflow underneath — factor $30–$60 if it’s not included, and never set clay directly on a surface that traps moisture.
- Spark screen and rain cap: Non-negotiable accessories. If they’re not included, budget $20–$40 for both. A chiminea without a rain cap funnels water straight into the fire chamber.
- Weight: Clay chimineas run 50–100 lbs; cast iron 80–150 lbs. Make sure you (or your delivery person) can actually place it — and that a deck can handle the load plus a hearth pad.
Chiminea Safety Rules
- Surface: Always on fireproof ground — stone, concrete, or brick. Never directly on a wood deck; use a 3×3-foot hearth pad minimum.
- Clearance: 10 feet from structures, fences, and overhanging branches; 3 feet of clear space on all sides.
- Fuel: Hardwood only (oak, hickory, maple). Never charcoal, never lighter fluid, never trash or treated lumber — chimineas aren’t designed for it and the fumes concentrate in the chamber.
- Spark screen over the mouth whenever burning, and never leave it unattended — the #1 rule from the NFPA’s outdoor fire safety guidance.
- First burns: Clay needs 3–4 small curing fires. All chimineas need the chimney clear of creosote — burn hot occasionally and inspect yearly.
Frequently Asked Questions
Clay vs. cast iron chiminea — which is better?
Clay: cheaper, prettier, more traditional, but fragile and needs curing and winter storage. Cast iron: tougher, holds heat longer, but heavier, pricier, and rusts. For most patios, cast iron or steel is the practical winner; clay is the romantic one.
Can I use a chiminea on a wooden deck?
Only on a proper hearth pad (non-combustible, extending 3 feet in all directions) and with a spark screen — and check your local fire code first, since many jurisdictions restrict solid-fuel burning on decks. When in doubt, ground-level stone is always safer, and honestly it’s where chimineas look best anyway.
How much heat does a chiminea actually give off?
A medium chiminea warms a 6–8 foot radius noticeably — enough for 2–4 people seated around it. It’s radiant heat (warms objects and people, not air), so it works best in calm conditions and close seating. Don’t expect it to heat a whole patio; do expect it to make the two chairs beside it the best seats in the house.
Why is my chiminea smoking so much?
Wet or unseasoned wood is the cause 90% of the time — burn only wood seasoned 6+ months with visible cracks in the ends. The other 10%: lighting too big a fire too fast in a cold chimney (poor draft until it warms) or a chimney partially blocked with creosote. Start small, let the chimney warm up, then build.
Chiminea Picks at a Glance
- Easiest: Steel chiminea — light, weatherproof, no curing needed.
- Prettiest: Classic clay — traditional look, but baby it.
- Hottest longest: Cast iron — slow to heat, slow to cool.
- Smallest spaces: Corner placement — dead space becomes the focal point.
- Best value: Used clay chiminea — check for cracks, cure it, save 70%.
The chiminea earned its place over centuries for a reason: directed smoke, real heat, beautiful object. Give it a good corner, dry hardwood, and a cover for winter, and it’ll be the most-used seat magnet you own for a decade or more. For bigger fire gatherings, see our fire pit seating area ideas.