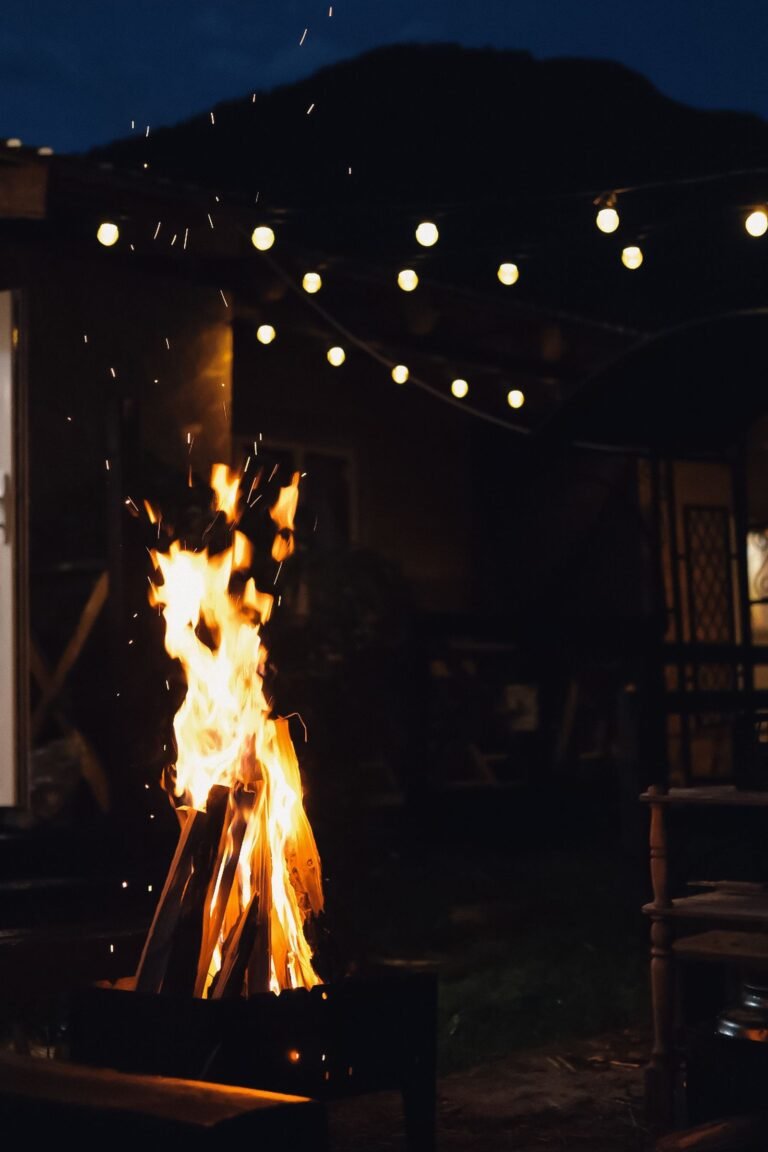

String lights make every patio magical, but what if you have nowhere to hang them? No pergola, no trees, no house wall in the right spot — and drilling into your rental is out of the question.
DIY string light poles solve all of it. These freestanding poles go exactly where you need them, need zero drilling, and come down in minutes when you move. Here are four proven methods, from 20-minute buckets to proper posts.
What You’ll Need (Overview)
Across all four methods, the core materials are: 10-foot 4×4 or 2×4 lumber (or 10-foot metal conduit/EMT pipe for a sleeker look), a heavy base (bucket + concrete, large planter, or umbrella stand), exterior screws or bolts, and screw-in hooks or eye bolts for the light strings. A post level and a drill/driver complete the kit.




Best for: Every method below | One shopping trip
Shopping List with Costs
Lumber: Two 10-foot pressure-treated 4x4s run about $16 each. For a sleeker modern look, 1-inch EMT metal conduit is $12 per 10-foot stick — lighter and rust-resistant when painted.
Bases: 5-gallon buckets ($5 each), one 60-lb bag of quick-set concrete per bucket ($7), or large planters ($25–40 each). Concrete deck blocks are $8–10 each.
Hardware: 3/8-inch eye bolts ($3 each), a 50-foot stainless cable kit with turnbuckle ($22), and exterior wood screws. Budget roughly $15–20 in hardware per pole.
Total per pole: $25–50 depending on method. A four-pole setup with lights typically lands at $150–250 all-in — versus $400+ for commercial kits.
1. The 5-Gallon Bucket Base (Easiest)
Set a 10-foot 4×4 post in a 5-gallon bucket, fill with quick-set concrete, and let cure 24 hours. The bucket disappears inside a large decorative planter filled with soil and flowers — weight plus beauty in one.
Space poles 10–15 feet apart depending on your light string length. This is the fastest route to hanging lights tonight-ish (tomorrow, after the concrete cures).
Best for: Beginners | Renters | Under $25 per pole
2. The Planter Post (Prettiest)
Use a large, heavy planter (at least 18 inches wide) as both base and decoration. Set the post in the center with concrete or packed gravel, then plant trailing flowers or herbs around it. The planter’s weight anchors the pole; the plants hide the mechanics.
Choose planters with some heft — ceramic or concrete, not thin plastic. A 20-inch concrete planter full of soil weighs over 100 pounds, which handles normal winds easily.
Best for: Style-first patios | Dual-purpose decor
3. The Freestanding 4×4 with Deck Block (Sturdiest)
For a more permanent feel without pouring footings, set 4×4 posts into concrete deck blocks (the pyramid-shaped pier blocks). Add diagonal 2×4 braces from post to block for rigidity. This handles longer spans and heavier commercial-grade light strings.
Sink the deck blocks slightly into soil or gravel for extra stability. This method looks the most “built-in” of the four while remaining fully removable.
Best for: Longer light runs | Windy locations
4. The Tension Wire Assist (Longest Spans)
When poles need to be 20+ feet apart, run a stainless steel cable between pole tops first, then drape the light strings from the cable with zip ties or S-hooks. The cable carries the load; the lights just decorate.
Tighten with a turnbuckle at one end. This is how restaurants span entire courtyards — it scales beautifully.
Best for: Big patios | Commercial-style spans
Hanging the Lights: Technique Matters
Plan your pattern first. Zigzag, perimeter, or radial fan from a central point — sketch it before you drill a single hook. Measure twice, hang once.
Allow for sag. String lights look best with a gentle catenary droop — about 6–12 inches of sag per 10-foot span. Pull them drum-tight and they look harsh; too loose and they tangle.
Start at the power source. Plug in (or plan your outlet for) the end nearest your power, and work outward. Outdoor-rated extension cords only, with connections kept off the ground and sheltered.
Use a guide wire for heavy strings. Glass-bulb commercial strings are heavy — support them on a steel cable rather than hanging bulb-to-bulb. Plastic LED strings are light enough to hang directly.
5. Troubleshooting Common Issues
Poles leaning inward: The light strings pull the tops together. Fix it by tightening the support cable with the turnbuckle, or add a second eye bolt lower on each pole and run a stabilizing line between them at mid-height.
Concrete cracked in the bucket: Usually from the post shifting during cure. Next time, brace the post plumb with scrap wood stakes while the concrete sets, and don’t hang lights for a full 48 hours.
Lights dim at the far end: You’re hitting voltage drop on a long run. Use heavier-gauge strings, split the run across two outlets, or switch to LED strings which draw far less power.
Planter too light: If a storm toppled your planter post, the planter was undersized. Go up to a 22–24 inch pot, or bury a concrete paver in the bottom for hidden ballast before adding soil.
6. Making Poles Look Good (Not Just Functional)
Paint the posts to match your patio — matte black for modern, white for coastal, cedar-tone stain for rustic. Wrap the base of each pole with rope or burlap to hide the bucket edge. Train a lightweight vine (morning glory, black-eyed Susan vine) up one pole for a living light post.
Cap the post tops with copper or black post caps ($4 each) for a finished look that also sheds water away from the end grain.
7. Power Without an Outdoor Outlet
No exterior outlet? Run an outdoor-rated extension cord from inside through a window (flat-profile cords fit under most sashes), or go solar — solar string lights have improved dramatically and need zero wiring. For permanent setups, an electrician can add an outdoor GFCI outlet for $150–300, which also boosts home value.
8. Seasonal Takedown and Storage
In harsh-winter climates, take the lights down before the first freeze — ice buildup snaps strings and stresses poles. Coil strings loosely around cardboard to prevent tangling, and store poles horizontally in a garage or shed. Bucket-base poles can stay out if you empty any standing water; planter posts overwinter fine with hardy plants. Come spring, re-hang in under an hour since the hard work is already done.
For more ways to layer light after dark, our outdoor lantern decor ideas and solar path light ideas complement string lights beautifully, and small backyard ideas on a budget keep the whole project affordable.
Frequently Asked Questions
How far apart should DIY string light poles be?
10–15 feet for standard consumer light strings. Up to 20–25 feet if you’re running a steel support cable first. Check your specific string’s maximum span — heavy glass bulbs need closer spacing.
Will bucket-base poles blow over in wind?
A 5-gallon bucket of concrete weighs about 100 pounds — plenty for normal conditions. In high-wind areas, use the planter method with extra soil weight, or guy-line the poles with discreet cable to ground stakes.
Can I use these poles on a wood deck without drilling?
Yes — that’s the point. Weighted bases (buckets, planters) sit on the deck surface with no fasteners. Put felt pads or a rubber mat underneath to protect the deck finish.
What lights work best on DIY poles?
Outdoor-rated LED string lights with shatterproof plastic bulbs — they’re light, efficient, and safe. Look for IP44 water resistance or better, and connectable end-to-end strings to minimize extension cords.
The Bottom Line
No pergola, no problem. A Saturday, some lumber, and a few bags of concrete give you professional-looking light poles exactly where you want them — no drilling, no landlord negotiations, no excuses. Hang the lights, pour a drink, and enjoy the glow.
This Old House covers outdoor lighting installation basics including electrical safety for exterior projects.