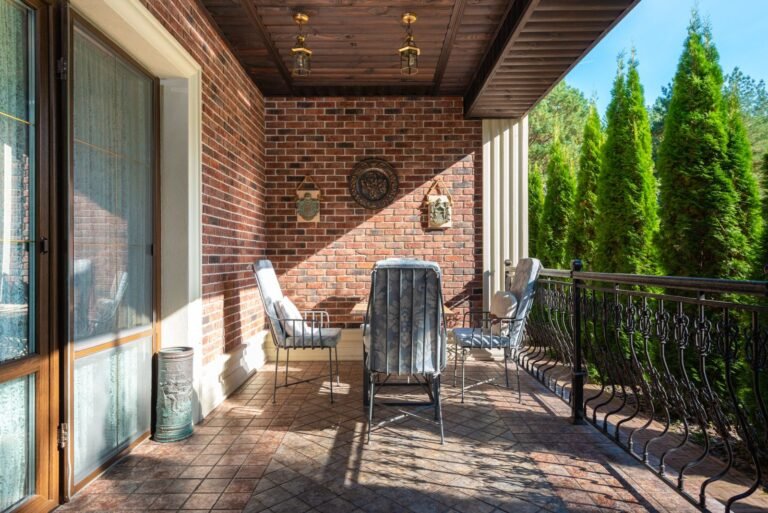

Permeable pavers let rainwater drain straight through your patio instead of running off into storm drains. The result? Less flooding, healthier soil, and — surprisingly — some of the best-looking patios around. Here’s how to do it right.
1. How They Actually Work
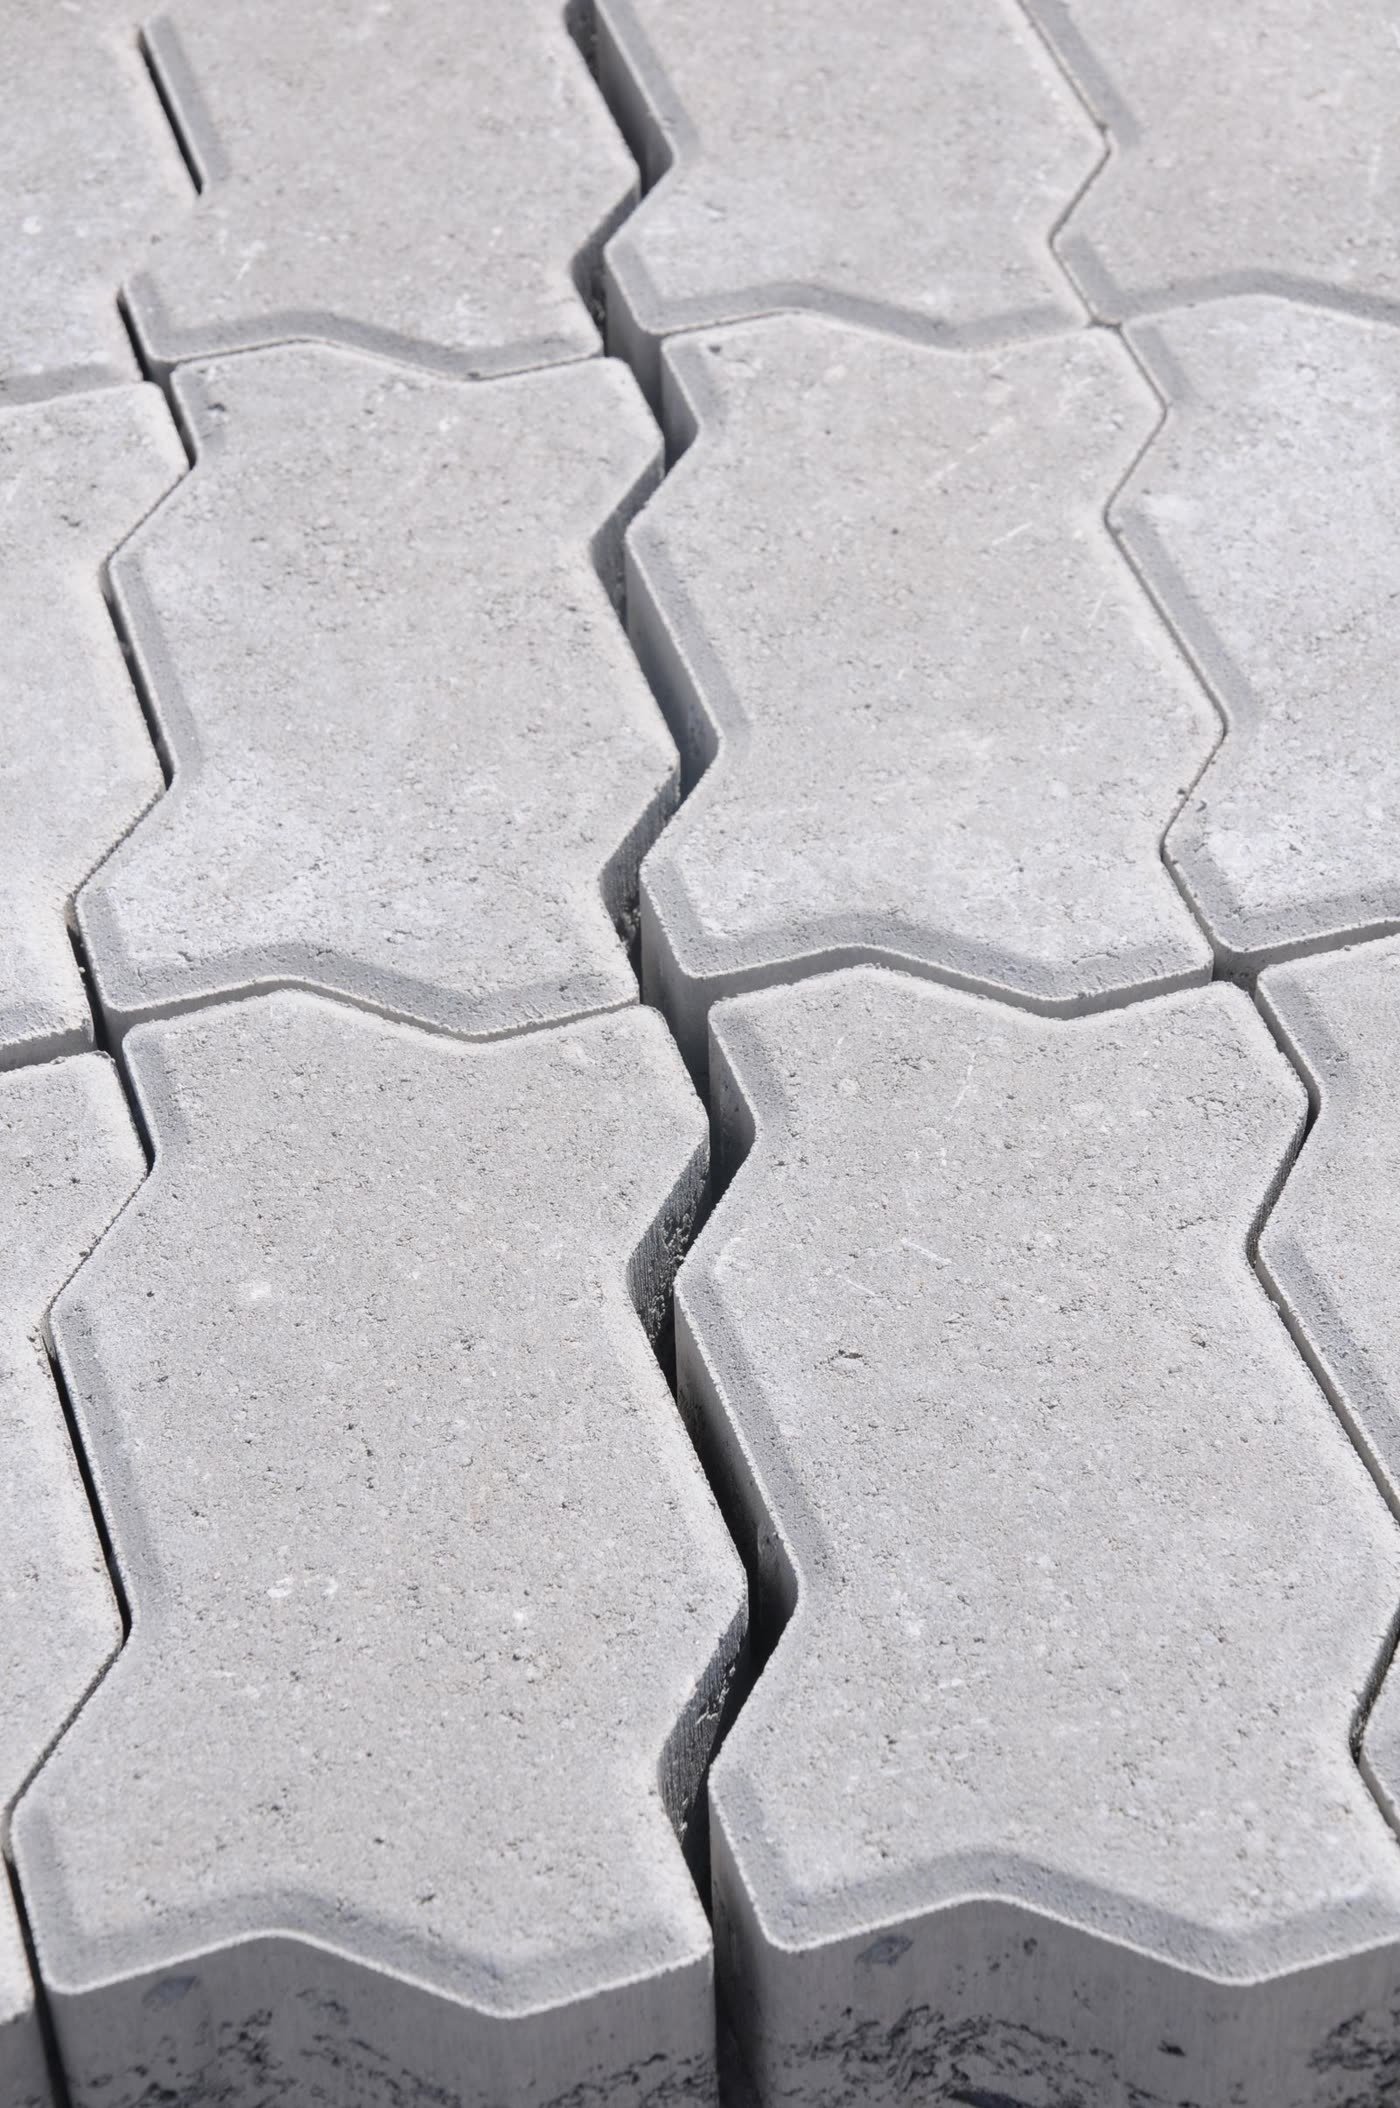
Permeable pavers aren’t magic — they’re pavers with wider joints filled with small gravel instead of sand, laid over layers of crushed stone that act as a reservoir. Rain filters through the joints, into the stone bed, and slowly into the soil below. A properly built system handles even heavy downpours without puddling.
Best for: Understanding the system before you commit to the investment.




2. Grass-Joint Grid Pavers
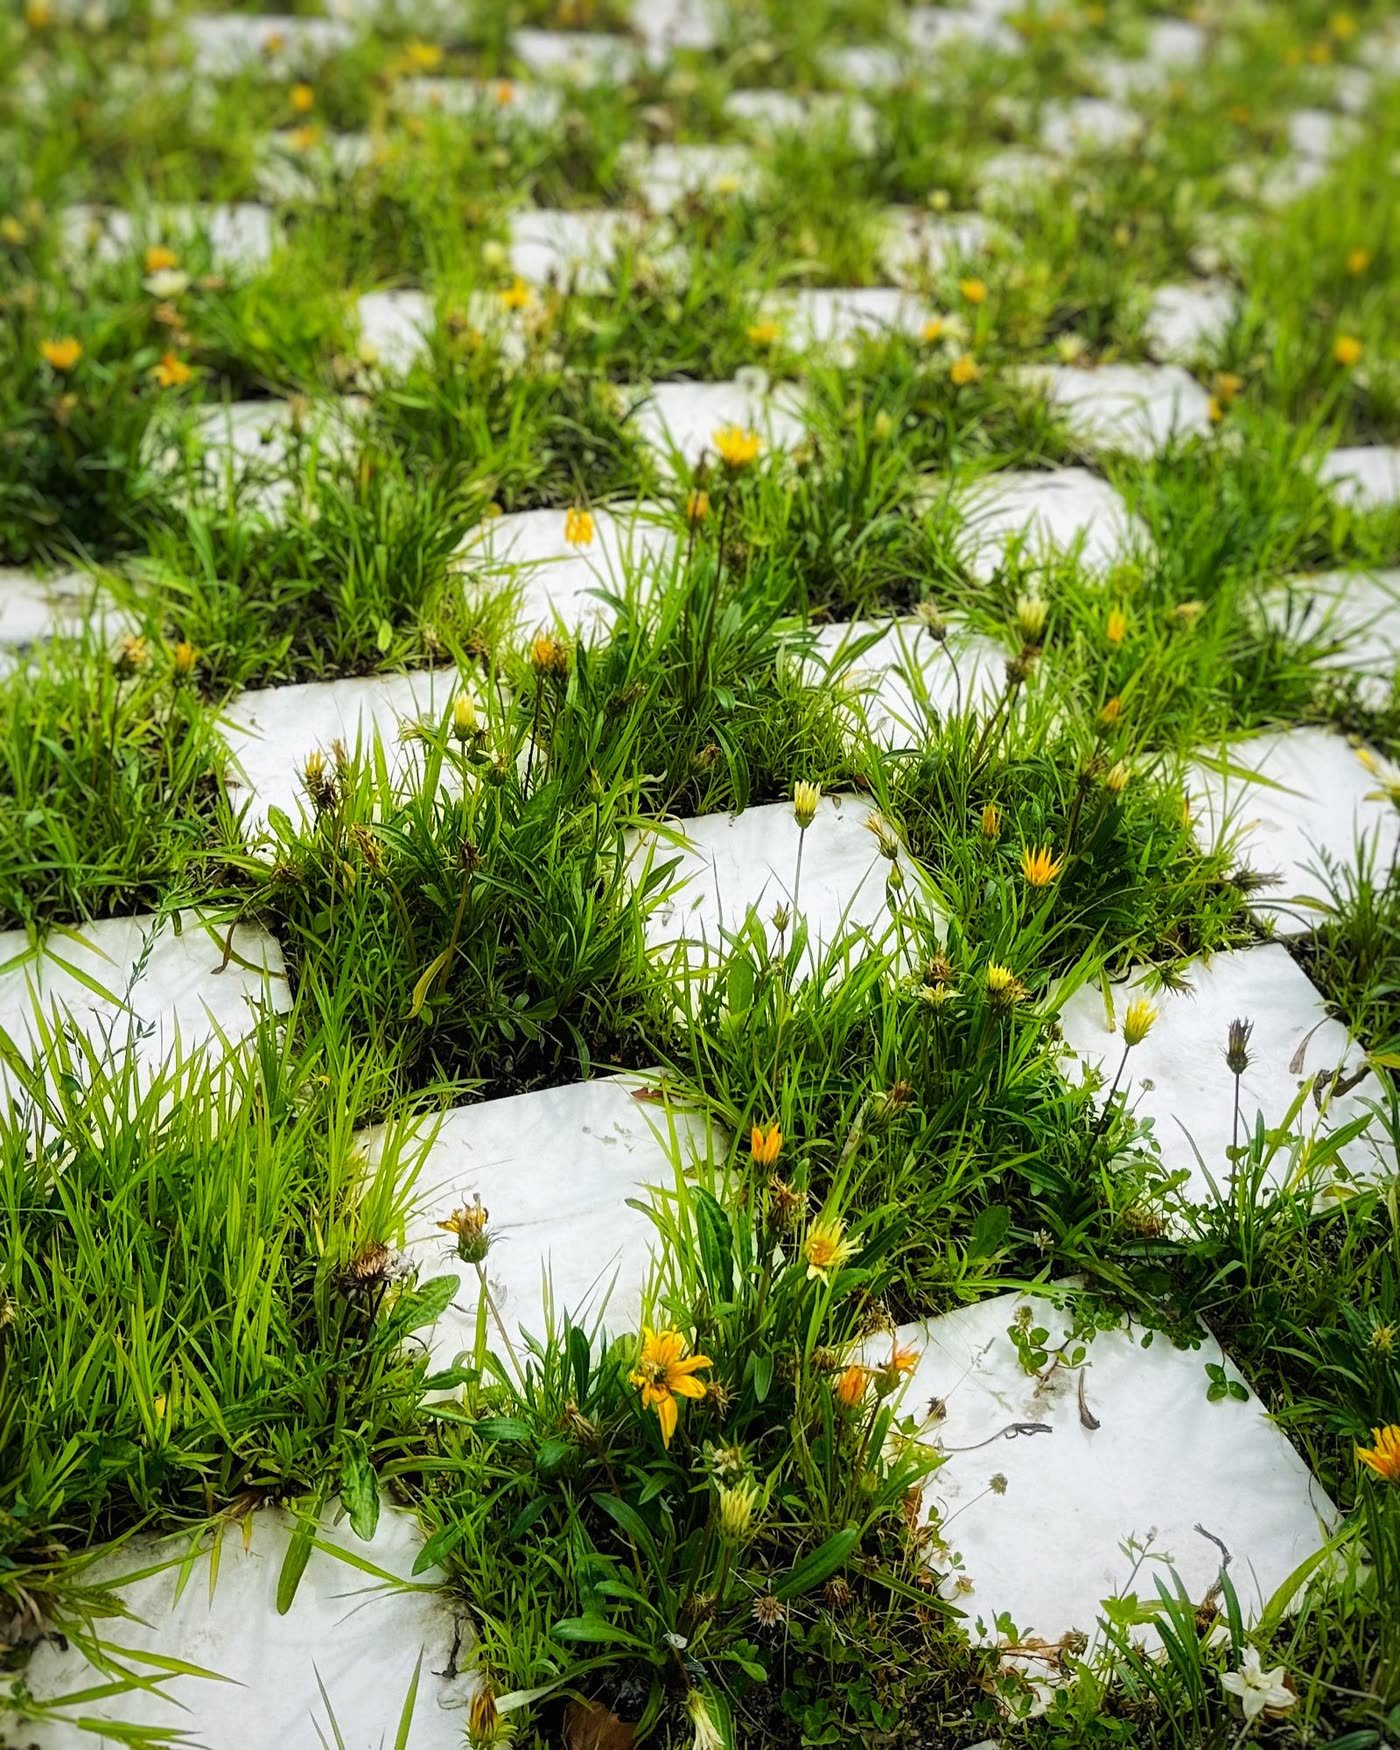
Concrete grid pavers with open cells filled with soil and grass seed create a patio that’s literally part lawn. The grass softens the hardscape and the system drains beautifully. Choose a tough grass blend (tall fescue works well) and mow high — the grids protect the crowns.
Best for: Patios that need to feel green, plus overflow parking areas.
3. Gravel-Joint Stone Pavers
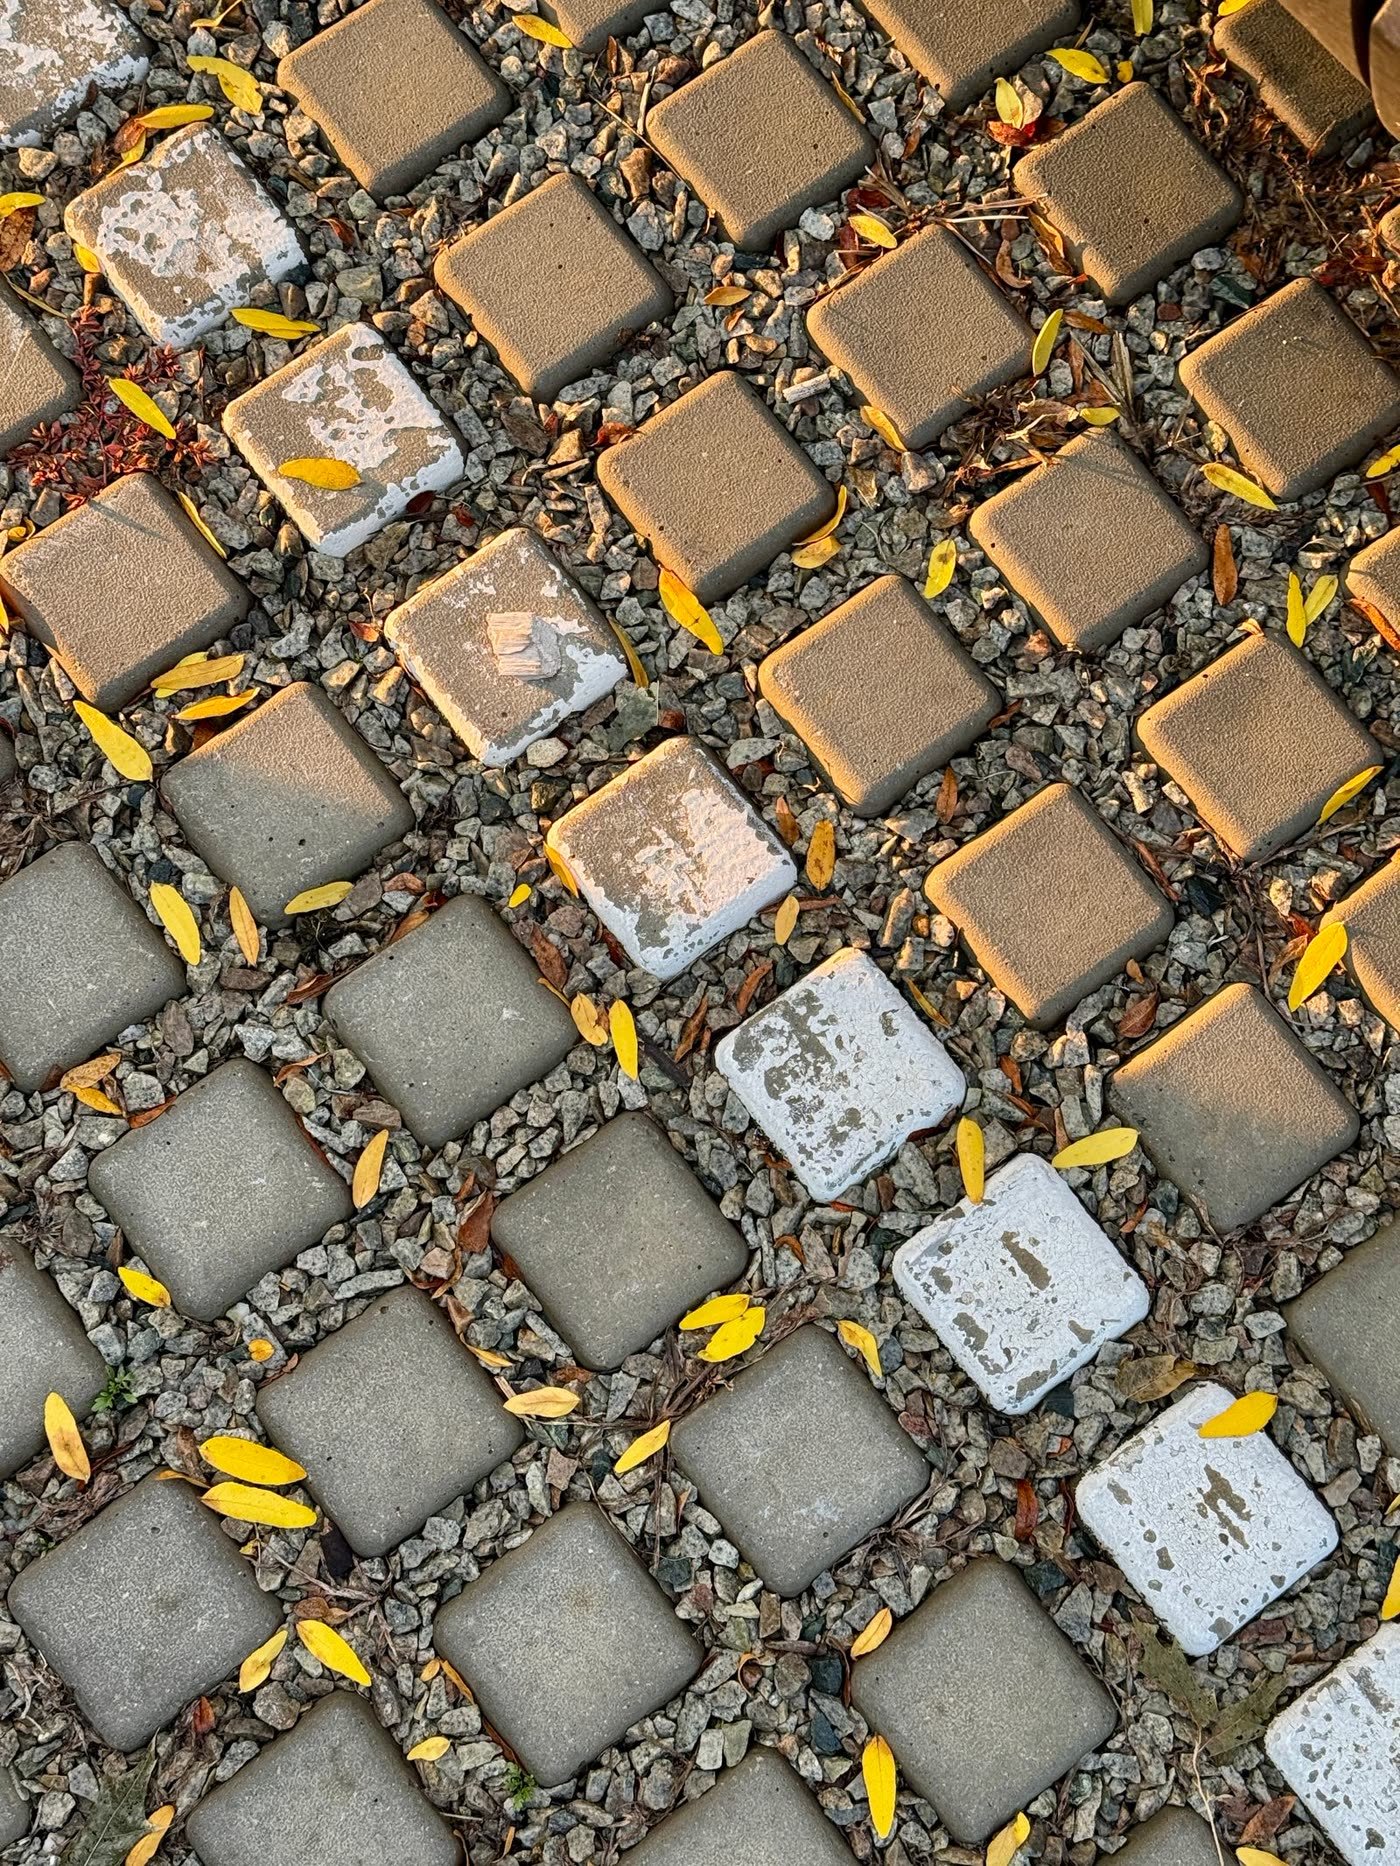
Natural stone or concrete pavers laid with half-inch gravel joints (instead of tight sand joints) give you a classic patio look with full permeability. Use angular 3/8-inch gravel — rounded pea gravel migrates out of joints. This is the most popular residential approach because it looks like a normal high-end patio.
Best for: The “regular patio” look with hidden eco superpowers.
4. Permeable Herringbone Pattern
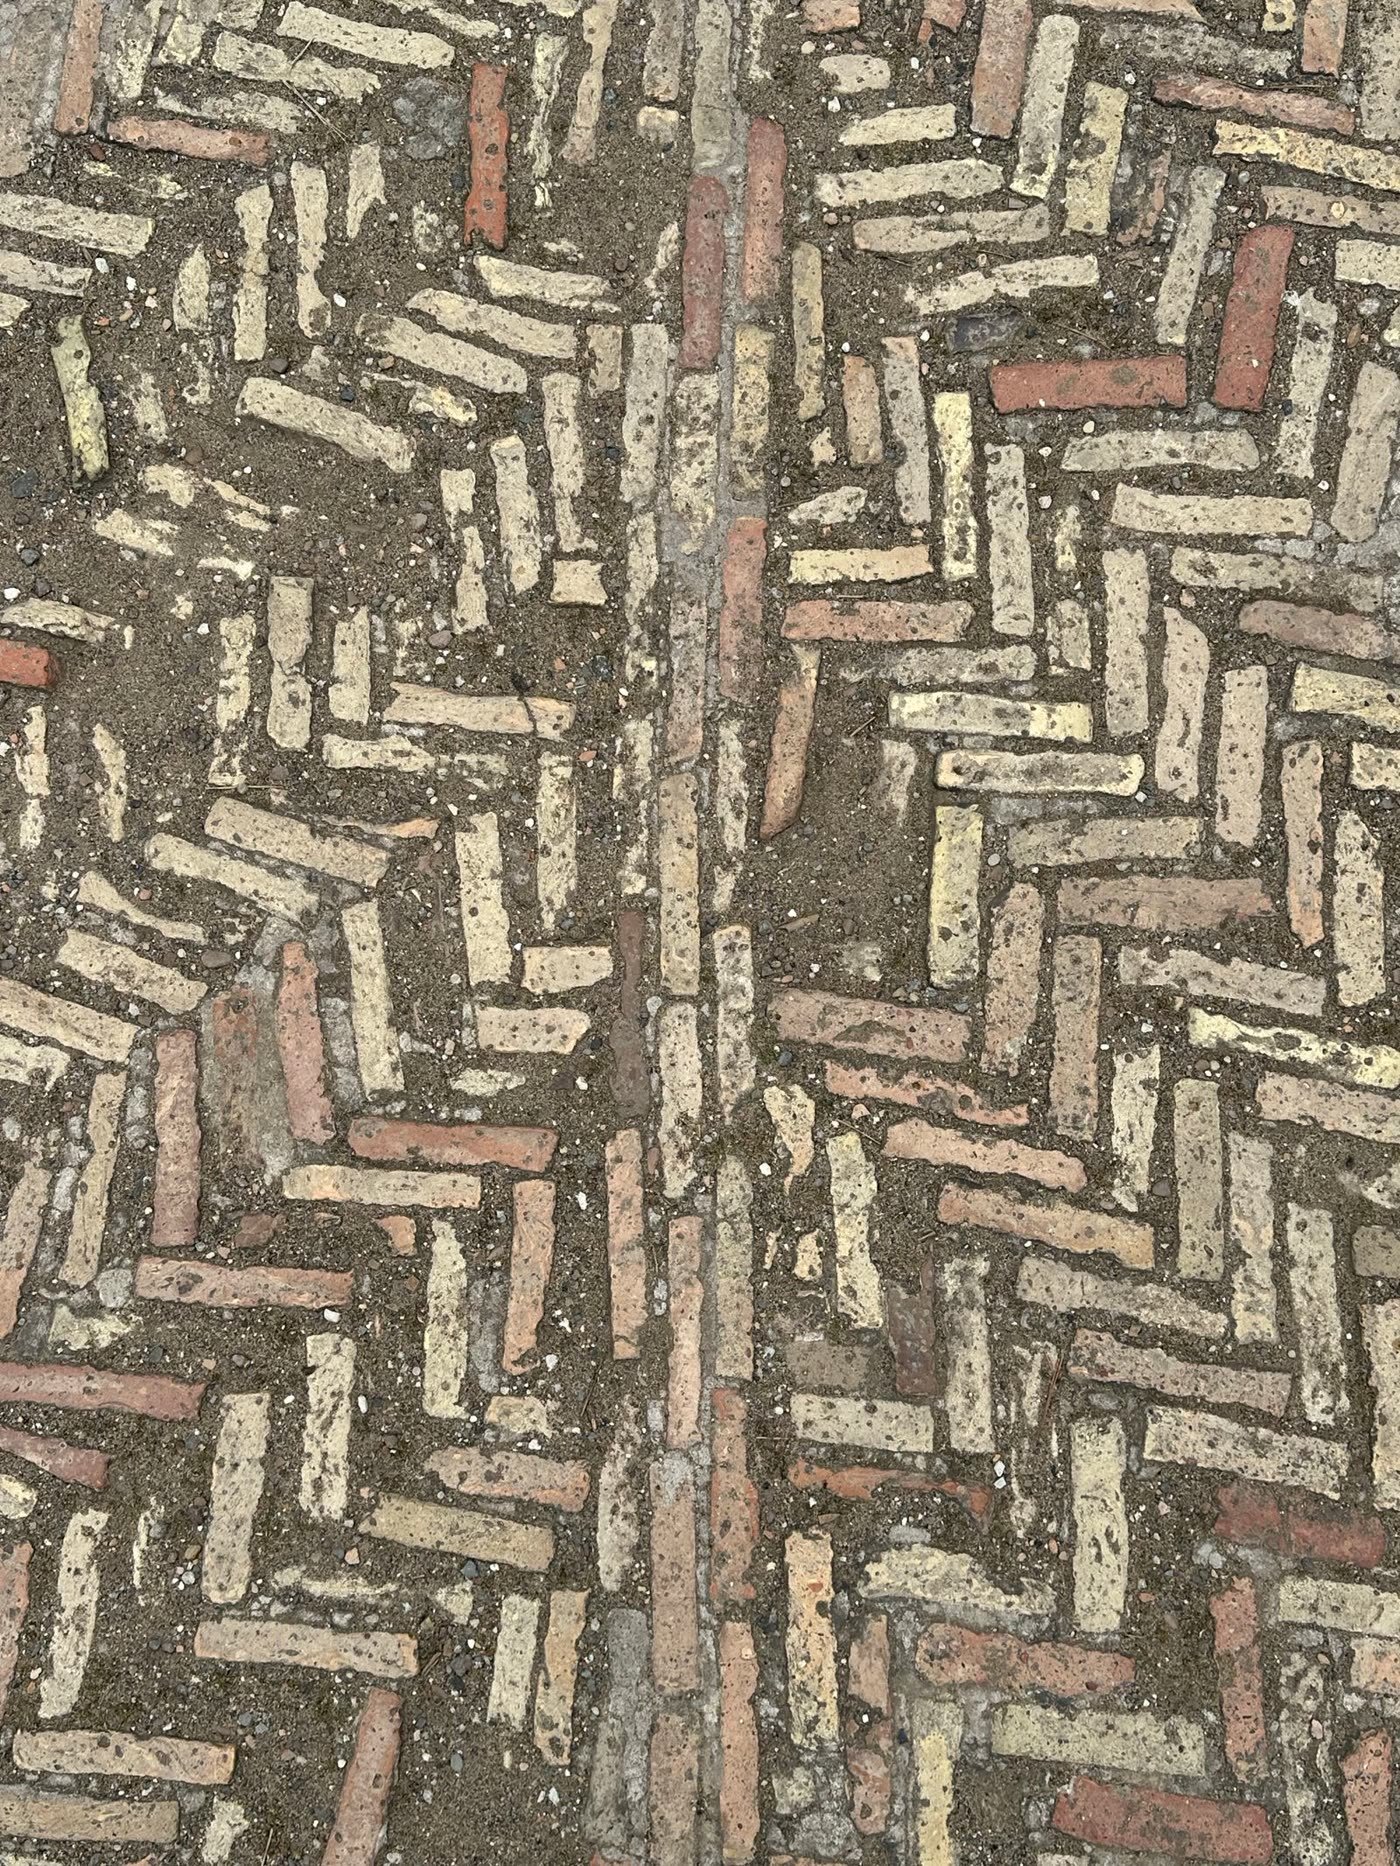
Herringbone isn’t just pretty — the interlocking pattern distributes weight exceptionally well, making it ideal for permeable systems that also handle foot traffic and furniture. Lay at 45 or 90 degrees over your open-graded base. The pattern hides joint width variations nicely.
Best for: Combining top-tier looks with structural performance.
5. Cost vs. Regular Pavers: The Honest Math
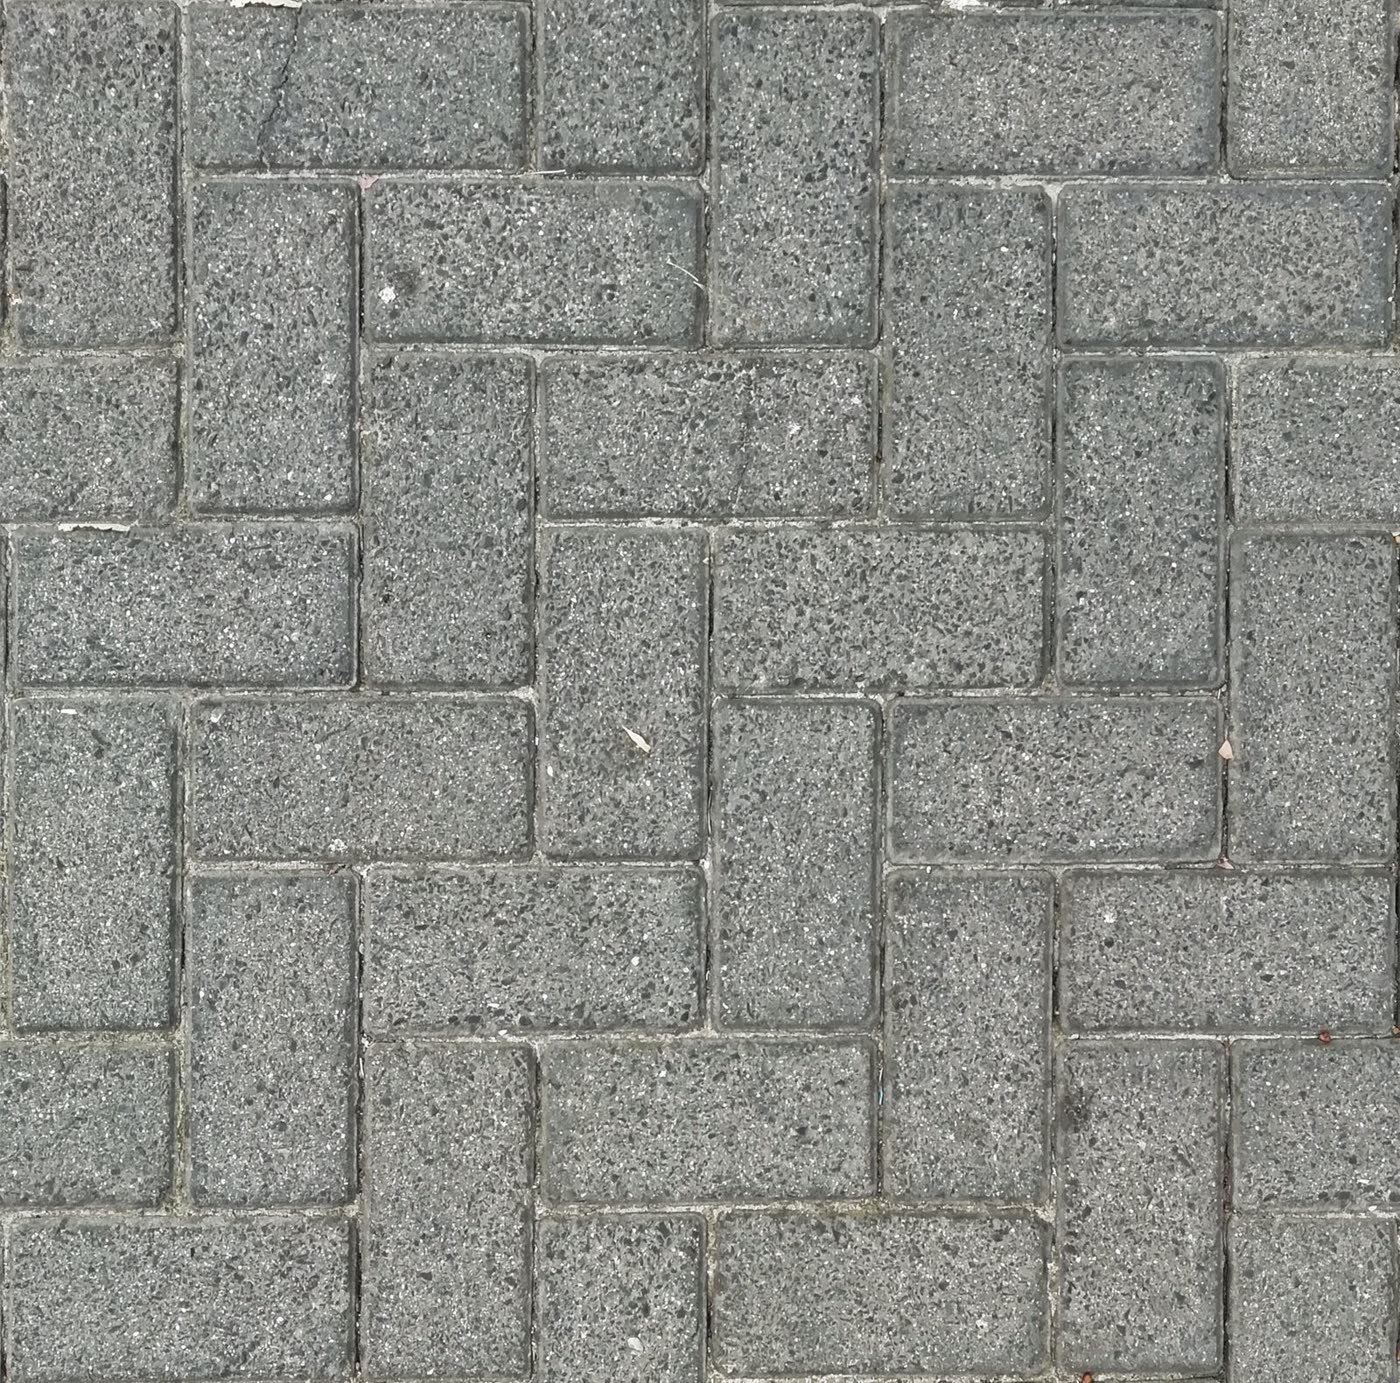
Permeable paver patios cost 20–40% more than conventional — roughly $15–$30 per square foot installed versus $10–$20 for standard pavers. The premium is almost entirely in the deeper stone base (12–18 inches of open-graded aggregate vs. 4–6 inches). Offset it against: no drainage system needed, potential stormwater fee reductions in some municipalities, and zero puddle-related repairs.
Best for: Budgeting realistically before you fall in love with the idea.
6. Rain Garden Edge Integration

Design your permeable patio to drain toward a shallow rain garden planted with natives (coneflower, switchgrass, blue flag iris). The patio handles everyday rain; the garden catches the overflow from big storms. Together they manage nearly all runoff on-site — and the garden is gorgeous.
Best for: Properties with drainage issues or a sustainability showcase goal.
7. Maintenance: Easier Than You Think

The main job is vacuuming or blowing debris out of the joints once or twice a year — clogged joints are the #1 reason systems underperform. A shop vac or leaf blower does it in minutes. Every few years, top up joint gravel where it’s settled. That’s genuinely it; no sealing, no re-sanding like conventional pavers.
Best for: Anyone who wants eco and low-maintenance.
8. Permeable Patio + Fire Pit Combo
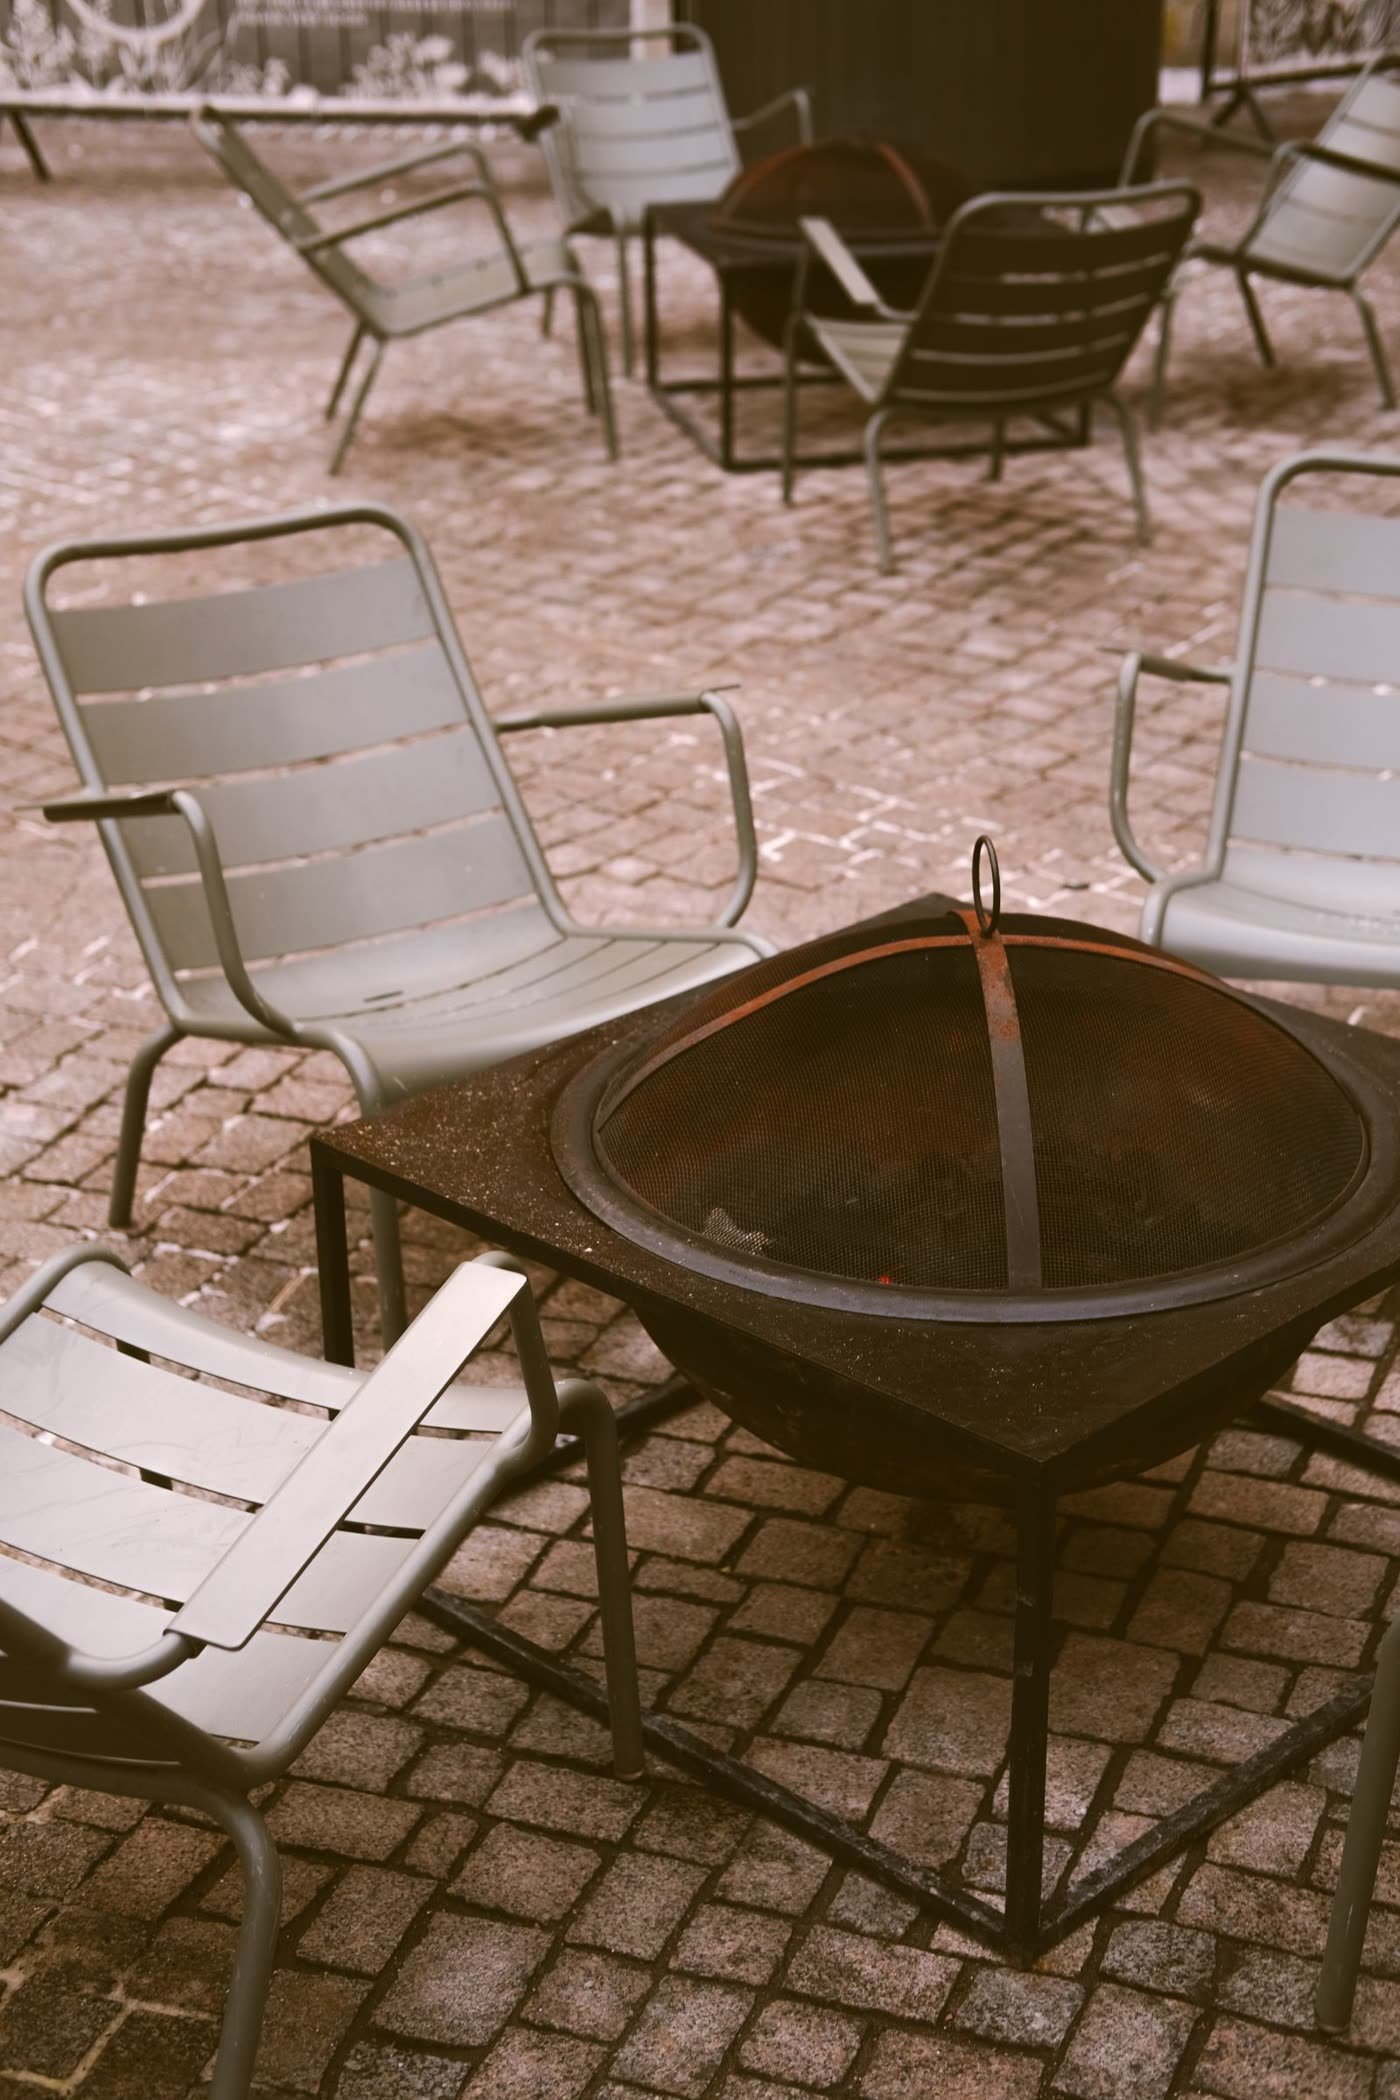
Permeable systems and fire features pair wonderfully — the gravel base is naturally fire-safe and heat-tolerant. Build a seating area with a portable fire bowl on a reinforced paver section (use thicker 3-inch pavers under the bowl). Keep the fire feature itself off the most delicate joint areas.
Best for: An eco patio that still hosts legendary fall evenings.
9. Small-Space Permeable Patio
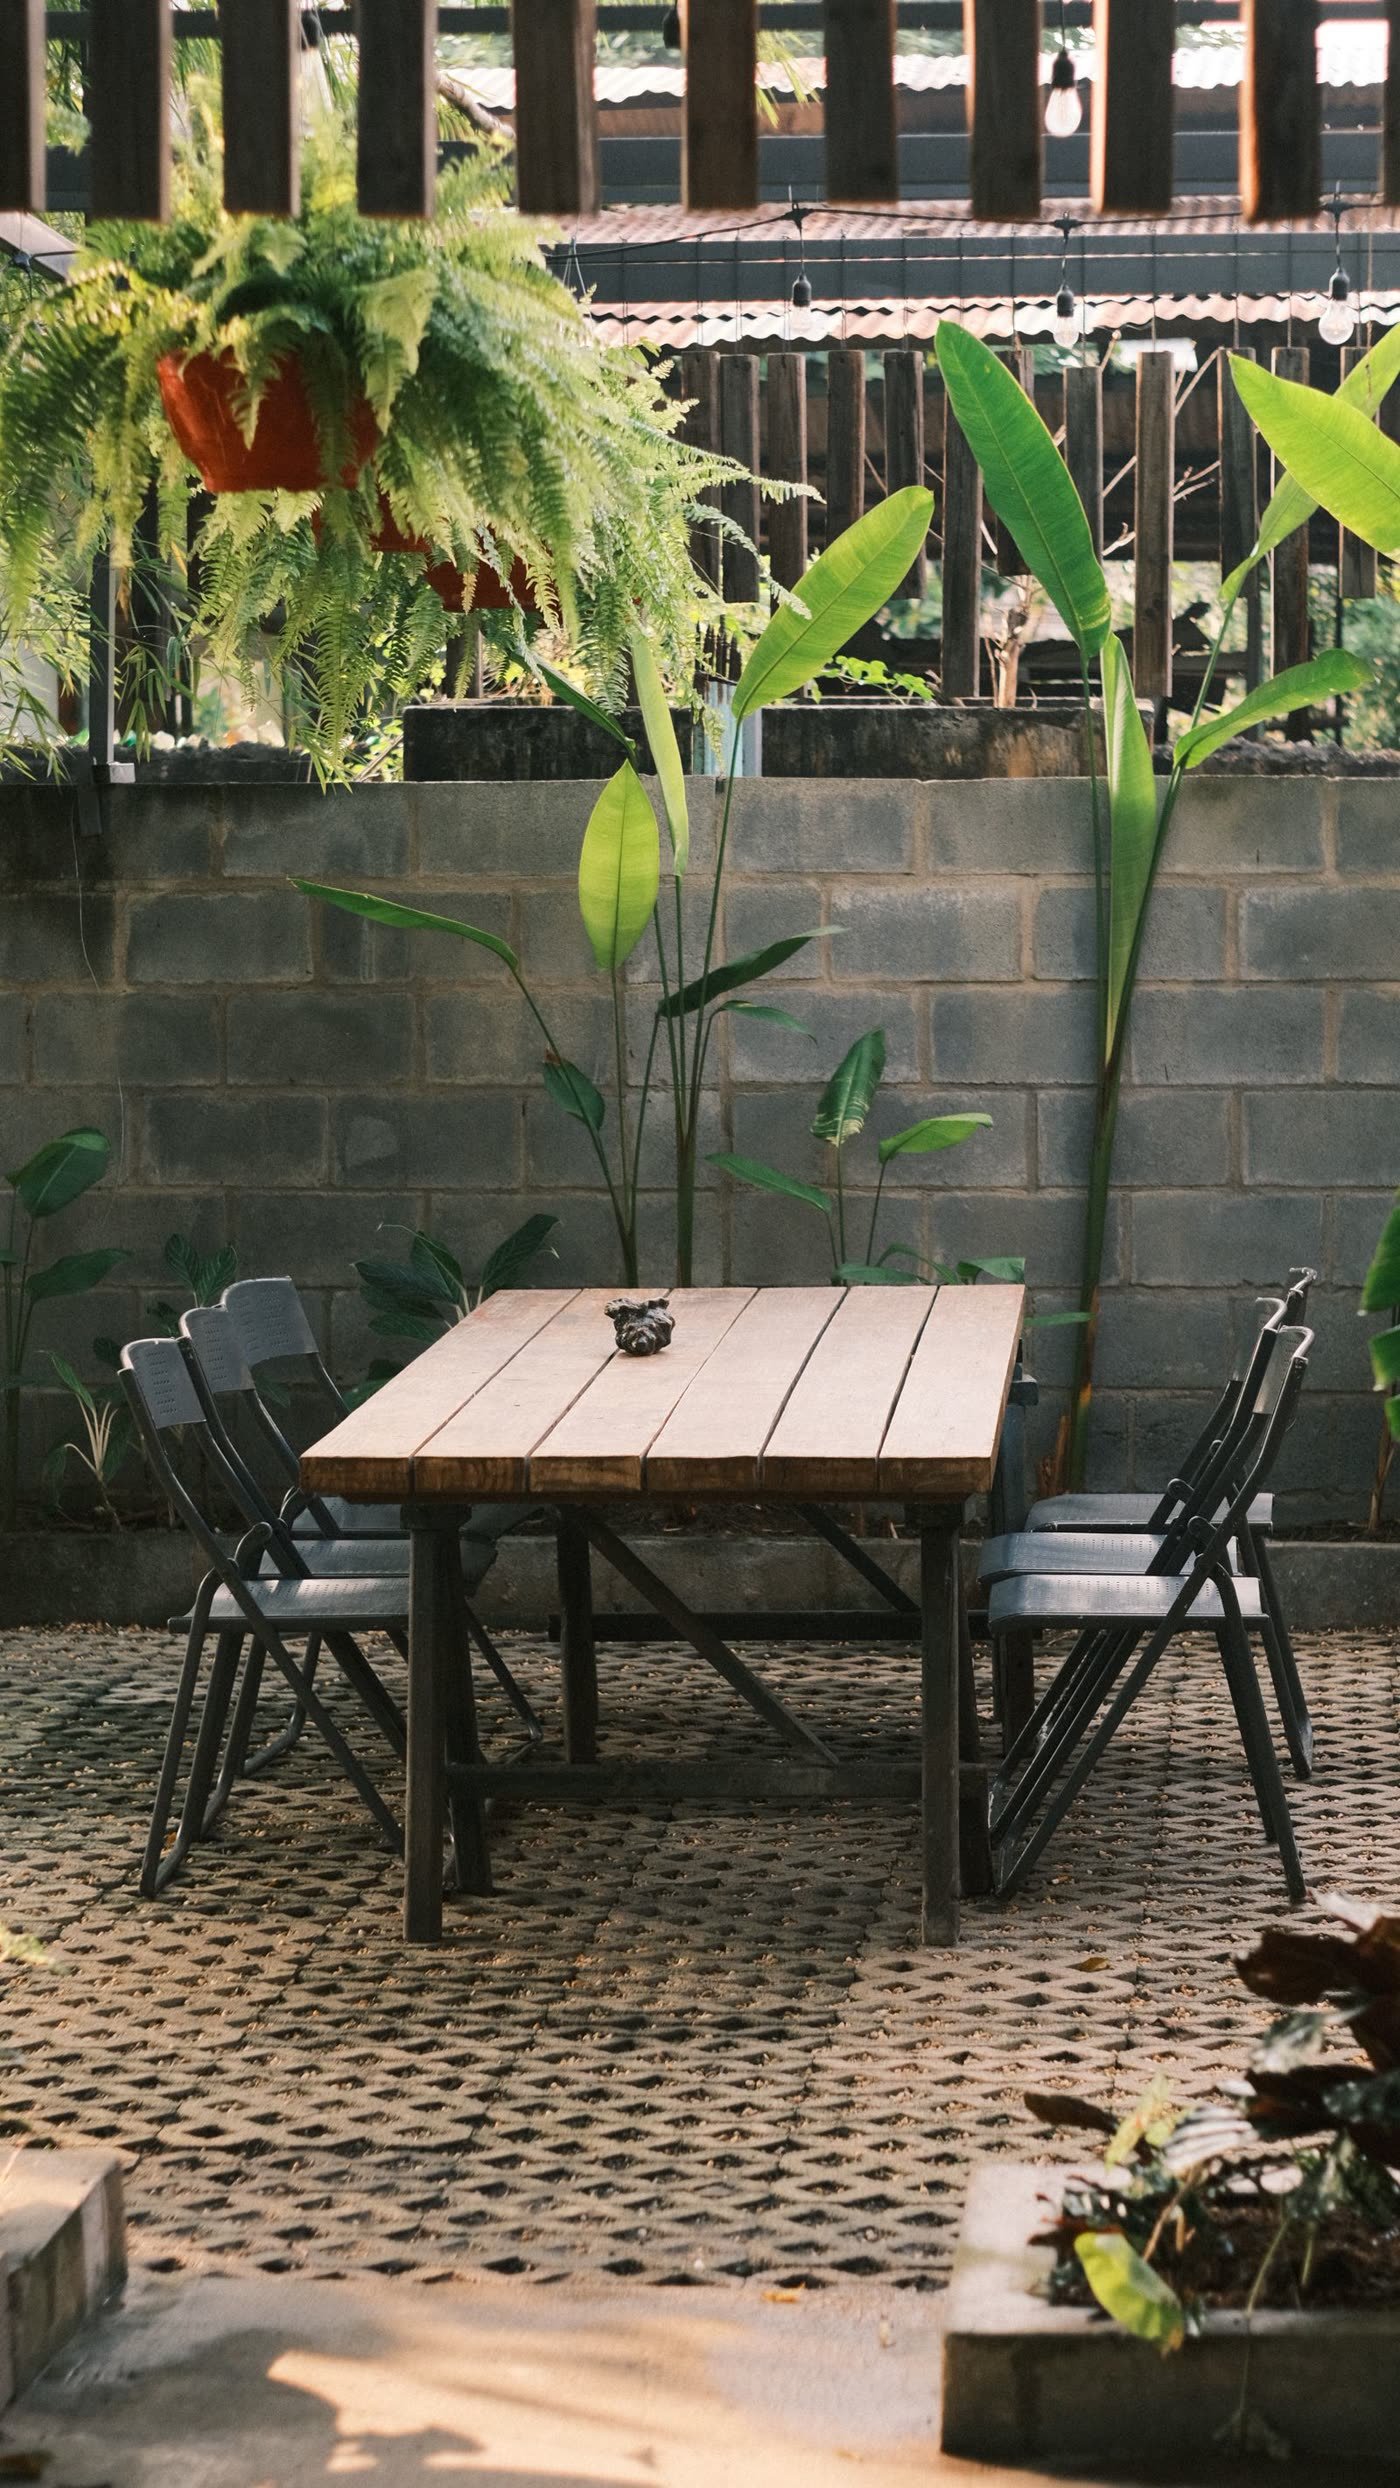
Even a 10×10 patio benefits — permeable doesn’t require scale. For tiny urban patios, permeable pavers solve the “where does the water go” problem that plagues concrete slabs (which often drain toward the house foundation — bad news). A small permeable patio with gravel joints is also very DIY-achievable in a weekend.
Best for: City patios, side yards, and renters-with-permission working in compact footprints.
Is a Permeable Patio Right for You? 5 Questions
- Do you get standing water or runoff now? If yes, permeable is solving a real problem, not just checking an eco box.
- What’s your soil like? Sandy or loamy soil drains well — ideal. Heavy clay drains slowly; you’ll need a deeper stone reservoir (18–24 inches) or a hybrid system with an overflow drain. A simple percolation test (dig a 12-inch hole, fill with water, time the drain) tells you in an afternoon.
- Any local incentives? Some municipalities offer stormwater fee credits or rebates for permeable installations — call your public works department before you build. A few hundred dollars back changes the math.
- DIY or pro? The paver-laying is very DIY-able, but the base excavation and grading matter enormously. Many homeowners DIY the pavers over a professionally prepared base — best of both worlds.
- What’s above and around it? Keep permeable patios away from building foundations (water infiltrating next to a foundation is bad) — maintain at least a few feet of setback or add an impermeable liner on the house side.
If you answered “yes/problem” to 1 and your soil drains decently, permeable is genuinely worth the premium. If your yard never puddles and soil is pure clay, conventional pavers with good grading will serve you fine for less money.
The Base Build: What Goes Underneath
The pavers are the pretty part — the base is the engineering. A proper permeable base, bottom to top:
- Geotextile fabric on the excavated soil (keeps soil from migrating up into your stone).
- 12–18 inches of #2 open-graded stone (large angular rock, no fines) — this is your water reservoir.
- 4 inches of #57 stone (medium aggregate) as a transition layer.
- 1–1.5 inches of #8 or #89 stone (small chips) as the bedding layer — screeded level, never compacted with fines.
- Pavers laid on top, then #8 chips swept into the joints (not sand — sand clogs).
Critical rule: no stone dust or “fines” anywhere in these layers. Fines are what clog conventional bases — and they’d clog yours too. Every aggregate must be washed, open-graded stone. Tell your quarry “permeable paver base, no fines” and they’ll know exactly what you need.
Comparing options? Our paver patio ideas cover conventional choices, and patio ideas for small yards on tight budgets has wallet-friendly alternatives. For the technical base specs, This Old House explains how to install a permeable-paver driveway — the same principles apply to patios.
Frequently Asked Questions
What are permeable pavers?
Pavers installed with open, gravel-filled joints over a deep crushed-stone base, allowing rainwater to filter through into the soil instead of running off. They look like regular pavers but function as a stormwater management system.
How much more do permeable pavers cost?
About 20–40% more than a conventional paver patio — $15–$30/sq ft installed vs. $10–$20. The extra cost is the deeper aggregate base. Many homeowners recoup value through avoided drainage work and longer paver life.
Do permeable pavers work in cold climates?
Yes — they’re actually excellent in freeze-thaw cycles because water drains instead of pooling and freezing under the pavers (which causes heaving). Use air-entrained concrete pavers rated for your zone and avoid de-icing salts, which can clog joints.
How do you maintain a permeable paver patio?
Vacuum or blow debris from joints 1–2 times per year and top up joint gravel as needed. Avoid pressure-washing directly into joints (it dislodges the gravel). No sealing or polymeric sand required — ever.